Table of Contents
Advertisement
Quick Links
Advertisement
Table of Contents

Related Manuals for ZALMAN CNPS12X


Summary of Contents for ZALMAN CNPS12X
- Page 1 User's Manual CNPS12X Intel Socket 2011 V3 / 2011 / 1366 / 1156 / 1155 / 1151 / 1150 / 775 CPUs AMD Socket FM2 / FM1 / AM3+ / AM3 / AM2+ / AM2 CPU&APUs To ensure safe and easy installation, please read the following precautions.
-
Page 2: Specifications
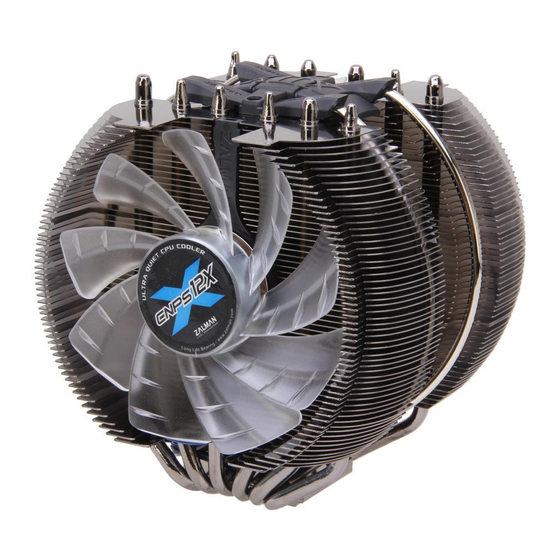
Product design and specifications may be revised to improve quality and performance. Disclaimer) Zalman Tech Co., Ltd. is not responsible for any damages due to external causes, including but not limited to, improper use, problems with electrical power, accident, neglect, alteration, repair, improper installation, or improper testing. - Page 3 3. Components Cooler Backplate Clip Support Clip User’s Manual Wrench Thermal Grease [ZM-STG2] Nuts & Side Caps Nipple A Nipple B Nuts Resistor [RC5] Loading Block Double-sided Tape Bolts Intel Washer (Black film) AMD Washer (Black rubber) WWW.ZALMAN.COM...
-
Page 4: Installation Requirements
Blades) should face the case's exhaust rear fan so that air flows from the cooler toward the case's exhaust rear fan to be released. Case Exhaust Rear Fan Comb Shape <Reverse Fan> ※ Reverse Fan has comb shaped blades. WWW.ZALMAN.COM... - Page 5 ※ Socket 2011 Installation does not require the Backplate, Loading Block and Washer(black flim) used for Intel’s Socket. Nipple B ② Install the clip support on the motherboard using nuts. Clip Support Caution Please make a note of the orientation of the Clip Support. WWW.ZALMAN.COM...
- Page 6 Intel’s washer and Nipple A. Intel Washer Caution (Black film) Please make a note of the orientation of the Clip Support. ④ Install the clip support on the motherboard using nuts. Clip Support WWW.ZALMAN.COM...
- Page 7 ② Remove the Sticker Cover from the Lower Tier of the Loading Block and attach it to the Backplate. Loading Block ③ Attach Double-sided Tape to the Loading Block and remove the Double-sided Tape Cover. Double-sided Tape Caution Please make a note of the orientation of the Loading Block. WWW.ZALMAN.COM...
- Page 8 Intel’s washer and Nipple A. Nipple A Intel washer (Black film) ⑤ Install the clip support on the motherboard using nuts. Clip Support Caution Please make a note of the orientation of the Clip Support. WWW.ZALMAN.COM...
- Page 9 ② Remove the Sticker Cover from the Lower Tier of the Loading Block and attach to the Backplate. Loading Block ③ Attach Dobule-sided Tape to the Loading Block and remove the Double-sided Tape Cover. Double-sided Tape Caution Please make a note of the orientation of the Loading Block. WWW.ZALMAN.COM...
- Page 10 ④ Take away the fixed Clip support from the motherboard, and then install the included Clip support using Nipple A, AMD’s Black rubber washer and nuts. Nipple A AMD washer (Black rubber) Clip support Caution Please make a note of the orientation of the Clip Support. WWW.ZALMAN.COM...
- Page 11 ② Insert clip into the hole of heatsink’s base and fasten bolts by wrench. wrench Clip Heatsink Base ③ Connect the cooler’s 3-pin connector to the motherboard’s CPU Fan header. <Normal Mode> <Quiet Mode> (Fan RPM Resistor) Motherboard Connector WWW.ZALMAN.COM...