
Related Manuals for Capresso 119


Summary of Contents for Capresso 119
- Page 1 Stainless Steel Espresso & Cappuccino Machine Model #119 • Instructions • Warranty 1250 W / 120 V~ / 60 Hz...
-
Page 2: Important Safeguards
7. The use of accessory attachments other than those recommended by Capresso may result in fire, electric shock or injury to persons. 8. To reduce the risk of fire or electric shock, do not remove the base. -
Page 3: Special Cord Set Instructions
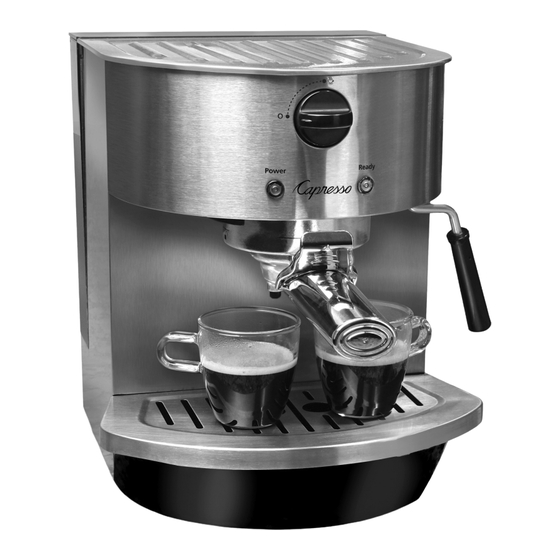
SPECIAL CORD SET INSTRUCTIONS 1. A short power supply cord (or detachable power-supply cord) is provided to reduce risks resulting from becoming entangled in or tripping over a longer cord. 2. Longer detachable power-supply cords or extension cords are available and may be used if care is exercised in their use. - Page 4 Capresso Espresso & Cappuccino Maker User Components Fig.1 Back View 2-cup 1-cup Measuring scoop Power On/Off sieve sieve with tamper Cord button a. Cup warming platform k. READY indicator b. Brewing Control Knob Steam Control Knob c. POWER indicator m. Removable water tank d.
- Page 5 Whether you are brewing a small 1 oz. shot of espresso or a larger cup of pressure brewed coffee, your Capresso Stainless Steel Espresso & Cappuccino Machine will produce the absolute freshest and most aromatic cup of “crema”...
-
Page 6: Before First Use
2. Before First Use After carefully unpacking your Capresso Stainless Steel Espresso & Cappuccino Machine, wash all removable parts with warm soapy water and rinse thoroughly. Familiarize yourself with the appliance and read the instruction manual. Plug the power cord into a grounded wall outlet according to the safety instructions. - Page 7 room temperature. When the green READY indicator light illuminates, the internal components are heated and ready to brew. To turn the machine off, ensure Brewing Control Knob and Steam Control Knob are in the OFF position and press the ON/OFF switch on the back of the machine to the OFF position. 4b.
- Page 8 6. Preparing Quality Espresso/Cappuccino at Home 6a. Selecting the Type and Grind of Coffee The Coffee For best results, the coffee should be as fresh as possible. Any type of coffee roast can be prepared as espresso, even though dark roasts are the most common used for brewing espresso.
-
Page 9: Brewing Espresso
7. Brewing Espresso NOTE: If you are planning to make cappuccino, please refer to the next section "Making Cappuccino" after reading "Brewing Espresso." 1. After you prepare the unit and ground coffee as described in the previous sections you are ready to start brewing your espresso. 2. - Page 10 ideal end temperature for frothed or steamed milk is between 140°F-160°F. Any type of milk can be used when frothing. Whole milk will produce good microfoam (small bubbles) while low-fat and fat-free milk with produce large, airy bubbles in the froth. Non-dairy milks will not hold the froth as well but can be steamed and heated for lattes.
-
Page 11: Making Latte
machine to cool down from steaming temperature to the proper espresso brewing temperature. If multiple cappuccinos will be made, prepare all the espressos first into hot cups and then froth the milk after. 11. Follow the instructions in point 3 above to purge the frothing wand and to flush out any residual milk from the frothing wand. - Page 12 100-200 uses or at least every 2-3 months. • When using commercial decalcifying agents it is important to follow their instructions. You can also use Capresso Cleaning Solution, available at www.capresso.com. Dissolve 1 packet of Capresso Cleaning Solution with 30 oz.
-
Page 13: Troubleshooting
Decalcifying the Brew Head 1. Remove the portafilter. 2. For best results unscrew the screen inside the brew head. Wipe off any coffee residue with a damp cloth. 3. Fill the water tank with the decalcifying solution. 4. Place a large bowl beneath the brew head. 5. - Page 14 Loud pump noise. Cause: No water in tank. Correction: Fill the tank with water. Cause: Water tank not in correct position. Correction: Raise water tank and put into the correct position. Very little or no coffee flows through the portafilter. Cause: No water in tank.
- Page 15 Espresso not hot enough. Cause: Cold cups. Correction: Pre-warm cups and system, see chapter 5. No steam from the frothing wand. Cause: Tip of frothing wand is blocked. Correction: See chapter 10b. If no steam comes out of the frothing wand, then decalcify the frothing wand.
-
Page 16: Limited One-Year Warranty
12. LIMITED ONE-YEAR WARRANTY This warranty covers your Capresso machine, model #119 Stainless Steel Espresso & Cappuccino Machine. The model # can be found on the bottom of the machine. This warranty is in effect for one year from the date of the first consumer purchase.