Linksys PAP2 Installation Manual
Hide thumbs
Also See for PAP2:
- Installation and troubleshooting manual (75 pages) ,
- User manual (17 pages) ,
- Installation manual (10 pages)
Advertisement
Quick Links
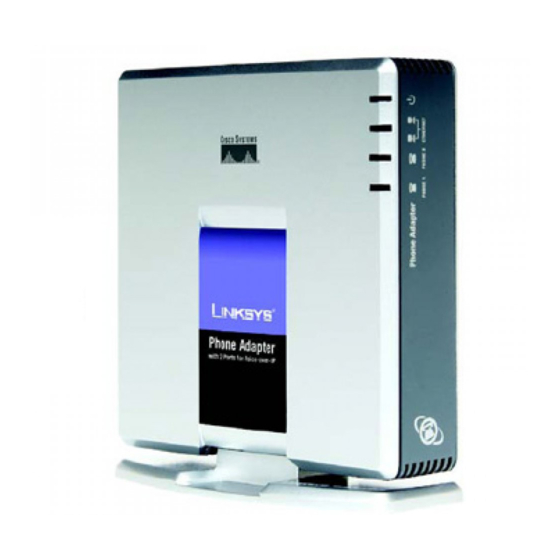
1 Adapter Description
The sections below briefly describe the PAP2 device.
1.1
PAP2 Overview
The PAP2 is a 2-port FXS phone adapter, which allows you to connect two (2) analog
phones.
1.2
Connectors and Pinouts
The image below displays the Ethernet (RJ-45) and analog (RJ-11) line pin-outs.
1.3
Accessing the PAP2
1. Connect an analog phone to the RJ-45 connector on the PAP2.
2. Using the telephone keypad, press the star key (*) four (4) times:
3. Enter the appropriate code, followed by the pound (#) key. Refer to the PAP2
PAP2 2-Port FXS Phone Adapter
Ethernet (RJ-45) and Analog (RJ-11) Line Pin-Outs
You will be prompted to enter a code.
Menu Options table on the following page for codes.
Smart Member Services Linksys PAP2 Installation Guide
****
.
Advertisement

Related Manuals for Linksys PAP2


Summary of Contents for Linksys PAP2
- Page 1 Smart Member Services Linksys PAP2 Installation Guide 1 Adapter Description The sections below briefly describe the PAP2 device. PAP2 Overview The PAP2 is a 2-port FXS phone adapter, which allows you to connect two (2) analog phones. PAP2 2-Port FXS Phone Adapter Connectors and Pinouts The image below displays the Ethernet (RJ-45) and analog (RJ-11) line pin-outs.
- Page 2 Smart Member Services Linksys PAP2 Installation Guide PAP2 MENU OPTIONS Action Code User Input Behavior Notes Enter IVR Menu **** None Do not press any other keys until you hear, “Configuration menu. Please enter option followed by the pound (#) key, or hang up to exit.”...
-
Page 3: General Configuration For Outbound Calling
2.1 General Configuration for Outbound Calling To configure the PAP2 for outbound calling: 1. Connect to the PAP2 by entering the device’s IP address in the Web browser’s Address bar. For instructions on obtaining the IP address, refer to section 2.3 Accessing the PAP2 on page 2 in this Guide. -
Page 4: Line-Specific Configuration
Smart Member Services Linksys PAP2 Installation Guide 2.2 Line-Specific Configuration 1. Click the Line1 or Line2 tab at the top of the page, and in the NAT Settings section, change the following setting: Field Value NAT Keep Alive Enable 2. In the Proxy and Registration section (see the screen on the following page),... - Page 5 Smart Member Services Linksys PAP2 Installation Guide Proxy and Registration and Subscriber Information Sections 6. Scroll to the Audio Configuration section (as shown in the Audio Configurations and Dial Plan Sections screen on the following page), and change the following...
- Page 6 7. In the Dial Plan section, change the Dial Plan to fit the dialing pattern in your country. The dialed number must start with ‘1’ for US calls and ‘011’ for non-US calls. Please read the PAP2 manual to customize your dial plan. 8. Click the Submit All Changes button to save the settings.