Advertisement
Advertisement

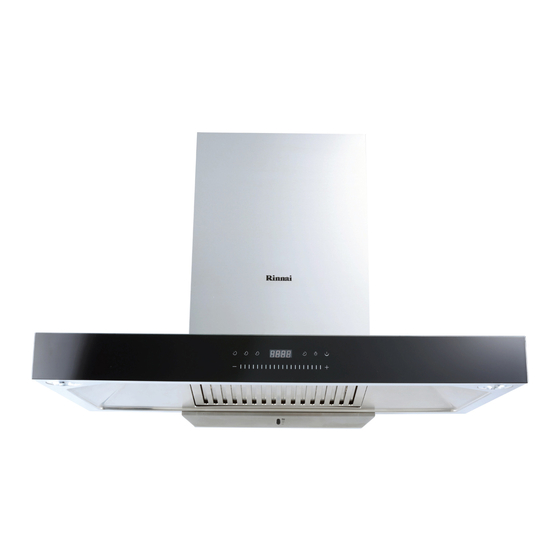
Summary of Contents for Rinnai RH-C779-SB
- Page 1 คู ่ ม ื อ การติ ด ตั � ง /การใช ้ งาน Chimney Hood 塔形烟机 Tudung Hisap Máy Hút Khói Mùi – Dòng Chimney เครื � อ งดู ด ควั น ชนิ ด กระโจมติ ด ผนั ง RH-C779-SB Rinnai Corporation...
- Page 2 TABLE OF CONTENTS TABLE OF CONTENTS English Page 1 - 7 Version: 2013 07...
-
Page 3: Table Of Contents
IMPORTANT To register your product warranty, please paste the serial numbers stickers enclosed with the packaging on your warranty card. Please contact your local Rinnai Customer Care Centre should you require further assistance. SAFETY WARNINGS Please read this user manual thoroughly before attempting to use this appliance for the first time. This manual contains important information on safe installation, use and care of the appliance. - Page 4 • Do not flambé or grill with an open flame directly under the extractor hood. Flames could be drawn up into the hood by the suction and the grease filters may catch fire. • Monitor cooking continuously as overheated oil increases the risk of self-ignition.
-
Page 5: Specifications & Components
SPECIFICATIONS Model RH-C779-SB Voltage 220V - 240V / 50Hz Power of Motor 220W LED Lights 2 x 2W Cable Length 1.8m Appliance Dimension (W x D x H): 90cm model 896 x 482 x 560-845mm Note: The manufacturer reserves the right to effect any technological improvement or modification without prior notice. -
Page 6: Installation
INSTALLATION This appliance can be installed in ducted or recirculation Wall mounting (Fig. 7 & 8) Do ensure that the appliance is mounted on a solid mode. surface which could withstand the appliance’s weight. Ducted mode (Fig. 4) • Draw a vertical line at the center of the wall. •... -
Page 7: Operation
Aligning the hood body (if necessary) (Fig. 9) Installation must be performed by qualified personnel • Before attaching hood body to wall, adjust the 2(two) screws located on the hood body mounting only. The manufacturer declines all responsibility for points. improper installation and does not accept responsibility •... -
Page 8: Maintenance And Care
“click sound”. Remove in the reverse steps. Replace a new set of light assembly. Note: For purchase of spare part, please check with your local Rinnai Rinnai Customer Care Centre for assistance. Reverse the procedure for refitting. Fig. 10 Charcoal filter (where applicable) (Fig. -
Page 9: Troubleshoot
Replace the damaged lamps Lamps are loose Tighten the lamps If problem persists after the above checks, please contact Rinnai Customer Care Centre for assistance. Please quote the model number of your appliance as shown on the rating plate attached to your equipment (Fig. 13). - Page 10 Tel 电话 : (86) 20 3821 7976 Email 邮箱 : grrjdq@gzrinnai.com.cn URL 网址 : www.gzrinnai.com.cn Indonesia Singapore Customer Care of PT. Rinnai Indonesia Rinnai Holdings (Pacific) Pte Ltd Jl. Raya Pejuangan No.21, 47 Tannery Lane #05-01/02, Komp. Ruko Sastra Graha No.11 -13...


