Advertisement
Quick Links
1.800.558.5700
www.insinkerator.com
44068 REV. A
The Emerson logo is a trademark and
service mark of Emerson Electric Co.
© 2007 InSinkErator, a division of
Printed in USA
Emerson Electric Co. All Rights Reserved.
Instant
Hot Water
Owner's Manual
Installation, Care & Use
Instalacion, cuidado & uso
Installation, soin et utilisation
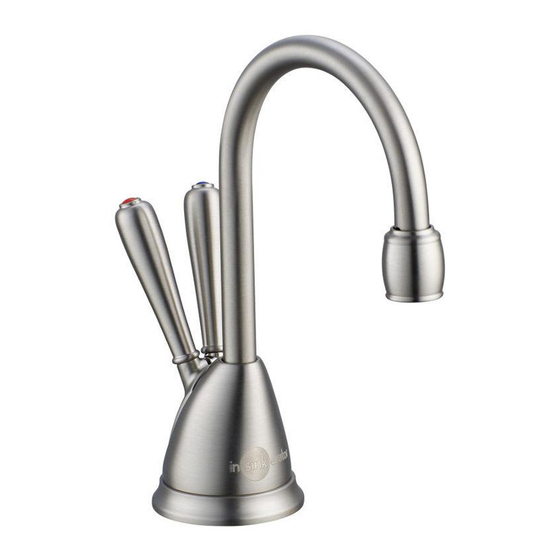
TranScape
View
™
TranScape
Wave
™
HC3/GN3
H990
H770
Dispenser
™
™
Advertisement

Related Manuals for InSinkErator TranScape View


Summary of Contents for InSinkErator TranScape View
- Page 1 Instalacion, cuidado & uso Installation, soin et utilisation 1.800.558.5700 The Emerson logo is a trademark and service mark of Emerson Electric Co. www.insinkerator.com © 2007 InSinkErator, a division of 44068 REV. A Printed in USA Emerson Electric Co. All Rights Reserved.
- Page 2 This unique appliance will save you time and effort in the kitchen, and you’ll enjoy discovering new uses for it each day. That’s exactly why millions of people are now using an InSinkErator Instant Hot Water Dispenser. HOW TO USE THIS INSTRUCTION MANUAL We are confident that by following our step-by-step instructions, you’ll soon be enjoying...
-
Page 3: Start Here
START HERE PROPER INSTALLATION SHOULD TAKE ABOUT 2-4 HOURS COMPONENTS IN THIS PACKAGE PREPARATION 3/8" Tube ■ Identify locations for the dispenser Required minimum from Maximum counter faucet, tank and filter (if applicable). center of hole to wall thickness (depth) Plug (1) HC-View-SS ■... - Page 4 INSTALLING THE FAUCET - H990 INSTALLING THE FAUCET - VIEW/ WAVE / HC3/ GN3 View/Wave/HC3/GN3 H990 ■ ■ Unpack dispenser components. Unpack dispenser components. ■ ■ On a firm, flat surface, carefully On a firm, flat surface, carefully straighten the copper tubing. straighten the copper tubing.
- Page 5 MOUNTING THE TANK INSTALLING THE FAUCET - H770 H770 ■ Select a spot under the sink to mount tank vertically within reach of both ■ Unpack dispenser components. Tank must be plumbing and electrical connections. mounted level The tank should be within 16" or less ■...
- Page 6 Available as an option; INSTALLING FILTRATION (Optional) FINAL WATER CONNECTION separate purchase required. ■ Mark hole locations for filter head HC-View / HC-Wave / HC3 and bracket in a spot that allows Brass Nut ■ Install a T-fitting (not included) Ferrule for filter replacement.
-
Page 7: Care And Use
Slowly turn the cartridge counter-clockwise screw onto the bottom of tank, turning contact an authorized InSinkErator service agent to replace or repair the unit in your home at completely until it stops (1/4 turn). until snug. Do NOT over tighten. -
Page 8: Troubleshooting
Please read Troubleshooting Guide and/or visit www.insinkerator.com before calling AnswerLine ™ TROUBLESHOOTING PROBLEM POSSIBLE CAUSE WHAT TO DO Water and steam spits • Unit is boiling. • Activate faucet lever to release some water from forcefully from spout the tank.