Table of Contents
Advertisement
Quick Links
Download this manual
See also:
User Manual
Advertisement
Table of Contents

Summary of Contents for Powerware 5115
- Page 1 500–1400 VA User’s Manual...
-
Page 3: Table Of Contents
User’s Manual 500-1400 VA 1015715 Revision B Table of Contents Powerware 5115 — Introduction ..............5 Special Symbols ....................6 Installation ......................7 Inspecting the Equipment .................. 7 Safety Precautions ....................7 Installing the UPS ....................7 UPS Rear Panels ....................9 Operation and Configuration .................10... - Page 4 92/31/EEC, Amending Directive 89/336/EEC relating to EMC The EC Declaration of Conformity is available upon request for products with a CE mark. For copies of the EC Declaration of Conformity, contact: Powerware Oy Koskelontie 13, FIN-02920 Espoo Finland Phone: +358-9-452 661 Fax: +358-9-452 66 396 ©Copyright 2003.
-
Page 5: Powerware 5115 - Introduction
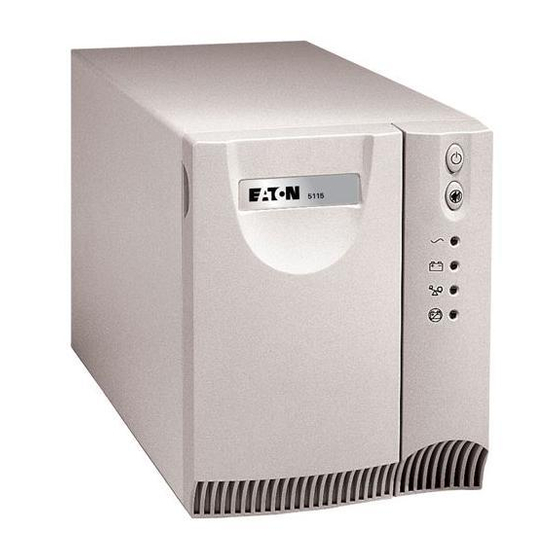
With the Powerware 5115, you can safely eliminate the effects of power disturbances and guard the integrity of your equipment. The Powerware 5115’ s flexibility to handle an array of network devices makes it the perfect choice to protect your LANs, servers, workstations, and other electrical equipment. -
Page 6: Special Symbols
Special Symbols The following are examples of symbols used on the UPS to alert you to important information: RISK OF ELECTRIC SHOCK - Indicates that a risk of electric shock is present and the associated warning should be observed. CAUTION: REFER TO OPERATOR’S MANUAL - Refer to your operator’... -
Page 7: Installation
2. Installation Inspecting the Equipment If any equipment has been damaged during shipment, keep the shipping cartons and packing materials for the carrier or place of purchase and file a claim for shipping damage. If you discover damage after acceptance, file a claim for concealed damage. To file a claim for shipping damage or concealed damage: 1) File with the carrier within 15 days of receipt of the equipment;... - Page 8 Plug the equipment to be protected into the UPS output receptacles. DO NOT protect laser printers with the UPS because of the exceptionally high power requirements of the heating elements. Start the UPS by pressing the button. The indicator illuminates indicating that power is available from the UPS output receptacles.
-
Page 9: Ups Rear Panels
UPS Rear Panels Figure 3. Rear panels 1015715 500 - 1400 VA Revision B User’s manual... -
Page 10: Operation And Configuration
3. Operation and Configuration Turning the UPS On To turn on the UPS, press the button on the front panel (shown in Figure 4). After the UPS is turned on, it conducts a self–test and enters Normal mode. The indicator illuminates indicating that power is available from the UPS output receptacles. -
Page 11: Initiating The Self-Test
Initiating the Self–Test Press and hold the button for three seconds to initiate the self–test. If the UPS finds a problem, an LED indicates where the problem is. For more information, see “Troubleshooting” on page 17. NOTE The UPS must not be in Battery mode to perform the self–test. Voltage Configuration The DIP switches on the rear panel of each unit (see Figure 5) are used to configure the output voltage and input voltage range. -
Page 12: Communication Options
4. Communication Options The UPS is equipped with a USB and a DB-9 communication port. Either the USB port or the DB-9 communication port may be used to monitor the UPS; however, they cannot operate simultaneously. Communication Port To establish communication between the UPS and a computer, connect your computer to the UPS communication port using the supplied communication cable. -
Page 13: Usb Port
Figure 7. The USB Port Install the LanSafe software and USB drivers according to the instructions provided with the Powerware Software Suite CD. Network Transient Protector The Network Transient Protector, shown in Figure 8, is located on the rear panel and has jacks labeled IN and OUT. -
Page 14: Ups Maintenance
5. UPS Maintenance UPS and Battery Care For the best preventive maintenance, keep the area around the UPS clean and dust–free. If the atmosphere is very dusty, clean the outside of the system with a vacuum cleaner. For full battery life, keep the UPS at an ambient temperature of 25°C. Storing the UPS and Batteries If you store the UPS for a long period, recharge the battery every 6 months by plugging the UPS into a power outlet. -
Page 15: Testing New Batteries
Use the following steps to replace the batteries: Pull the top left corner forward and remove the front panel. Slide up and remove the metal battery cover. 500 unit. Disconnect the red battery cable and then disconnect the black battery cable. - Page 16 500 VA 750/1000 VA 1400 VA Fig. 9 Swapping batteries 500 - 1400 VA 1015715 User’s Manual Revision B...
-
Page 17: Recycling The Used Battery
Recycling the Used Battery Contact your local recycling or hazardous waste center for information on proper disposal of the used battery. Scrapping the UPS Before scrapping UPS battery bank must be removed. Local requirements must be followed in battery recycling or discard. WARNING! HAZARDOUS MATERIALS. - Page 18 i l i l i t “ ” l l i l i t " " e f r i . t l l i t " " e Table 3. Troubleshooting 500 - 1400 VA 1015715 User’s Manual Revision B...
-
Page 19: Service And Support
Service and Support If you have any questions or problems with the UPS, call your Local Distributor. Warranty The product is warranted against defects in material and workmanship for a period of 24 months from its original date of purchase. 7. -
Page 20: Dimensions And Weights
Environmental Operating Temperature Up to 1500 m 0º C to + 40º C Above 1500 m 0º C to + 35º C Transit/Storage Temperature -15º C to + 55º C Relative Humidity 5-95% noncondencing Operating Altitude Up to 3000 meters above sea level Audible noise Less than 45 dBA typical Safety and markings...


