Jøtul C450 Installation And Operating Instructions Manual
Kennebec
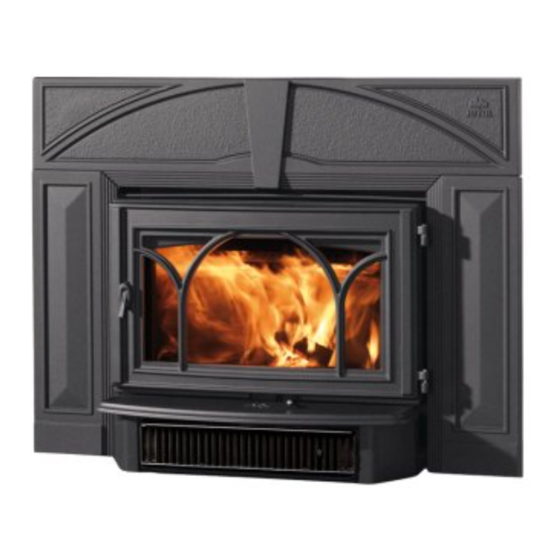
fireplace insert
Hide thumbs
Also See for C450:

Related Manuals for Jøtul C450


Summary of Contents for Jøtul C450
- Page 1 Jøtul C450 Kennebec Fireplace Insert Installation and Operating Instructions for the United States & Canada Keep these instructions for future reference.
- Page 2 Welcome to Jøtul... Congratulations on the purchase of your new Jøtul C 450 Kennebec Fireplace Insert. We at Jøtul are glad you’ve made the decision to warm your hearth with a Jøtul product. Your new fireplace insert exemplifies our experience gained over 150 years as the world’s largest manufacturer of solid fuel burning appliances.
-
Page 3: Table Of Contents
Standards and Safety Notices Standards / Codes ............4 Safety Notices ............... 5 Preparation ..............5 Specifications C450 Kennebec Fireplace Insert ........ 6 C450 Kennebec Surround Assembly ......6 Installation Masonry Fireplace Requirements ......7 Factory-built Fireplace Requirements ...... 7 Chimney Height ............. -
Page 4: Standards / Codes
Tested to U.S. Standards: ANSI/UL 1482, Canadian Standards: CAN/ULC-S627-M93 Standards Check Building Codes The Jøtul C450 Kennebec Fireplace Insert has been When installing, operating and maintaining your tested and listed to: U.S: ANSI/UL 1482 Jøtul C450 Kennebec Fireplace Insert, follow the... -
Page 5: Safety Notices
FOLLOW THESE INSTRUCTIONS MAY RESULT Approved Installations IN PROPERTY DAMAGE, BODILY INJURY, OR LOSS OF LIFE. The Jøtul C450 Kennebec Fireplace Insert may be • CONTACT THE LOCAL BUILDING OR FIRE installed into an existing masonry fireplace with a OFFICIALS ABOUT RESTRICTIONS AND fully-lined masonry chimney. -
Page 6: Specifications
.99 kg wood per hour. 12 3/4” 349 mm 5 1/4” Firebox Surround The Jøtul C450 Kennebec Fireplace Insert 158 mm Sleeve Panel meets U.S. EPA emission limits for wood 6 1/2” heaters sold after July 1990, and are... -
Page 7: Installation
Installation Factory-Built Fireplace Requirements Masonry Fireplace Requirements The Jøtul C450 may be installed into a factory-built • The entire fireplace and chimney must be cleaned fireplace with the following conditions: and inspected before installation. The system must meet local building code requirements. -
Page 8: Clearance To Combustibles
Clearance to Combustible Materials MANTEL • There may be no combustible materials located AREA anywhere within 36” (914 mm) of the front of the fireplace insert. This precaution includes items such as drapes or doors that could swing into the 3.5”... -
Page 9: Hearth Protection
24 1/2” (622 mm) 20 1/2” from face (521 mm) from face 6 1/2” 2 1/2” (165 mm) (64 mm) 18” 18” Firebox (457 mm) Firebox (457 mm) Sleeve from glass from glass Sleeve Figure 10. Provide hearth protection to accommodate Figure 9. -
Page 10: Chimney Connection
Chimney Connection A positive connection must be made between the Installation fireplace insert and the chimney by one of the two 1. Remove the existing damper and linkage compo- following approved methods. nents from the fireplace. Alternatively, you can In the U.S: See fig. 11. The insert is connected to a wire the damper plate to lock it in the open listed stainless steel flexible connector that position. -
Page 11: Installing The Firebox
Installing the Firebox 1. If appropriate, use 3” flexible noncombustible duct to connect an outside air inlet to the air inlet collar at the back of the firebox. 2. With assistance, move the firebox into position within the fireplace and align the insert flue collar with the Adaptor Collar. -
Page 12: Surround Assembly
Left Tools Required: Breastplate • 10 mm socket or wrench Right M6 x 12 Flange Bolt Breastplate M6 x 10 Flange Bolt Right Leg Set Screw Left Leg M6 x 10 Flange Bolt M6 x 12 Flange Bolt Trim Rod M6 x 10 Flange Bolts Hang Tab should point... -
Page 13: Blower
CONTENTS: 1. Blower Housing 2. Blower Heat Shield 3. Snapstat Extension Assembly 4. Power Switch 5. Power Cord Receptacle 6. Power Cord 7. Ground Wire (Green) 8. Air Deflector 9. M6 x 12 flange head nuts, 3 10.M4 plain hex nut, 4 11.#8 x 1/2”... -
Page 14: Installing The Blower
Installing the Blower: 1. Unpack and check the contents of the blower kit. Knock-out Contact your dealer if any damage is evident or parts are missing. See fig. 13. Ashlip 2. Remove the Front Grille from the Hearth Exten- Extension Switch Support sion to provide better access to install the... - Page 15 7. Connect the wire leads: Follow the diagram as shown in fig. 17. Connect the loose wires as from Switch follows: Snapstat Green: • Remove a M6 flange nut from the extension base and attach the two ground leads with ring terminals to that post. Replace nut. Remove nut •...
-
Page 16: Operation
OPERATE THIS FIREPLACE INSERT ONLY WITH THE FRONT DOORS Read the following section carefully before building FULLY CLOSED. PARTIALLY OPENED a fire in your Jøtul C450 Kennebec Fireplace Insert. DOORS MAY RESULT IN OVERFIRING. Fuel ALSO, IF DOORS ARE LEFT PARTLY OPEN, GAS AND FLAME MAY BE This stove is designed to burn natural wood ONLY. -
Page 17: Starting / Maintaining The Fire
2. Place several pieces of small dry kindling (approx. Creosote Formation 1” in diameter) on top of the newspaper, with The Jøtul C450 Kennebec is designed to burn wood two to three small logs (approx. 2” to 3” in cleanly and efficiently when operated as described diameter) on top. -
Page 18: Maintenance
CERAMIC GLASS PART #220356 SPECIFICALLY DESIGNED FOR THE The container of ashes should be placed on a JØTUL C450 KENNEBEC FIREPLACE noncombustible floor or on the ground, well away INSERT. DO NOT USE SUBSTITUTES. from all combustible materials, pending final REPLACEMENT GLASS PANELS CAN disposal. -
Page 19: General Maintenance
Gaskets Regular maintenance will assure proper perfor- Check door and glass gaskets for seal integrity. mance and prolong the life of your Jøtul C450 The gaskets should be soft enough to be somewhat Kennebec. The following procedures do not take resilient to the touch. -
Page 20: Illustrated Parts Breakdown
Jøtul C450 Kennebec Illustrated Parts Breakdown 45 18 24 25... -
Page 21: Parts List
Jøtul C450 Kennebec Parts List No. Description Part Number No. Description Part Number Control Door - Matte Black 10398092 Pin Leaf, left 220334 Control Door - Blue Black 10398027 Pin Leaf Right 220333 Hang Tab 129680 Control Door - Jøtul Iron Gray... -
Page 22: Alternate Floor Protection
(hr)(ft2)(f) 1. Convert the specification to R-value; a. If R-value is given, no conversion is needed. The Jøtul C450 Fireplace Insert requires floor b. If K-value is given with a required thickness protection having a minimum insulating R-value of (t) in inches: R = 1/K X T. - Page 24 This appliance must be installed in conformance with local and national building regulations. It is important that the these instructions be carefully read and understood before beginning the installation. Jøtul pursues a policy of continual product development. Consequently, products may differ in specification, color or type of accessories from those illustrated or described in various publications.