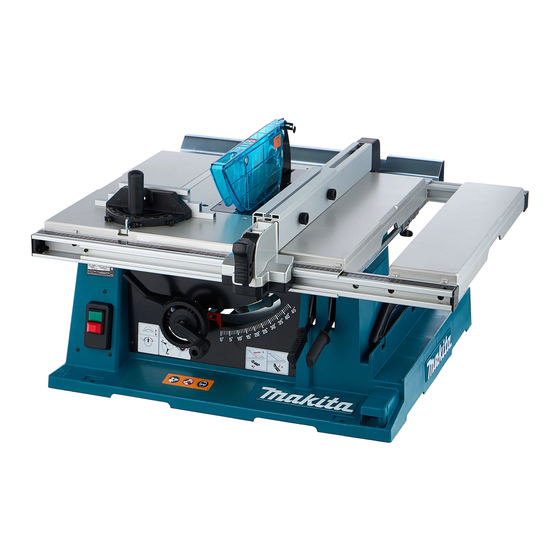
Makita 2704 Instruction Manual
Table saw
Hide thumbs
Also See for 2704:
- Instruction manual (97 pages) ,
- Technical information (15 pages) ,
- Instruction manual (49 pages)

Related Manuals for Makita 2704


Summary of Contents for Makita 2704
-
Page 1: Table Saw
INSTRUCTION MANUAL Table Saw 2704 006133 DOUBLE INSULATION IMPORTANT: Read Before Using. -
Page 2: Specifications
EC Declaration of Conformity Do not dispose of electric equipment Makita Corporation responsible together with household waste material! manufacturer declare that the following Makita In observance of European Directive machine(s): 2002/96/EC on waste electric and Designation of Machine: electronic equipment... - Page 3 Tomoyasu Kato Never carry the tool by the cord or yank it to Director disconnect it from the socket. Keep the cord away Makita Corporation from heat, oil and sharp edges. 3-11-8, Sumiyoshi-cho, 12. Secure work. Anjo, Aichi, 446-8502, JAPAN Use clamps or a vice to hold the work.
-
Page 4: Additional Safety Rules For Tool
21. Warning. completely through the workpiece as in The use of any accessory or attachment, other ripping or cross cutting. NEVER use the tool than those recommended in this instruction with a faulty blade guard or secure the blade manual or the catalog, may present a risk of guard with a rope, string, etc. -
Page 5: Installation
INSTALLATION 27. Do not perform any operation freehand. Freehand means using your hands to support Positioning table saw or guide the workpiece, in lieu of a rip fence or 1. Hole diameter 8 miter gauge. 28. NEVER reach around or over saw blade. NEVER reach for a workpiece until the saw 620 mm blade has completely stopped. -
Page 6: Functional Description
Storing accessories Adjusting the bevel angle 1. Miter gauge 1. Lock lever 2. Arrow pointer 3. Handwheel 006152 006155 Loosen the lock lever counterclockwise and turn the 1. Rip fence handwheel until the desired angle (0° - 45°) is obtained. 2. -
Page 7: Switch Action
the table surface. Then adjust the arrow pointer so that CAUTION: its right edge is aligned to the 0° graduation. Before operation, make sure that the tool is turned • on and off. 1. Arrow pointer To start the tool, press the ON ( I ) button. To stop it, press the OFF ( O ) button. - Page 8 Sub table (back) Use only the Makita socket wrench provided to • install or remove the blade. Failure to do so may (optional accessory for other than European result in overtightening or insufficient tightening of countries) the hex bolt. This could cause an injury.
-
Page 9: Installing Blade Guard
installed onto the spindle. CAUTION: For European countries Before installing the blade guard, adjust the depth • of cut to its maximum elevation. CAUTION: For non-European type blade guard ring outer diameter • Remove the center cover. Insert the riving knife into the factory-installed between the inner and outer blade guard mounting portion (stay). - Page 10 the blade teeth with a crayon. Measure the distance (A) CAUTION: and (B) between the rip fence and blade. Take both If the blade and riving knife are not aligned properly, • measurements using the tooth marked with the crayon. a dangerous pinching condition may result during These two measurements should be identical.
-
Page 11: Operation
1/2 turn. Connecting to vacuum cleaner Cleaner operations can be performed by connecting the 1. Rip fence tool to Makita vacuum cleaner or dust collector. 2. Released position 3. Moving position 4. Lock position 007778 006207 1. Rip fence 2. Moving position OPERATION 3. - Page 12 Push block A wood facing should be used for operations when the blade comes close to the rip fence. Wood facing for the 1. Face/edge rip fence should be the same size as the rip fence. Make parallel 300mm sure the bottom of facing is flush with the table surface. 2.
-
Page 13: Cross Cutting
Miter gauge 1. Push stick 1. CROSS CUTTING 2. MITERING 3. BEVEL CUTTING 4. COMPOUND MITERING (ANGLES) 006171 006166 (3) When the width of rip is narrower than 65 mm, the push stick cannot be used because the Use the miter gauge for the 4 types of cutting shown in push stick will strike the blade guard. -
Page 14: Carrying Tool
Never use gasoline, benzine, thinner, alcohol or 006173 • the like. Discoloration, deformation or cracks may result. To maintain product SAFETY and RELIABILITY, repairs, any other maintenance or adjustment should be performed by Makita Authorized Service Centers,... - Page 15 If you need any assistance for more details regarding these accessories, ask your local Makita Service Center. Table stand set (accessory) Refer to the instruction manual for table saw stand that is provided with the table saw stand as an optional accessory.
- Page 16 Makita Corporation Anjo, Aichi, Japan www.makita.com 884599F227...