Table of Contents
Advertisement
Quick Links
Advertisement
Table of Contents

Related Manuals for CDA HCC561/1


Summary of Contents for CDA HCC561/1
- Page 1 Manual for Installation, Use and Maintenance Passionate about style Customer Care Department • The Group Ltd. • Harby Road • Langar • Nottinghamshire • NG13 9HY T : 01949 862 012 F : 01949 862 003 E : service@cda.eu W : www.cda.eu...
- Page 2 Under no circumstances should any external covers be removed for servicing or maintenance except by suitably qualified personnel. Appliance information: Please enter the details on the appliance rating plate below for reference, to assist CDA Customer Care in the event of a fault with your appliance and to register your appliance for guarantee purposes. Appliance Model...
- Page 3 Please note: • Ceramic hobs become hot and remain hot during and immediately after use. Do not touch the hob until it has been allowed to cool. • Keep children away from the appliance when in use. • Never put cooking foil or plastic materials on the ceramic surface when the hob is hot. These materials could melt and cause damage to the hob.
-
Page 4: Using Your Hob
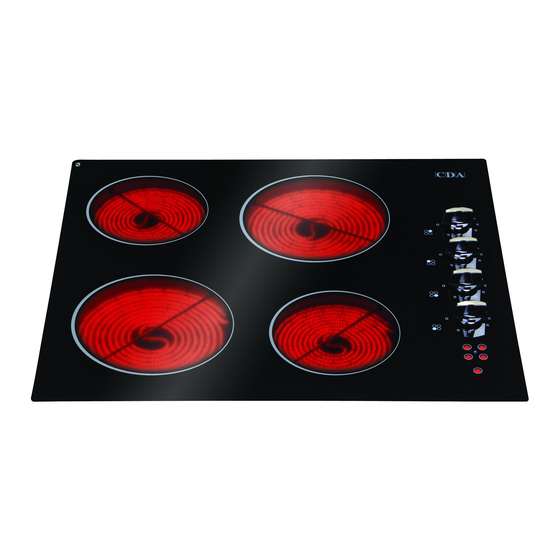
Using your hob Fig. 1 Zones: Front left 1.7 kW 190 mm Back left 1.2 kW 160 mm Back right 1.7 kW 190 mm Front right 1.2 kW 160 mm Control panel: Back right zone control Back left zone control Front right zone control Front left zone control Residual heat indicator lights... -
Page 5: Efficient Use Of Your Hob
Efficient Use of your Hob The hob is equipped with zones of different sizes, designed to accommodate most shapes and sizes of pan. For best results, only use pans with flat bottoms and choose an appropriate zone depending on the size of the pan. The most ef- ficient use of the hob is shown below, where the pan and zone are correctly chosen. -
Page 6: Care And Maintenance
3. Check that the fuse in the spur has not blown. Contact CDA Customer Care A : Customer Care Department, The CDA Group Ltd, Harby Road, Langar, Nottinghamshire, NG13 9HY T : 01949 862 012 F : 01949 862 003 E : service@cda.eu W : www.cda.eu... -
Page 7: Mains Electricity Connection
Mains Electricity Connection Warning! this appliance must be earthed We recommend that the appliance is connected by a qualified electrician, who is a member of the N.I.C.E.I.C. and who will comply with the I.E.E. and local regulations. This appliance is intended to be connected to fixed wiring and is not suitable for connection to a 13a plug or 13a supply. -
Page 8: Fitting The Hob
Fitting the Hob Unpacking the hob: • Take care not to lose or mishandle any parts. Fitting position of the hob: This appliance must be installed a minimum of 50mm from any back wall and a minimum of 190mm away from any adjacent vertical surfaces, e.g. -
Page 9: How To Install The Hob
How to Install the Hob How to install the hob: Overall dimensions of the hob: Width: 580mm Depth: 510mm Worktop cut-out dimensions: Width: 560mm Depth: 490mm 1. Make the required hole in the worktop. Before doing this, you must check the instructions supplied with any cooker hood to ensure that you will have the required clearance. - Page 10 Notes :...
- Page 12 Passionate about style Customer Care Department • The Group Ltd. • Harby Road • Langar • Nottinghamshire • NG13 9HY T : 01949 862 012 F : 01949 862 003 E : service@cda.eu W : www.cda.eu...