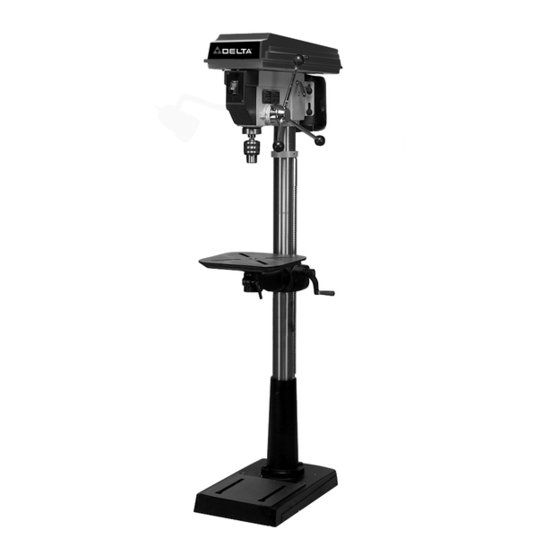
Summary of Contents for Delta 14-070
- Page 1 14" Floor Drill Press MODEL 14-070 Dated 6-30-95 PART NO. 1046995 © Delta Machinery International Machinery Corp. 1995...
-
Page 2: Table Of Contents
TABLE OF CONTENTS SAFETY RULES ADDITIONAL SAFETY RULES FOR DRILL PRESSES UNPACKING CLEANING ASSEMBLY INSTRUCTIONS FASTENING DRILL PRESS TO A SUPPORTING SURFACE MOTOR SPECIFICATIONS AND ELECTRICAL REQUIREMENTS Motor Specifications Power Connections Extension Cords Grounding Instructions SPINDLE SPEEDS CHANGING SPINDLE SPEEDS AND ADJUSTING BELT TENSION SWITCH LOCKING SWITCH IN THE “OFF”... -
Page 3: Safety Rules
If you have any questions rela- tive to a particular application, DO NOT use the machine until you have first contacted Delta to determine if it can or should be performed on the product. -
Page 4: Additional Safety Rules For Drill Presses
Labor OSHA 1910.212 and 1910.213 12. WARNING: The use of accessories or attachments not Regulations. recommended by Delta may result in risk of injury. 24. SAVE THESE INSTRUCTIONS. Refer to them fre- 13. MAKE CERTAIN all lock handles are tightened before quently and use them to instruct others. -
Page 5: Unpacking
UNPACKING Carefully unpack the drill press and all loose items from the carton. Figure 2 illustrates the drill press and all loose items supplied with the machine. WARNING: FOR YOUR OWN SAFETY, DO NOT CONNECT THE DRILL PRESS TO THE POWER SOURCE UNTIL THE MACHINE IS COMPLETELY ASSEMBLED AND YOU HAVE READ AND UNDER- STOOD THE ENTIRE INSTRUCTION MANUAL. -
Page 6: Cleaning
CLEANING Remove the protective coating from the machined surfaces of the drill press and all loose items. This coating may be removed with a soft cloth moistened with kerosene. DO NOT use acetone, gasoline, or lacquer thinner for this pur- pose. - Page 7 Insert raising rack (E) Fig. 5, which was removed in STEP 2, into groove in table bracket (H) making sure gear inside table bracket is engaged with teeth of raising rack. Fig. 5 Slide raising rack (E) Fig. 6, and table (J) onto drill press column, as shown.
- Page 8 Assemble table raising and lowering handle (M) Fig. 8, to shaft on table bracket and tighten set screw in han- dle against flat on shaft. Thread table bracket lock screw (O) Fig. 8, into hole in table bracket, as shown. Fig.
-
Page 9: Fastening Drill Press To A Supporting Surface
IMPORTANT: Make certain the bottom of spindle (S) Fig. 11, and tapered hole (T) in chuck are clean and free of any grease, lacquer or rust preventive coatings. NOTE: Household oven cleaner can effectively remove any substance from the spindle and chuck; however, carefully follow the manufacturer’s safety rules concerning its use. -
Page 10: Motor Specifications And Electrical Requirements
Drill two 3/8" diameter holes (C) Fig. 12B, correspon- ding to the mounting holes (A) Fig. 12A, of the drill press base in a 21" by 28" minimum size plywood board (D) Fig. 12B. Fasten the drill press base to the mounting board using the carriage bolts, nuts, and washers (E) Fig. -
Page 11: Grounding Instructions
Should you desire to have your drill press converted for 220-240 volt operation take your drill press to your local Authorized Delta Service Center. You can phone 800-438-2486 for the location of the nearest Authorized Service Center. -
Page 12: Spindle Speeds
SPINDLE SPEEDS Twelve spindle speeds of 250, 360, 410, 540, 590, 650, 1090, 1280, 1450, 1820, 2180 and 3000 RPM are avail- able with the 14" Drill Press. Fig. 15, illustrates which steps of the pulleys the belts must be placed to obtain the twelve speeds. -
Page 13: Changing Spindle Speeds And Adjusting Belt Tension
Fig. 16 CHANGING SPINDLE SPEEDS AND ADJUSTING BELT TENSION DISCONNECT THE DRILL PRESS FROM THE POWER SOURCE. Lift up belt and pulley guard (A) Fig. 16. Loosen tension lock knob (B) Fig. 16, along with the tension lock knob located on the other side of the head cast- ing. -
Page 14: Switch
SWITCH The switch (A) Fig. 17, is located on the front of the drill press head. To turn the drill press “ON” move the switch to the up position. To turn the drill press “OFF” move the switch to the down position. Fig. - Page 15 The table can be tilted right or left by pulling out and removing table alignment pin (C) Fig. 20, and loosening table lock- ing bolt (D). NOTE: If pin (C) is difficult to remove, turn nut (E) clock- wise to pull pin out of casting. Tilt table to the desired angle and tighten bolt (D).
-
Page 16: Drilling Holes To Depth
DRILLING HOLES TO DEPTH Where a number of holes are to be drilled to exactly the same depth, a depth stop is provided in the pinion shaft housing and is used as follows: 1. Loosen lock screw (A) Fig. 23, and rotate housing (B) until the pointer (C) lines up with the desired depth indicated on scale (D). -
Page 17: Operation
OPERATION Your drill press is to be used with drill bits of 5/8" or less in diameter. The following directions will give the inexperi- enced operator a start on common drill press operations. Use scrap material for practice to get a feel of the machine before attempting regular work. -
Page 18: Two Year Limited Warranty
Two Year Limited Warranty Delta Machinery Delta will repair or replace, at its expense and at its option, any Delta machine, machine part, or machine accessory which in normal use has proven to be defective in workmanship or material, pro-...


