Table of Contents
Advertisement
Advertisement
Table of Contents

Related Manuals for Chauvet Scorpion Storm RG


Summary of Contents for Chauvet Scorpion Storm RG
-
Page 1: User Manual
Scorpion™ Storm RG OK on Dimmer Outdoor OK Sound Activated DMX512 Master/Slave 115V/230V Switch Replaceable Fuse User Serviceable Duty Cycle USER MANUAL Chauvet, 3000 N 29 Ct, Hollywood, FL 33020 U.S.A. (800) 762-1084 – (954) 929-1115 FAX (954) 929-5560 www.chauvetlighting.com... -
Page 2: Table Of Contents
ABLE OF ONTENTS 1. Before You Begin ..........................3 What is included ............................3 Unpacking Instructions ..........................3 AC Power ..............................3 Contact Us ..............................3 2. Introduction ............................5 Features ..............................5 DMX Channel Summary ..........................5 Product Overview............................6 3. -
Page 3: Before You Begin
All fixtures must be connected to circuits with a suitable Earth select switch. Please be sure to Ground. connect to the proper voltage. Contact Us W o r l d W i d e General Information Chauvet Lighting 3000 North 29 Court Hollywood, FL 33020 voice: 954.929.1115 fax: 954.929.5560... -
Page 4: Safety Instructions
Do not daisy chain power to more than 26 units @ 120V. Caution! There are no user serviceable parts inside the unit. Do not open the housing or attempt any repairs yourself. In the unlikely event your unit may require service, please contact CHAUVET at: 954-929-1115. Scorpion™ Storm RG User Manual... -
Page 5: Introduction
2. I NTRODUCTION Features 4-channel DMX-512 controlled red and green laser Operating modes: auto, sound activation, DMX Motor rotation speed and direction adjustments Laser on/off & stand alone via DMX Color selection: red, green or both red & green (with strobe control) Built-in automatic programs via DMX Built-in sound activated programs via DMX ADDITIONAL FEATURES... -
Page 6: Product Overview
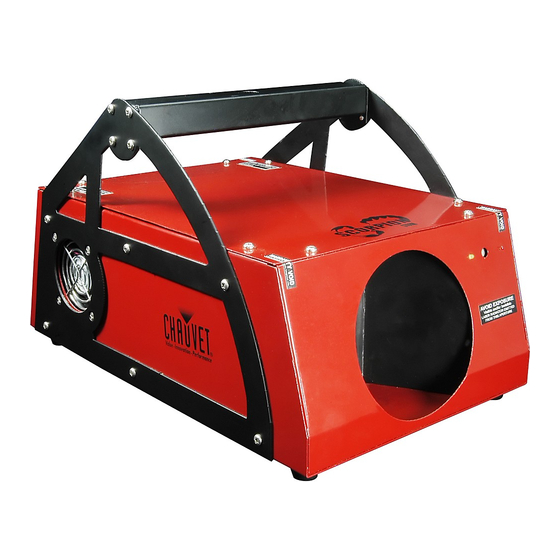
Product Overview Linking Power output Sound Sensitivity Adjusting knob On/off Dipswitch switch DMX Input DMX Output 115/230V voltage IEC power selection switch socket Mounting Bracket Cooling fan LED Power Indicator Laser Aperture Scorpion™ Storm RG User Manual 1/26/2009 3:33 PM... - Page 7 Scorpion™ Storm RG User Manual 1/26/2009 3:33 PM...
-
Page 8: Compliance Statement
3. C OMPLIANCE TATEMENT Your Scorpion™ Storm RG complies with FDA/CDRH 21CFR1040, 1540.11, and Laser Notice 50 as well as IEC 60825-1:2003 as well as with FDA/CDRH Safety Standards under ClassIIIA. Due to a unique optic design, this product does not exceed output powers that exceed its classification and output levels government agencies have determined to be appropriate for the products function. -
Page 9: Proper Usage
Proper Usage CAUTION: Use of controls, adjustments, or performance of procedures other than what is specified herein may result in hazardous radiation exposure Scorpion™ Storm RG User Manual 1/26/2009 3:33 PM... -
Page 10: Setup
Maximum recommended number of fixtures on a serial data link: 32 fixtures Data Cabling To link fixtures together you must obtain data cables. You can purchase CHAUVET-certified DMX cables directly from a dealer/distributor or construct your own cable. If you choose to create your own cable please use data-grade cables that can carry a high quality signal and are less prone to electromagnetic interference. -
Page 11: Cable Connectors
If you use a controller with a 5 pin DMX output connector, you will need to use a 5 pin to 3 pin adapter. Note! CHAUVET Model No: DMX5M, or DMX5F. The chart below details a proper cable conversion: IN TO... -
Page 12: Mounting
Mounting O RI ENT AT I O N This fixture may be mounted in any safe position provided there is adequate room for ventilation. RI G G I NG It is important never to obstruct the fan or vents pathway. Mount the fixture using, a suitable “C” or “O” type clamp. -
Page 13: Operating Instructions
5. O PERATING NSTRUCTIONS Stand-Alone Mode (Sound-Active, Auto Mode): This mode allows a single unit to run to the beat of the music, or the unit will auto change in Auto Mode. When all dipswitches are in the Off position, the unit will run in sound active mode. You may use a combination of the dipswitches to create your desired effect. -
Page 14: Setting The Starting Adress
SET T I NG T HE ST ART I NG ADRESS This DMX mode enables the use of a universal DMX controller device. Each fixture requires a "start address" from 1 to 512. A fixture requiring one or more channels for control begins to read the data on the channel indicated by the start address. -
Page 15: Dmx Quick Reference Chart
DMX Q UI CK REF ERENCE CH ART DMX Address Quick Reference Chart Dip Switch Position DMX DIP #9 0 0 0 SWITCH SET 0=OFF #8 0 0 0 1=ON #7 0 0 1 X=OFF or ON #6 0 1 0 #1 #2 #3 #4 #5 0 0 0 0 0 32 64 96 128 160 192 224 256 288 320 352 384 416 448 480... -
Page 16: Technical Support
Stand alone operation dipswitches. See the section on standalone operation for detailed instructions on this function. If you still have a problem after trying the above solutions, please contact CHAUVET Technical Support at the location on the next page. Technical Support Address: Service Dept. -
Page 17: Appendix
XLR male to female connectors. The shield connection is pin 1, while pin 2 is Data Negative (S-) and pin 3 is Data positive (S+). CHAUVET carries 3-pin XLR DMX compliant cables, DMX-10 (33’), DMX-4.5 (15’) and DMX-1.5 (5’) Scorpion™... -
Page 18: General Maintenance
Package must be clearly labeled with a Return Merchandise Authorization Number (RMA #). Products returned without a RMA # will be refused. Call CHAUVET and request RMA # prior to shipping the fixture. Be prepared to provide the model number, serial number and a brief description of the cause for the return. -
Page 19: Blow-Out Diagram
Blow-out Diagram Description Part Number Master PCB P170-STORMLP Storm Lens ball-bearing assembly P111-STORMBB X-axis Stepper Motor P110-16HY050 Storm Green laser diode P179-STORMG Storm Red laser diode P179-STORMR 12VDC Fan 60mm X 60mm P130-12V60MM Led On/Off Switch 21 x 15mm P110-LEDON21 Belt for rotation P111-STBELT Magnetic Transformer 115/230volt switchable... - Page 20 Scorpion™ Storm RG User Manual 1/26/2009 3:33 PM...
-
Page 21: Technical Specifications
Technical Specifications WEIGHT & DIMENSIONS Length ..........................13.5 in (343 mm) Width ..........................8.5 in (216 mm) Height ..........................8.5 in (216 mm) Weight ............................11 lbs (5 kg) POWER Switch-selectable power settings ..............120V 60Hz AC or 230V 50Hz Fuse ...............................