Advertisement
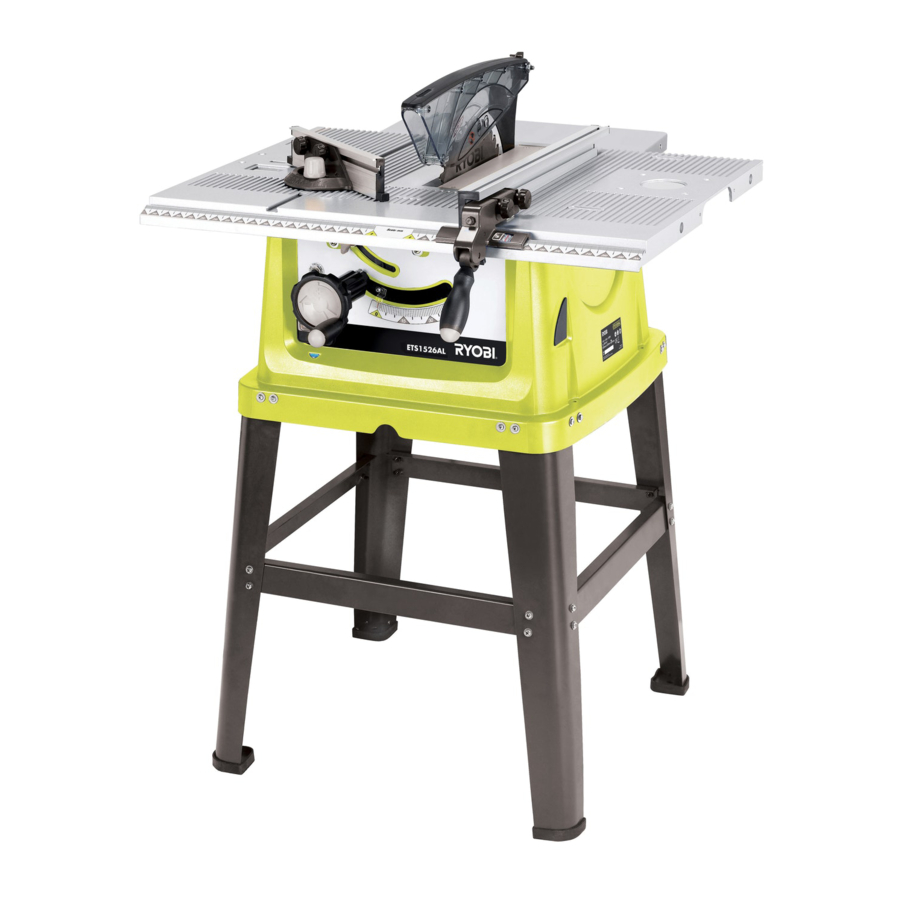
ETS-1526AL
TABLE SAW
OWNER'S OPERATION MANUAL
THANK YOU FOR BUYING A RYOBI TABLE SAW
Your new table saw has been engineered and manufactured to Ryobi's high standard for
dependability, ease of operation, and operator safety. Properly cared for, it will give you years of rugged,
trouble free performance.
CAUTION: Carefully read through this entire owner's manual before using your
Pay close attention to the Rules for Safe Operation, Warnings, and Cautions.
If you use your saw properly and only for what it is intended, you will enjoy years of safe, reliable
service.
Thank You again for buying Ryobi tools.
TABLE SAW.
SAVE THIS MANUAL FOR FUTURE REFERENCE.
N197
Advertisement
Table of Contents

Related Manuals for Ryobi ETS-1526AL


Summary of Contents for Ryobi ETS-1526AL
-
Page 1: Table Saw
N197 THANK YOU FOR BUYING A RYOBI TABLE SAW Your new table saw has been engineered and manufactured to Ryobi's high standard for dependability, ease of operation, and operator safety. Properly cared for, it will give you years of rugged, trouble free performance. -
Page 2: Components View
Fig. 0... - Page 3 Fig. 2 Fig. 1 Fig. 3 Fig. 4 2-5mm Fig. 5 Fig. 5a Fig. 7 Fig. 6...
- Page 4 Fig. 8 Fig. 9 Fig. 11 Fig. 10 Fig. 12 Fig. 13 Fig. 14 Fig. 15...
-
Page 5: Bevel Ripping
Fig. 16 Fig. 17 Fig. 19 Fig. 18 Fig. 20 Fig. 21 Fig. 22 Fig. 23... - Page 6 Fig. 25 Fig. 24...
-
Page 7: General Safety Precautions
GENERAL SAFETY PRECAUTIONS Make sure the cord is located so that it will WARNING! not be stepped on, tripped over or otherwise subjected to damage or stress. When using electric tools basic safety precautions should always be followed to reduce Avoid accidental start-ups, make sure that the risk of fire, electric shock and personal injury. - Page 8 ADDITIONAL SAFETY PRECAUTIONS FOR TABLE SAW Do not use saw blades which are damaged or Always hold the work firmly against the mitre deformed. gauge or fence. Replace table insert when worn. Never perform any operation “free hand”. Always use either the fence or the mitre gauge Use only saw blades recommended by the to position and guide.
-
Page 9: Specification
LOOSE PART LIST A: Mitre gauge assembly E: Cross Brace (4pcs) B: Rip fence assembly F: Push stick C: Blade guard assembly G: Blister pack with screws D: Leg stand (4pcs) H: Extension table SPECIFICATION Input voltage 240V ~ 50Hz Watts 1500W Blade diameter... - Page 10 MOUNT THE ELEVATING AND LOWERING HANDLE AND THE TILTING HANDLE (FIG. 1) Mount the elevating handle(13) on the shaft tightening the set screw in the handle (fig.1). on the left hand side of the saw and fix it by MOUNT THE BLADE (FIG. 1, 2&3) Remove the table insert(17) by removing the fit the blade fixing bolt.
- Page 11 ADJUSTMENT OF SAW BLADE (FIG. 8, 9&10) WARNING: If adjustment is needed turn the tilting lock • Do not use saw blades which are nut (while holding the adjustment in position) damaged or deformed. to fix the adjustment. • Use only saw blades recommended by Then loosen the indicator fixing screw, set the the manufacturer.
- Page 12 TILTING HANDLE (FIG. 13) The tilting handle(23) is used to tilt the blade the left and counterclockwise to tilt toward the for bevel cutting. Turn it clockwise to tilt toward right. MITRE GAUGE (FIG. 14) The head is locked in the desired position for when in use by turning the mitre gauge crosscutting or mitre cutting by tightening the lock(10).
-
Page 13: Maintenance
BEVEL RIPPING (FIG. 20) When bevel ripping material of 6” (150mm) or the workpiece past the saw blade. narrower, use only the push stick(16) to feed DUST COLLECTION (FIG. 21) Fasten your dust collector to the back side of For instance, beech and oak dusts are the table to the dust port(22) (Fig. - Page 14 RYOBI NEW ZEALAND PTY. LTD. AUCKLAND: 27 Clemow Drive, Mt Wellington, N.Z. Tel: (09) 573 0230 - Free Call: 0800 279 624 - Fax: (09) 573 0231 - www.ryobi.co.nz Contact during normal business hours. This Guarantee Form Should Be Retained By The Customer At All Times For your record and to assist in establishing date of purchase (necessary for in-guarantee service) please keep your purchase docket and this form completed with the following particulars.