Table of Contents
Advertisement
Advertisement
Table of Contents

Related Manuals for Garmin 90/140


Summary of Contents for Garmin 90/140
- Page 1 Owner’s Manual Fishfinder 90/140...
- Page 2 Information in this document is subject to change without notice. Garmin reserves the right to change or improve its products and to make changes in the content without obligation to notify any person or organization of such changes or improvements. Visit the Garmin Web site (www.garmin.com) for current updates and supplemental information concerning the use and operation of this and other Garmin products.
-
Page 3: Manual Conventions
This manual covers the features and operation of the Fishfinder 90/140. About This Manual To get the most out of your Fishfinder 90/140, take time to read this manual and learn the operating procedures for your unit in detail. This manual is organized into the following sections. -
Page 4: Table Of Contents
Cleaning the Screen ... 20 Storage ... 20 Water Immersion ... 20 Software License Agreement ... 21 Limited Warranty ... 21 Declaration of Conformity (DoC) ... 23 Tell Us What You Think ... 23 Index ...24 Fishfinder 90/140 Owner’s Manual... -
Page 5: Product Registration
Connect to our Web site at com/registration/. Use this area to record the serial number (8-digit number located on the back of the Fishfinder 90/140) in case your Fishfinder 90/140 needs service. Keep the original sales receipt, or a photocopy, in a safe place. -
Page 6: Warning
Failure to avoid the following potentially hazardous situations could result in an accident or collision resulting in death or serious injury. When navigating, carefully compare information displayed on the Fishfinder 90/140 to all available navigation sources, including information from visual sightings, and maps. For safety, always resolve any discrepancies or questions before continuing navigation. -
Page 7: Getting Started
If you have not used a Fishfinder before, Fishfinder 90/140 Owner’s Manual you might want to learn a bit about sonar: what it is, how it works, and what you might see on the Fishfinder 90 or 140 screen. -
Page 8: Understanding Dual Beam Transducer Coverage
At a 30-foot depth, the wide beam covers the area of approximately a 20-foot circle. Fishfinder 90/140 Owner’s Manual Wide Beam... -
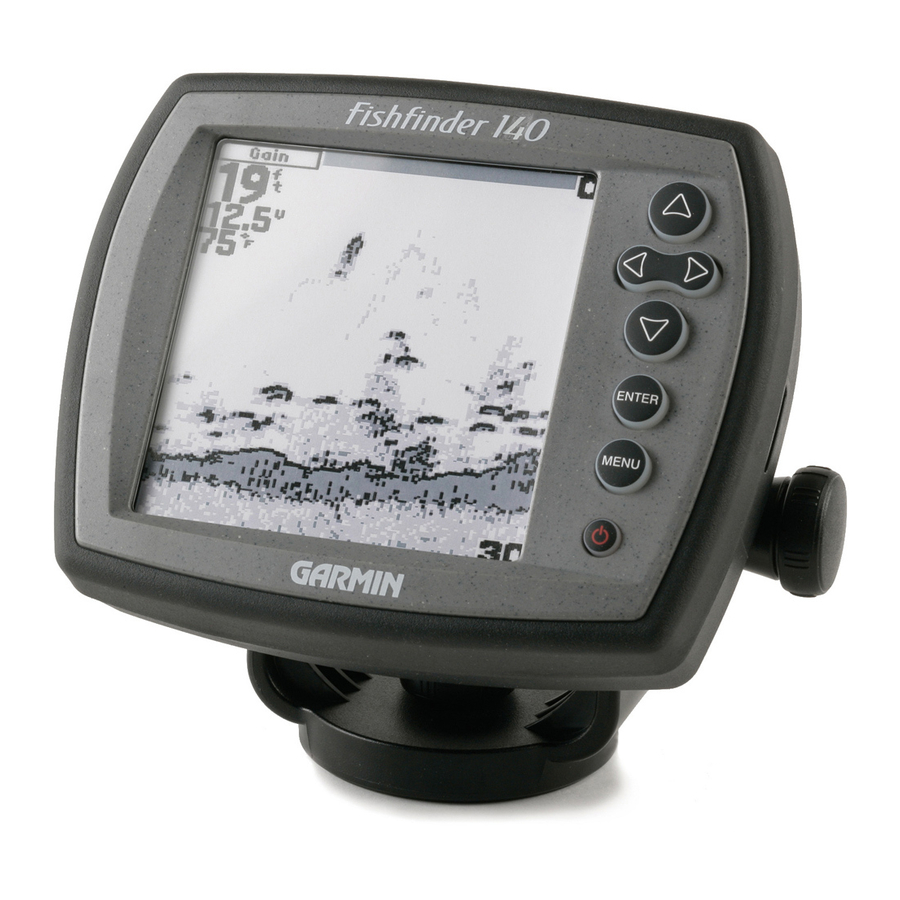
Page 9: Understanding The Fishfinder Screen
(whether it is near the front or the back of the aquarium). Remember this when you are trying to locate exactly where something is in the water. Fishfinder 90/140 Owner’s Manual Water depth Water temperature at... -
Page 10: Using Simulator Mode
Auto Gain options) just as if it were on the water. If no keys are pressed for two minutes, the Fishfinder automatically resets to default settings while in Simulator Mode. To exit Simulator Mode, turn off the Fishfinder. Fishfinder 90/140 Owner’s Manual... -
Page 11: Installing Your Fishfinder
Make sure you completely read and understand all instructions before you install and use your Fishfinder. If you have problems, contact Garmin Product Support, or seek other professional assistance. You can install the Fishfinder hardware on a transom or on a trolling motor. -
Page 12: Installing The Transducer
2. Position the mount gasket (I) on the curved top of the transducer mount. 3. Place the transducer assembly against the motor body of the trolling motor, with the front of the transducer pointed away from the trolling motor propeller. Cable tie slot Fishfinder 90/140 Owner’s Manual... -
Page 13: Mounting The Transducer On A Transom
You can fill the forward-facing portion (except the cable tie pocket) of the transducer mount with sealant to avoid accumulating debris. Fishfinder 90/140 Owner’s Manual Mounting the Transducer on a Transom Tool List (not included)—drill, 3/8" wrench or socket, 5/32"... - Page 14 Make sure the transducer is below water level when the boat is on plane at high speed. Apply marine sealant to all screw threads to prevent water from seeping into the transom. Fishfinder 90/140 Owner’s Manual...
- Page 15 4. Tighten the 10-32 locking nut until it touches the mounting bracket, and then tighten 1/4 turn more. (Do not overtighten.) Fishfinder 90/140 Owner’s Manual 5. Place the first cable clamp on the transducer cable approximately one third of the distance between the transducer and the top of the transom.
-
Page 16: Installing The Fishfinder Unit
Tool List (not included)—drill, screwdriver (Phillips or standard), three #8 pan-head machine bolts with matching nuts and washers, and a 5/32 drill bit; or three #8 pan-head, " self-tapping screws and a 1/16 drill bit. " Fishfinder 90/140 Owner’s Manual... -
Page 17: To Install The Fishfinder On The Mount Bracket
Tilt mount bracket Swivel base (Fishfinder 90) Fishfinder 90/140 Owner’s Manual To install the Fishfinder on the mount bracket: 1. Align the slot on the back of the Fishfinder with the long mounting knob, and slide the Fishfinder into place. -
Page 18: Installing The Wiring Harness
4. Install a 2 Amp fuse in the fuse holder (fuse block only). 5. Align the notches on the cable plug and on the back of the Fishfinder. Insert the cable into the connector and turn the lock ring counter-clockwise until it stops. Fishfinder 90/140 Owner’s Manual... -
Page 19: Testing The Transom Mount Installation
DO NOT leave your boat in the water for an extended period of time without checking for leaks. Fishfinder 90/140 Owner’s Manual To test the transom mount installation: 1. Begin testing the installation at a slow speed. If the sonar appears to be working properly gradually increase the boat’s speed observing the sonar’s... -
Page 20: Operating Your Fishfinder
1. Press MENU. The Main menu appears. 2. Use the Arrow keys to move the selection arrow to an option, and press ENTER. The settings appear. If you select Setup, the Setup menu appears. See “Using the Setup Menu” on page 16. Fishfinder 90/140 Owner’s Manual... -
Page 21: Using The Main Menu
• To view the current menu settings, press MENU. • To exit any window, press MENU. Fishfinder 90/140 Owner’s Manual • To quickly change a setting for the current option that appears in the upper-left corner of the screen (for example, the Range option in the above screen), press an Arrow key. -
Page 22: Using The Setup Menu
Shallow—sets an alarm for the shallow water warning at a specific depth. The settings are Off (default) and 1.0–600 feet. Deep—sets an alarm for the deep water warning at a specific depth. The settings are Off (default) and 1.0–600 feet. Fishfinder 90/140 Owner’s Manual... - Page 23 fish and structure easier. Same as previous with target depth shown. Fishfinder 90/140 Owner’s Manual Beam—controls the angle of the transducer beam. Wide beam allows you to see more fish in shallow water, even off the sides of the boat.
- Page 24 Beeper—controls all Fishfinder sounds. The settings are Off and On (default). Contrast—adjusts the contrast of the screen to compensate for light levels or viewing angles. Use the Arrow keys to increase or decrease the screen contrast. Defaults—restores all default settings. Fishfinder 90/140 Owner’s Manual...
-
Page 25: Appendix
Specifications are subject to change without notice. Optional Accessories Purchase the following optional accessories on the Garmin Web site: Swivel mount for the Fishfinder 90—allows your Fishfinder 90 to tilt and swivel on its mounting bracket. -
Page 26: Caring For The Fishfinder
The Fishfinder is waterproof to IEC Standard 60529 IPX7. It can withstand immersion in 1 meter of water for 30 minutes. Prolonged submersion can cause damage to the Fishfinder. After submersion, be certain to wipe and air dry the Fishfinder before reuse. Fishfinder 90/140 Owner’s Manual... -
Page 27: Software License Agreement
SOFTWARE LICENSE AGREEMENT. PLEASE READ THIS AGREEMENT CAREFULLY. Garmin grants you a limited license to use the software embedded in this device (the “Software”) in binary executable form in the normal operation of the product. Title, ownership rights, and intellectual property rights in and to the Software remain in Garmin. - Page 28 RMA tracking number. The unit should be securely packed with the tracking number clearly written on the outside of the package. The unit should then be sent, freight charges prepaid, to any Garmin warranty service station. A copy of the original sales receipt is required as the proof of purchase for warranty repairs.
-
Page 29: Declaration Of Conformity (Doc)
Declaration of Conformity (DoC) Hereby, Garmin, declares that this Fishfinder 90/140 is in compliance with the essential requirements and other relevant provisions of Directive 1999/5/EC. To view the full Declaration of Conformity, see the Garmin Web site for your Garmin product: http://www.garmin. com/products/ff90/ http://www.garmin.com/products/... -
Page 30: Index
18 battery 18 water temperature 18 arrow 14 enter 14 optional accessories 19 menu 14 packing list 5 language setting 18 product registration v limited warranty 21 location, installation 10 range 15 menu main 15 Fishfinder 90/140 Owner’s Manual... - Page 31 11 water temperature number 18 weakest sonar returns 3 whiteline 17 temperature number 18 wide beam 2 temperature units 18 wiring harness 12 testing the transom mount installation 13 transducer 1 zoom 16 Fishfinder 90/140 Owner’s Manual motor 6...
- Page 32 For the latest free software updates (excluding map data) throughout the life of your Garmin products, visit the Garmin Web site at www.garmin.com. © 2006 Garmin Ltd. or its subsidiaries 1200 East 151 Unit 5, The Quadrangle, Abbey Park Industrial Estate, Romsey, SO51 9DL, UK No.