Table of Contents
Advertisement
®
Model No. 831.285420
Serial No.
Serial Number
Decal
• Assembly
• Operation
• Maintenance
• Part List and Drawing
,i_ CAUTION
Read all precautions and instruc-
tions in this manual before using
this equipment.
Keep this manu-
al for future reference.
CAL EXERCISE
User's Manual
Sears,
Roebuck
and Co., Hoffman
Estates,
IL 60179
Advertisement
Table of Contents

Related Manuals for ProForm 675


Summary of Contents for ProForm 675
- Page 1 ® CAL EXERCISE Model No. 831.285420 Serial No. User's Manual Serial Number Decal • Assembly • Operation • Maintenance • Part List and Drawing ,i_ CAUTION Read all precautions and instruc- tions in this manual before using this equipment. Keep this manu- al for future reference.
-
Page 2: Table Of Contents
® TABLE OF CONTENTS IMPORTANT PRECAUTIONS ..............BEFORE YOU BEGIN ..............ASSEMBLY ................HOW TO USE THE ELLIPTICAL CROSSTRAINER ..........MAINTENANCE AND TROUBLESHOOTING ........... CONDITIONING GUIDELINES ............... PART LIST ................EXPLODED DRAWING ..............HOW TO ORDER REPLACEMENT PARTS ..........Back Cover FULL 90 DAY WARRANTY ............ -
Page 3: Important Precautions
iMPORTANT PRECAUTIONS WARNING: To reduce the risk of serious injury, read the following important precau= tions before using the elliptical crosstrainer. Read all instructions in this manual before The pulse sensor is not a medical device. using the elliptical crosstrainer. Various factors, including the user's move= ment, may affect the accuracy of heart rate... -
Page 4: Before You Begin
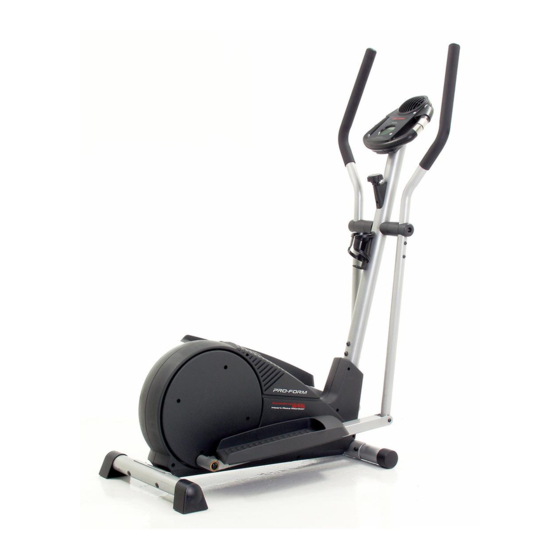
The model number is 831.285420. The serial number is found on a decal your knees and ankles. And the unique PROFORM 675 features adjustable resistance and a simple-to- attached to the elliptical crosstrainer (see the front use console to help you get the most from your exer- cover of this manual for the location of the decal). -
Page 5: Assembly
ASSEMBLY Assembly requires two persons. Place all parts of the elliptical crosstrainer in a cleared area and remove the packing materials. Do not dispose of the packing materials until assembly is completed. In addition to the included allen wrenches, assembly requires a phillips screwdriver... - Page 6 Identify the Front Stabilizer (10), which has round Endcaps (21) on its ends. While another person lifts the front of the Frame (1), attach the Front Stabilizer to the Frame with two M10 x 75mm Carriage Bolts (34) and two M10 Nylon Locknuts (33). 2.
- Page 7 5. While another person holds the Upright (2) in the posi- tion shown, connect the Extension Wire (68) to the Make sure the wires and cables Reed Switch Wire (53). Next, connect the Resistance do not get Cable (42) to the Lower Resistance Cable (43) in the _/.
- Page 8 Identify the Left Pedal Leg (11), which is marked with a sticker. Attach the Left Pedal (13) to the Left Pedal Leg with two M8 x 52mm Button Screws (27), two M8 Split Washers (28), and two M8 Washers (71). Attach the Right Pedal (not shown) in the same way.
-
Page 9: How To Use The Elliptical Crosstrainer
HOW TO USE THE ELLiPTiCAL CROSSTRAINER HOW TO ADJUST THE RESISTANCE OF THE HOW TO EXERCISE ON THE ELLIPTICAL PEDALS CROSSTRAINER To mount the As you exercise, you can adjust elliptical cross- the resistance of trainer, hold the handles on the the pedals with the resistance console or the... -
Page 10: How To Use Console
GRiP PULSE TIME Button Note: If there is a sheet of clear plastic on the face of the console, remove the plastic. HOW TO USE THE CONSOLE on page 13 for an explanation of fat calories). The display will change from one number to the Turn on the console. - Page 11 Turn on the fan if desired. Measure your heart rate if desired. if there are To turn on the thin sheets of fan at low speed, press the fan plastic on the Metal button. To turn metal contacts Contacts on the fan at Thumb on the hand- high speed,...
-
Page 12: Maintenance And Troubleshooting
MAINTENANCE AND TROUBLESHOOTING Inspect and tighten all parts of the elliptical crosstrainer Next, see the drawing below and locate the Reed regularly. Replace any worn parts immediately. Switch (53). Loosen, but do not remove, the indicated M4 x 16mm Self-tapping Screw (52). Slide the Reed To clean the elliptical crosstrainer, use a damp cloth Switch slightly toward or away from the Magnet (58) on and a small amount of mild dish soap. -
Page 13: Conditioning Guidelines
CONDiTiONiNG GUiDELiNES During the first few minutes of exercise, your body AWARNING: uses easily accessible carbohydrate calories for ener- gy. Only after the first few minutes of exercise does • Before beginning this or any exercise pro- your body begin to use stored fat calories for energy. If your goal is to burn fat, adjust the intensity of your gram, consult your physician. -
Page 14: Part List
PART LISTmlVlodel No. 831.285420 R0704A Key No. Qty. Description Key No. Qty. Description Frame M10 Washer M10 x 27mm Patch Screw Upright Left Side Shield M6 x 18mm Bolt Resistance Control/Cable Right Side Shield Lower Resistance Cable Handlebar Leg Left Handlebar Handlebar Endcap M10 x 74mm Button Bolt M10 Split Washer... -
Page 15: Exploded Drawing
EXPLODED DRAWINGmlVlodel No. 831.285420 Ro7o4A ,;.,"... -
Page 16: Full 90 Day Warranty
Your Home iiiiiiiiiiiiiiiiiiiiii iiiiiiiiiiiiiiiiiiiii!_' For repair - in your home - of ail major brand appliances, lawn and garden equipment, iiiiiiiiiiiiiiiiiii_ iiiiiiiiiiiiiiiii_ or heating and cooling systems, no matter made it, no matter who sold iiiiiiiiiiiiiiiiiii iiiiiiiiiiiiiiiiiii iiiiiiiiiiiiiiiiiii iiiiiiiiiiiiiiiiiii For the replacement parts, accessories, and user's manuals that you need to do-it-yourself.