Table of Contents
Advertisement
Advertisement
Table of Contents

Related Manuals for Star Trac Spinner Bike NXT 7000


Summary of Contents for Star Trac Spinner Bike NXT 7000
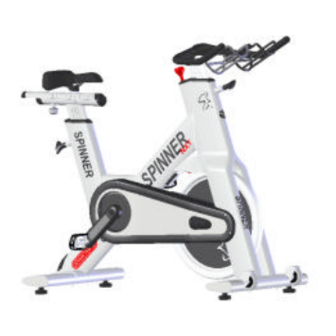
- Page 1 Spinner® Bike Installation Instructions NXT 7000 ELITE 6900 PRO 6800...
-
Page 2: Installation Instructions
CAUTION: Damage to the bike during assembly is not covered as part of the limited Star Trac warranty. Take care not to drop or lean the bike on the handle bar pop pin. Carefully stand the bike up in the normal upright position on a stable surface so it will not tip over during assembly. -
Page 3: Installation Of The Rear Leg Assembly
Page 2 of 9Star Trac Product Support 800-503-1221 Assembly Following these steps in order will minimize the build time and ensure proper assembly. Note: Not all of the following procedures are performed on all models; Spinner ® Pro, Elite and NXT. If the procedure is particular to that model only it will be noted as follows: (NXT Only) or (Pro/Elite Only) or (NXT/Elite Only) Installation of the Rear Leg Assembly... - Page 4 Page 3 of 9Star Trac Product Support 800-503-1221 NXT Only 1. Position the leg so the thicker end faces toward the front of the bike 2. Using the 5mm hex wrench and a 13mm combination wrench insert 2- M10X55mm (rear- most holes) and 2-M10X65mm (front-most holes) button head screws, nuts and washers (under bolt head and nut), to secure the rear leg assembly to...
-
Page 5: Installation Of The Saddle And Seat Slider
Page 4 of 9Star Trac Product Support 800-503-1221 Installation of the Saddle and Seat Slider 1. Install the seat post into the frame and lower it to the lowest position and tighten the pop pin securely. 2. Slide the seat slide into the top of the seat post with the saddle pointed towards the front of the bike. NXT Only 1. -
Page 6: Assembly And Installation Of The Handlebar And Post
Page 5 of 9Star Trac Product Support 800-503-1221 Installation of the Handlebar Pop Pin 1) Insert the pop pin into the front of the bike frame. 2) Hand-tighten the nut of the pop pin hand tight taking care not to cross tread it. - Page 7 Page 6 of 9Star Trac Product Support 800-503-1221 Pro & Elite Only 1) Slide the handlebar post into the frame making sure the holes face the front of the bike. 2) Allow the post to go into the frame all the way in to level 1 and align the pop pin so it snaps into the hole then tighten the pop pin and test for steadiness.
-
Page 8: Testing The Bike
Page 7 of 9Star Trac Product Support 800-503-1221 Removing the decal protective covers The bikes have protective clear decal covers to protect the decals from damage during packaging and shipping. Using your fingers only, carefully peel off the protective covers after assembly of the bike. - Page 9 Page 8 of 9Star Trac Product Support 800-503-1221 WEB SITE http://support.startrac.com/ PHONE 800-503-1221 714-669-0739 EMAIL SUPPORT@STARTRAC.COM Copyright©, Star Trac 14410 Myford Road Irvine, CA 92606 New Spinner Bike Install Rev A PN 620-7493.doc Page 8 of 9...