
Related Manuals for Bauknecht BMVE 8200


Summary of Contents for Bauknecht BMVE 8200
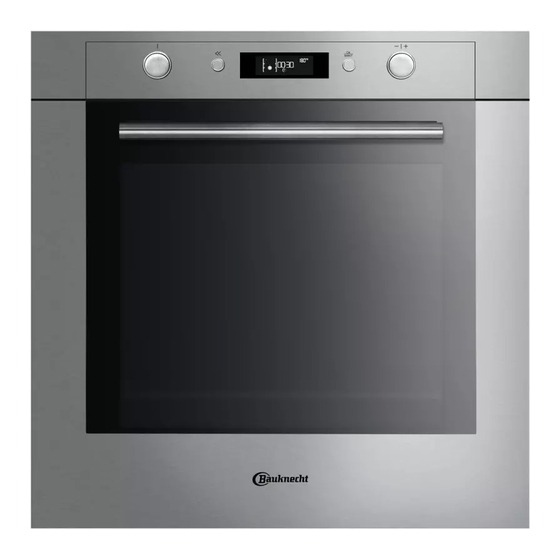
- Page 1 BMVE 8200 Benutzer- und Wartungshandbuch User and maintenance manual Manuel d’utilisation et d’entretien Handleiding voor gebruik en onderhoud Manuale d’uso e manutenzione Εγχείριδιο χρήσης και συντήρησης...
-
Page 3: Important Safety Instructions
IMPORTANT SAFETY INSTRUCTIONS YOUR SAFETY AND THAT OF OTHERS IS PARAMOUNT This manual and the appliance itself provide important safety warnings, to be read and observed at all times. This is the danger symbol, pertaining to safety, which alerts users to potential risks to themselves and others. All safety warnings are preceded by the danger symbol and the following terms: Indicates a hazardous situation which, if not avoided, will cause serious injury. - Page 4 - Do not touch the appliance with any wet part of the body and do not operate it when barefoot. - This appliance is designed solely for use as a domestic appliance for cooking food. No other type of use is permitted (e.g.: heating rooms).
- Page 5 - Overheated oils and fats catch fire easily. Always remain vigilant when cooking foods rich in fat and oil. - Never leave the appliance unattended during food drying. - If alcoholic beverages are used when cooking foods (e.g. rum, cognac, wine), remember that alcohol evaporates at high temperatures.
-
Page 6: General Recommendations
• Power cable replacement (type H05 RR-F 3 x 1.5 mm ) must be carried out by a qualified electrician. Contact an authorized service centre. GENERAL RECOMMENDATIONS Before use: Remove cardboard protection pieces, protective film and adhesive labels from accessories. Remove the accessories from the oven and heat it at 200°C for about an hour to eliminate the smell and fumes from the insulating materials and protective grease. -
Page 7: After Sales Service
AFTER-SALES SERVICE Before calling the After-Sales Service: See if you can solve the problem yourself with the help of the suggestions given in the “Troubleshooting guide“. Switch the appliance off and back on again it to see if the fault persists. If after the above checks the fault still occurs, get in touch with the nearest After-sales Service. -
Page 8: Maintenance
• Remove all accessories before running the pyrolysis function. • For optimum cleaning of the oven door, remove the worst soiling with a damp sponge before using the pyrolytic function. The appliance is equipped with 2 pyrolysis functions: Energy-saving cycle (PYRO EXPRESS/ECO): which consumes approximately 25% less energy than the standard cycle. Select it at regular intervals (after cooking meat on 2 or 3 consecutive occasions). - Page 9 Refit the side accessory holder grilles. Reconnect the oven to the power supply. Fig. 6 Fig. 7 Fig. 8 Fig. 9 N.B.: Only use 25-40W/230V type E-14, T300°C incandescent lamps, or 20-40W/230 V type G9, T300°C halogen lamps. The lamp used in the appliance is specifically designed for electrical appliances and is not suitable for household room illumination (Commission Regulation (EC) No 244/2009).
-
Page 10: Instructions For Oven Use
INSTRUCTIONS FOR OVEN USE FOR ELECTRICAL CONNECTION, SEE THE PARAGRAPH ON INSTALLATION Control panel Upper heating element/grill Cooling fan (not visible) Dataplate (not to be removed) Light Circular heating element (not visible) Turnspit (if present) Bottom heating element (not visible) 10. -
Page 11: Control Panel Description
INSERTING WIRE SHELVES AND OTHER ACCESSORIES IN THE OVEN The wire shelf and other accessories are provided with a locking mechanism to prevent their accidental removal. Fig. 1 Insert the wire shelf horizontally, with the raised part “A” upwards (Fig. 1). Angle the wire shelf when it reaches the locking position “B”... -
Page 12: Description Of Display
DESCRIPTION OF DISPLAY A. Display of heating elements activated during the various cooking functions B. Time management symbols: timer, cooking time, end of cooking time, time C. Information regarding selected functions D. Automatic BREAD/PIZZA function selected Indication of door locked during automatic cleaning cycle (not available on these models) Internal oven temperature G. -
Page 13: Fast Preheating
FAST PREHEATING Turn the “Functions” knob to the symbol to select the fast preheating function. Confirm by pressing : the settings are shown on the display. If the proposed temperature is that desired, press button . To change the temperature, proceed as described in previous paragraphs. -
Page 14: Selecting Special Functions
TIMER This function can be used only with the oven switched off and is useful, for example, for monitoring the cooking time of pasta. The maximum time which can be set is 23 hours and 59 minutes. With the “Functions” knob at zero, turn the “Browse” knob to display the desired time. Press button to start the countdown. - Page 15 BREAD/PIZZA FUNCTION SELECTION Turn the “Functions” knob indicator to the symbol to access a submenu containing two automatic cooking functions for “bread” and “pizza”. Bread Turn the “Functions” knob to symbol : the display shows “BREAD” and AUTO at the side. Press to select the function.
-
Page 16: Function Description Table
FUNCTION DESCRIPTION TABLE FUNCTION SELECTOR KNOB To stop cooking and switch off the oven. LAMP To switch the oven interior light on/off. To speed up defrosting of food. Place food on the middle shelf. Leave food in its packaging in order to prevent it from drying out on the outside. DEFROST For keeping just-cooked food hot and crisp (e.g: meat, fried food or flans). - Page 17 FUNCTION SELECTOR KNOB (Continued) To grill steak, kebabs and sausages; to cook vegetables au gratin and toast bread. Place food on the 4th or 5th shelf. When grilling meat, use the drip GRILL tray to collect the cooking juices. Position it on the 3rd/4th shelf, adding approx.
-
Page 18: Cooking Table
COOKING TABLE Recipe Function Pre- Shelf (from Temp. Time Accessories and notes heating bottom) (°C) (min) 160-180 30-90 Cake tin on wire shelf Level 4: pan on grill (switch Leavened cakes levels halfway through 160-180 30-90 cooking) Shelf 1: cake tin on wire shelf Drip-tray / baking tray or 160-200 30-85... - Page 19 Recipe Function Pre- Shelf (from Temp. Time Accessories and notes heating bottom) (°C) (min) Shelf 3: drip-tray / baking 10-15 tray or wire shelf Shelf 4: pan on wire shelf Frozen pizzas (switch levels halfway through cooking) 10-20 Shelf 1: drip-tray / baking tray 180-190 40-55 Cake tin on wire shelf...
- Page 20 Recipe Function Pre- Shelf (from Temp. Time Accessories and notes heating bottom) (°C) (min) Pan on wire shelf (if necessary, turn food two Roast Beef rare 1 kg 2 (Medium) 35-45 thirds of the way through cooking) Drip-tray or pan on wire Leg of lamb / shelf (if necessary, turn food 2 (Medium) 60-90...
- Page 21 TESTED RECIPES (in compliance with IEC 50304/60350:2009-03 and DIN 3360-12:07:07) Recipe Function Pre- Shelf (from Temp. Time Accessories and notes heating bottom) (°C) (min) IEC 60350:2009-03 § 8.4.1 15-25 Drip tray / baking tray Shortbread Shelf 4: baking tray 25-35 Shelf 1: drip tray IEC 60350:2009-03 §...
-
Page 22: Recommended Use And Tips
RECOMMENDED USE AND TIPS How to read the cooking table The table indicates the best function to use for any given food, to be cooked on one or more shelves at the same time. Cooking times start from the moment food is placed in the oven, excluding pre-heating (where required). - Page 24 Printed in Italy 02/2012 5019 400 00351 Copyright Whirlpool Europe s.r.l. 2010. All rights reserved...