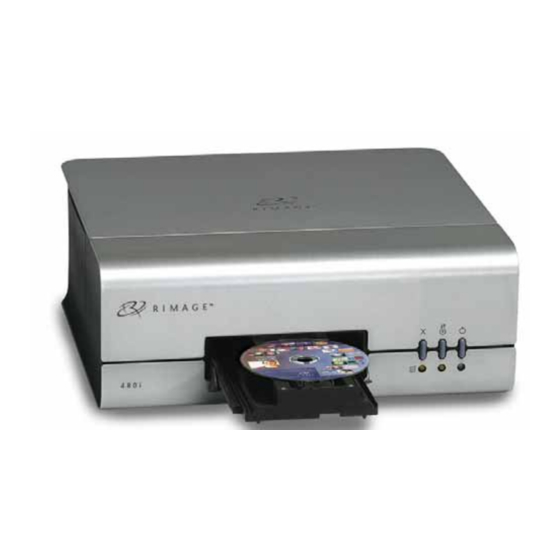
Rimage 480i Setup And Installation
Rimage 480i: installation guide
Hide thumbs
Also See for 480i:
- User manual (28 pages) ,
- Operator-parts list manual (6 pages) ,
- Maintenance manual (6 pages)
Advertisement
Quick Links
Rimage 480i Setup and Installation
Connecting the Power Cord
Remove the side cover.
Installing the Ink Cartidges
Power on the printer.
Lift the access door.
110762-000 Rev. B
Connect the power cord
to the AC power adapter.
Connect the AC power adapter
to the printer.
Connect the AC power adapter
to the printer.
Connect the power cord to an outlet.
Important! Connect the USB cable only when
the software prompts you to connect it!
After the printer has stopped
moving, lift both cartridge latches.
AC Power
Adapter
Slide the matching ink cartridge into
the cradle as shown.
Cradle
Close each cartridge latch.
Close the access door.
Power Cord
Page 1
Advertisement

Related Manuals for Rimage 480i


Summary of Contents for Rimage 480i
-
Page 1: Connecting The Power Cord
Rimage 480i Setup and Installation Connecting the Power Cord Remove the side cover. Important! Connect the USB cable only when the software prompts you to connect it! Installing the Ink Cartidges Power on the printer. Lift the access door. 110762-000 Rev. B Connect the power cord to the AC power adapter. - Page 2 PC. start automatically, select Start|Run and Browse and select the Setup file from the disc. In Windows XP, this window prompt opens. Select Continue Anyway to install the required Rimage driver. Page 2...
-
Page 3: Installing The Printer
Next button. Steps 1 - 5 correspond to B - F on this page. Connect the USB from the printer to the PC as directed in Step 1 of the Plug-n-Play window. Reattach the side cover so the cables come out the opening. -
Page 4: Aligning The Ink Cartridges
Aligning the Ink Cartridges For Windows XP, select Start|Settings|Printers and Faxes For Windows 2000, select Start|Settings|Printers Right-click on Disc Color 480i and select Printing Preferences. Select the Service tab. 110762-000 Rev. B Press the the printer tray. Follow steps 1 - 5 from this window. - Page 5 Navigate: Start > Programs > CD Designer CD Designer opens. From the File menu, select Open. Navigate: Local Disk (C:) > Program Files > Rimage > CD Designer > SAMPLE.btw Select Open. The file opens in CD Designer. From the File menu, select Print.