Rimage 480i User Manual
Rimage 480i printertm user guide
Hide thumbs
Also See for 480i:
- User manual (28 pages) ,
- Operator-parts list manual (6 pages) ,
- Maintenance manual (6 pages)
Table of Contents
Advertisement
Quick Links
Advertisement
Table of Contents

Related Manuals for Rimage 480i


Summary of Contents for Rimage 480i
- Page 1 ® Rimage 480i Printer User Guide...
- Page 2 Rimage Corporation reserves the right to revise this publication and to make changes from time to time in the content hereof without obligation of Rimage Corporation to notify any person or organization of such revisions or changes.
-
Page 3: Support Information
• Unit serial number and software version. • Functional and technical description of the problem. • Exact error message received. Learn more online At www.rimage.com/support.html, you can experience Rimage’s world-class Support and Services. 1. Select your product family. From your product page you can access: •... -
Page 4: Table Of Contents
Media requirements... 1 Ink requirements... 1 Rimage 480i Printer specifications ... 2 Label design requirements ... 2 Identify the parts of the Rimage 480i Printer ... 3 Side view ... 3 Front view... 3 Operate the Rimage 480i Printer ... 5 Powering up the printer ... -
Page 5: Introduction
Introduction This manual provides the information needed to operate the Rimage 480i Printer, identify the parts, and configure the Rimage 480i printing preferences. To set up and install your Rimage 480i Printer, refer to the Rimage 480i QuickStart Guide. Operating System requirements The Rimage 480i Printer runs only on Windows 2000 Professional and Windows XP Professional and Home editions. -
Page 6: Rimage 480I Printer Specifications
USB 1.1 Label design requirements The 480i printer ships with the CD Designer™ label-editing program, which you can use to design your labels. If you have another software application that you prefer, you can create the label image and print directly to the printer. -
Page 7: Identify The Parts Of The Rimage 480I Printer
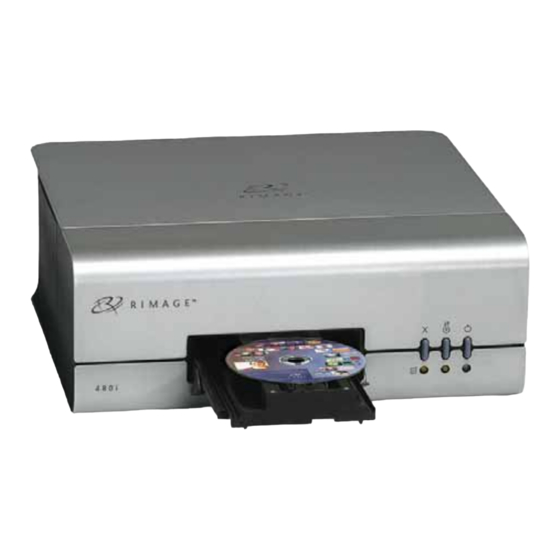
Identify the parts of the Rimage 480i Printer This section describes the Rimage 480i Printer hardware and its features. The Rimage 480i Printer has some major parts that you need to know to operate and maintain the printer. These features are shown in the Front and Side views. -
Page 8: Printer Control Panel
Power LED is on when there is power to the printer. The Power LED flashes when the printer is printing or in an error state. The Rimage 480i Printer control panel has three buttons and three LEDs to indicate certain conditions. The table below explains each of these buttons. -
Page 9: Operate The Rimage 480I Printer
Operate the Rimage 480i Printer This chapter provides the information that you need to use and maintain your Rimage 480i Printer. Powering up the printer The printer can be in either the ON state (Power LED on) or the sleeping state (Power LED off). - Page 10 Rimage 480i Printer 2. Lift the ink cartridge latch to the open position. 3. If an ink cartridge is already installed, slide the ink cartridge out of the ink cartridge cradle. 4. Remove a new ink cartridge from its packaging and carefully remove the protective tape that covers the ink nozzles.
-
Page 11: Placing A Disc On The Printer Tray
3. To close the printer tray, press appropriate software application to print your disc label! 110761_C Operate the Rimage 480i Printer . The printer tray opens. . The printer tray closes. You are ready to use the... -
Page 12: Changing The Fan Filter
2. Gently pull the fan filter housing away from the back of the Rimage 480i. 3. Remove the white filter material. 4. Replace the filter with part number 304219-001. 5. Gently press the fan filter housing into place on the back of the Rimage 480i until it snaps into place. 110761_C... -
Page 13: Setting Up Your Printing Preferences
Printing Preferences. Navigating to Printing Preferences You must access the Disc Color Printer 480i Printing Preferences window to set up your printing preferences. Use this procedure to navigate to the Disc Color Printer 480i Printing Preferences window. -
Page 14: Adding, Editing, Or Deleting A Watermark
Rimage 480i Printer Tip For additional information about these features access the online help in Printing Preferences. Adding, editing, or deleting a watermark This functionality allows you to create a new watermark or edit a currently existing watermark that you can print on your disc. You can also delete a current watermark that you created from this tab. -
Page 15: Adjusting The Ink Volume Used
6. When you have made the desired choices, select Apply. 7. To close the Preferences window, select OK. 110761_C Operate the Rimage 480i Printer window opens. or decrease the desired ink volume and drying time. Note: Do not select the Low Memory checkbox; leave it unchecked. -
Page 16: Changing Or Enabling Masking
Select Align Cartridges. The Align Cartridges for Disc Color Printer 480i dialog box opens. c. Select Reset. When the Rimage 2000i has reset the ink cartridges, the buttons on the Align Cartridges for Disc Color Printer 480i dialog box are enabled. - Page 17 If you enter a negative number, you must enter the minus (-) sign. If you enter a positive number, enter only the number itself. b. Select Save. The Disc Color Printer 480i – 480UIDLL progress box displays with the progress of the alignment.
-
Page 18: Centering The Image On The Disc
Rimage 480i Printer Centering the image on the disc The Rimage 2000i provides two ways to center the image on the disc. You can use the Auto Centering method or the Manual Centering method. This process describes both processes. The Auto Centering method is accurate to within +/- 0.5 mm. -
Page 19: Cleaning The Ink Cartridge Nozzles
4. To close the Preferences window, select OK. 110761_C Operate the Rimage 480i Printer opens. amount of ink. The status field at the bottom of the Cleaning Cartridges window displays a message when the cleaning is complete. -
Page 20: Learn More
Pursuant to Part 15.21 of the FCC Rules, any changes or modification to this equipment not expressly approved by Rimage Corporation may cause harmful interference, and void your authority to operate this equipment.