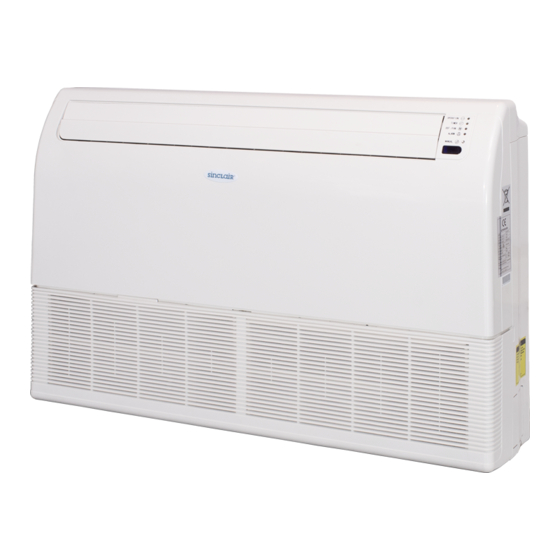
Summary of Contents for Sinclair SDV5-56FA
- Page 1 FULL DC INVERTER SYSTEMS INSTALLATION MANUAL INDOOR HIGH STATIC PRESSURE DUCT UNIT SDV5-22-140DHA C O M M E R C I A L A I R C O N D I T I O N E R S S D V 5...
- Page 2 Original instructions IMPORTANT NOTE: Read this manual carefully before installing or operating your new air conditioning unit. Make sure to save this manual for future reference.
-
Page 3: Table Of Contents
Strictly perform installation according to these CONTENTS PAGE installation instructions. Faulty installation may cause water leaks, electric shocks and fires. PRECAUTIONS..................1 INSTALLATION INFORMATION..............2 When installing the unit in a small room, take measures to keep the refrigerant concentration from exceeding ATTACHED FITTINGS................2 allowable safety limits in the event of refrigerant leakage. -
Page 4: Installation Information
2. INSTALLATION INFORMATION If the refrigerant leaks during installation, ventilate the area immediately. Toxic gas may be produced if the refrigerant comes into contact with fire. To install the unit properly, please read this Installation Manual. The temperature of the refrigerant circuit will be high, so please keep the interconnection cable away from the The air conditioner must be installed by qualified personnel. -
Page 5: Indoor Unit Installation
FOR ORIGINAL CONCRETE BRICKS CAUTION Install the hanging hook with expansible bolt into the concrete deep to 45~50mm to prevent loose. Never throw or strike the controller. Before installation, test the remote controller to determine its location in a reception range. Keep the remote controller at least 1 m away Fig.4-4 from the nearest TV set or stereo. - Page 6 4.3 Ceiling Installation 3.Hang the unit on the hanging arm by sliding backward. Securely tighten the mounting bolts on both sides. Hanging screw bolt Hanging arm Mounting bolt Hanging arm (model 36 ~ 140) Fig.4-7 Remove the side board and the grille.(Refer to Fig. 4-8) (For models 112 and 140, do not remove the grille.) D.
-
Page 7: Install The Connecting Pipe
4.5 Material and size of the piping Bend the connecting pipe of a small wall thickness. Cut out a desired concave at the bending part of the insulating Table 4-2 pipe. Copper Pipe fo r Air Conditio ner Pipe Materi al Then expose the pipe (cover it with tape after bending). -
Page 8: Connecting The Drain Pipe
CAUTION 6. CONNECTING THE DRAIN PIPE 1. Be sure to Install Current Leakage Protection Switch, Or 6.1 Install the drainpipe of the indoor unit electric shock may occur. 2. Power cord is to be selected according to national regula- The outlet has a PTI screw bread. Use sealing materials and a tions. -
Page 9: Control Operation
Base on different purposes to setting the switch cords on PC panel of indoor electrical control box. Once finish the setting, please cut off 7.2 Indoor/outdoor unit signal wire the main power, and then input power again, otherwise, setting function could not work. Connect the wire according to their numbers. - Page 10 SW5 definition 8.4 Main board Code designation 00 means shutting down the unit to 0/1 definition of each dial code switch: "stop cold air" at 15℃(default) means 0 means 1 01 means shutting down the unit to "stop cold air" at 20℃ SW1 definition 10 means shutting down the unit to 0 means cooling mode temperature...
-
Page 11: Test Operation
Error Code List 2) The outdoor unit a. Whether there is vibration or abnormal noise during No address when first time power on operation. M-Home not matched error(Reserved) b. Whether the generated wind, noise, or condensation produced by the air conditioner affect your neighbors. Mode conflict c. - Page 12 SINCLAIR CORPORATION Ltd. 1-4 Argyll St. London W1F 7LD Great Britain www.sinclair-world.com This product was manufactured in China (Made in China). REPRESENTATIVE SINCLAIR Global Group s.r.o. Purkynova 45 612 00 Brno Czech Republic TECHNICAL SUPPORT SINCLAIR Global Group s.r.o. Purkynova 45...


