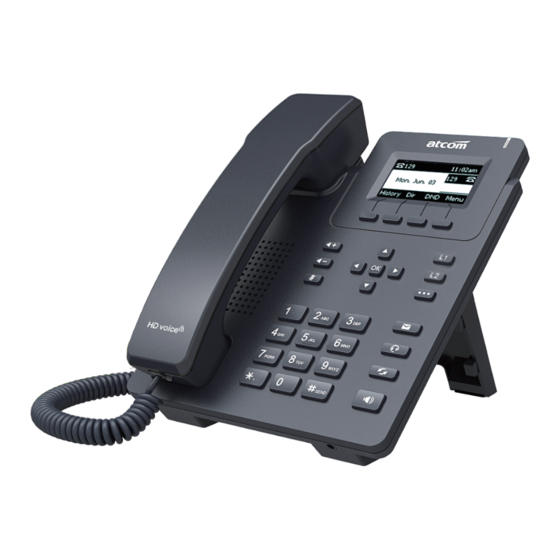
Summary of Contents for ATCOM D2SV-LW
-
Page 1: D2Sv Series Quick Start Guide
D2SV Series Quick Start Guide D2SV Series Quick Start Guide (D2SV-LW、 D2SV、D2SV-P、 D2SV-W、 D2SV-PW) Version:1.1 2022-7-13 1 / 9... -
Page 2: Table Of Contents
D2SV Series Quick Start Guide Content D2SV Series Quick Start Guide ............................1 1. Packaging ..................................3 2. Installation ..................................3 3. Power up ..................................6 4. Network Connection ............................... 7 5. Phone Configuration ............................... 8 6. Call function ..................................8 2 / 9... -
Page 3: Packaging
D2SV Series Quick Start Guide 1. Packaging In the packaging box, we can see one IP phone, one handset, one bracket, two wall-hung brackets, one network cable, one handset cable, one USB power conversion cable and one 5V,1A power adapter. (Note: D2SV-PW uses 5V/2A, other models use 5V/1A) 2. - Page 4 D2SV Series Quick Start Guide 2.3 Installation instruction A. Bottom up the IP phone, press the joints of stand bracket into the slots and push it to the right to fasten: 4 / 9...
- Page 5 D2SV Series Quick Start Guide B. After installation, the picture is as below: C. Remove the stand bracket: Push the joint of stand to left and pull the stand according to the direction of the arrow. When the joints are pulled out of the slot, you can take off the stand bracket 5 / 9...
-
Page 6: Power Up
D2SV Series Quick Start Guide 3. Power up 3.1. Connect to DC 5V/1A power adapter (Note: D2SV-PW uses 5V/2A, other models use 5V/1A) 3.2. The status indicator will be on during power-on, and the Welcome dialog will appear on the LCD. 3.3. -
Page 7: Network Connection
D2SV Series Quick Start Guide 3.4. If the PIN code is enabled on the SIM card, after entering the standby interface, you will be asked to enter the PIN code. According to the network service provide requirement: you need to enter the correct PIN code within three times. -
Page 8: Phone Configuration
D2SV Series Quick Start Guide supports the routing feature, and other devices can get the network by connecting to the phone LAN port. 5. Phone Configuration 5.1. Configuration via WEB 5.1.1 Access the phone WEB via LAN port or Wi-Fi hotspot After the computer obtains the network through the LAN port or Wi-Fi hotspot, then enter the phone's internal default IP address 192.168.255.1 in the browser to access the Web. - Page 9 D2SV Series Quick Start Guide 3) The phone support VoLTE call also support 2G and 3G models 6.3 SIP call (need to support SIP call model) Register a SIP account through the Web or LCD. After the registration is successful, you can use the SIP account to make SIP calls.


