
Related Manuals for ATCOM D2X


Summary of Contents for ATCOM D2X
- Page 1 D2X Quick Start Guide Version:1.1 2018-12-14...
- Page 2 A2X(W) Quick Start Guide Content 1、 Packaging ..................................1 2、 Installation ................................... 3 3、 Power up ................................... 10 4、 Connetion .................................. 10 5、 Quick configuration ..............................19...
-
Page 3: Installation
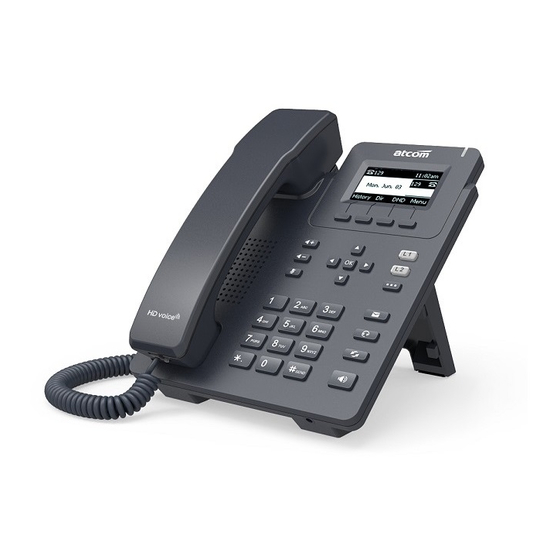
A2X(W) Quick Start Guide 1. Packing In the packaging box, we can see one IP phone, one handset, one bracket, one network cable, one handset cable and one 5V,1A power adapter. 2. Installation 2.1 Stand bracket installation instruction A. Bottom up the IP phone, press the joints of stand bracket into the slots and push it to the right to fasten: B. - Page 4 A2X(W) Quick Start Guide C. Remove the stand bracket: Push the joint of stand to left and pull the stand according to the direction of the arrow. When the joints are pulled out of the slot, you can take off the stand bracket 2.2 Connecting port introduction From as below picture show the connecting port:...
- Page 5 A2X(W) Quick Start Guide 2.3 Keypad introduction Please check the following picture: You can refer the Guide document to check the keypad introduction in the LCD menu. 3. Power up 3.1 Connect to DC 5V/1000mA power adapter or PoE power. 3.2 The status indicator will be on during power-on, and the Welcome dialog will appear on the LCD.
-
Page 6: Quick Configuration
4. Connection 4.1 Connect to network cable: D2X if connected to network via LAN port, then under the Bridge mode, other devices (Laptop, IP phone) are able to access network via the phone PC port. The topology is as follows: 4.2 Check the phone status... - Page 7 A2X(W) Quick Start Guide 5.1 Configure ways D2X can configure the phone network and account in three ways: Enter to the phone LCD Menu configuration, access to the phone webpage and auto provision. 5.2 Phone LCD Menu configuration 5.2.1 Configure the network feature Press Menu→Settings→Advanced settings (default password: admin)→...
- Page 8 A2X(W) Quick Start Guide 5.3.3 Configure the account feature Press web “Account”→“Basic” and configure the account info. 5.4 Auto provision You can use auto provision configure file input the phone network info and account info, after provision successful, the network feature and account also configure successful. Please refer to the screenshot as below: The more information you can check our auto provision file.
- Page 9 A2X(W) Quick Start Guide...