Table of Contents
Advertisement
RADIO-CONTROLLED PROJECTION
CLOCK WITH NIGHTLIGHT &
INDOOR/ REMOTE THERMOMETER
MODEL NO.: RMR966P/RMR966PU
INSTRUCTION MANUAL
INTRODUCTION
Congratulations on your purchasing the Radio-controlled projection
Clock with Nightlight and Indoor/-Remote Thermometer RMR966P/
RMR966PU.
The unit is a multi-functional radio-controlled clock. The RMR966P
--- the Central Europe model --- is designed to automatically
synchronize its current time and date when brought within an
approximate 1500km radius of the radio signal generated from
Frankfurt, Germany (DCF-77). The RMR966PU --- the UK model
--- will do the same when brought within range of the radio signal
MSF-60 generated from Rugby, England.
In addition to indoor temperature display, by means of a wireless
remote thermo sensor this unit can simultaneously monitor the
outdoor temperature. The unit can record maximum and minimum
indoor/outdoor temperature readings. No wire installation is required
between the main and remote units as this unit operates at 433 MHz.
This unit featured with a projection function that allows the user to
display either (1) the Current Time with Indoor Temperature or (2)
Current time with Outdoor Temperature on the ceiling, wall or other
flat surface. The image projected is in a deep red color which is
easily seen in the dark.
The Projection Clock also comes with favourable features such as
Auto-on/off Nightlight, EL back-light, hourly-chime function and
dual daily alarm with 8-minute snooze function and Pre-Alarm
function.
KEY CONFIGURATION & FEATURES:
MAIN UNIT
FRONT VIEW
A4
A1
A3
A8
A7
1
A2
A9
A5
A6
Advertisement
Table of Contents

Related Manuals for Oregon Scientific RMR966PA


Summary of Contents for Oregon Scientific RMR966PA
-
Page 1: Main Unit
MODEL NO.: RMR966P/RMR966PU INSTRUCTION MANUAL INTRODUCTION Congratulations on your purchasing the Radio-controlled projection Clock with Nightlight and Indoor/-Remote Thermometer RMR966P/ RMR966PU. The unit is a multi-functional radio-controlled clock. The RMR966P --- the Central Europe model --- is designed to automatically... -
Page 2: Top View
A1 3-Line LCD Display Displays the time, date and temperature A2 [ ] Battery-low indicator Displays when battery power of main unit is low A3 [ ] Battery-low indicator Displays when battery power of remote sensor is low A4 [ ] Radio-reception icon Indicates the strength of the reception of clock radio signal A5 [IN/OUT TEMP] BUTTON... -
Page 3: Back View
BACK VIEW C1 [180º ROTATION] BUTTON Press to flip the projected image horizontally C2 [FOCUS] KNOB Rotate to adjust the focus of projection C3 [IMAGE ROTATION] KNOB Rotate to change the image 90º to the left or right C4 [PROJECTION ON ] BUTTON Slide to enable continuous projection (when Adapter is connected) -
Page 4: Battery Installation:main Unit
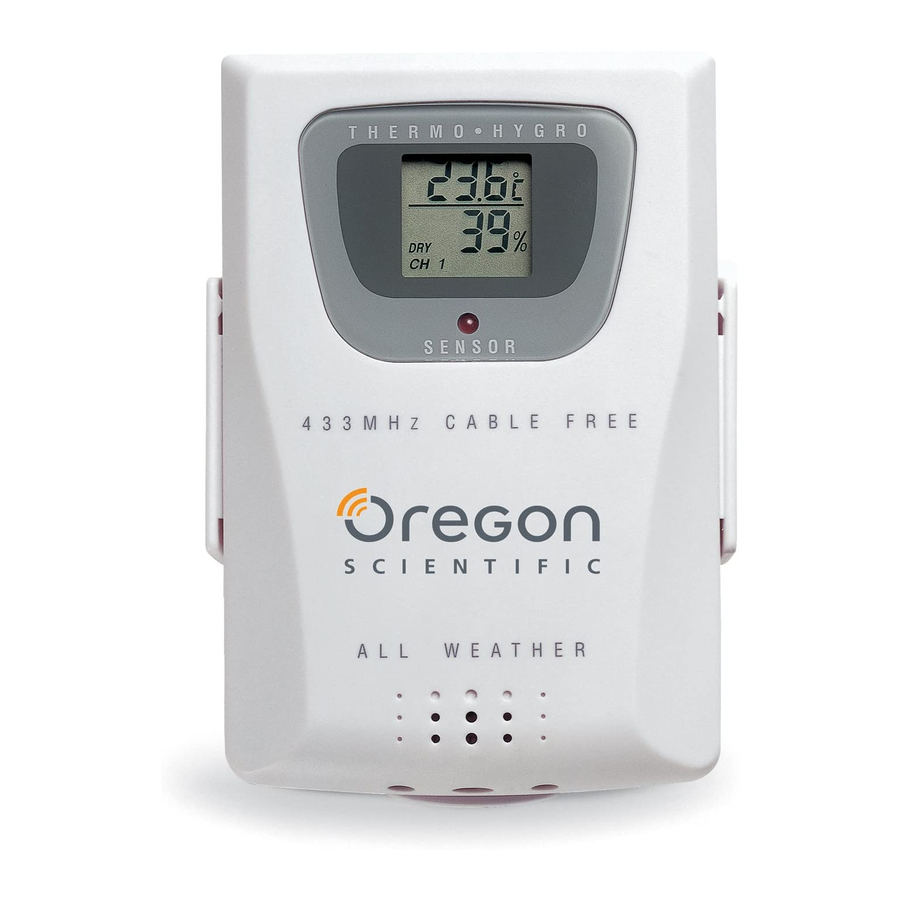
KEY CONFIGURATION AND FEATURES:REMOTE THERMO UNIT THR228NS A. LCD Displays the current temperature monitored by the remote unit B. LED INDICATOR Flashes when the remote unit transmits a reading ° ° F SLIDE SWITCH Selects between Centigrade (°C) and Fahrenheit (°F) D. - Page 5 Battery Installation: Remove the battery compartment door by rotating it to the direction of “Open ” as shown Insert two pieces of UM-3 or AA 1.5V batteries in accordance to the polarities. Press [RESET]. Replace the battery compartment door by rotating it back onto the unit by following the direction of When the battery power level is low, the respective low battery indicator [...
-
Page 6: Calendar Clock
BATTERY INSTALLATION : REMOTE UNIT Place both main and remote units as close as possible to each other. Remove the screws on the battery door of the remote unit. Select the units of measurement for the temperature display on the °C/°F slide switch. Install 2 batteries (UM-4 or "AAA"... -
Page 7: About Radio Reception
ABOUT RADIO RECEPTION Important Note: Since this unit can also receive remote temperature data from the remote unit, after battery installation, the unit will FIRST search for the remote temperature data which may last for up to 4 minutes. Upon successful reception of the remote data,the unit will then automatically synchronize its time and date with the radio signal when it is within reception range of the signal. -
Page 8: Setting Clock And Calendar
1. Clock with Second --------------------------- Indoor Temperature 2. Clock with Weekday --------------------------------------------- Day-Month 3. Clock with Weekday -------------------------------------------------------- Clock (2nd Zone-time) 4. Clock with Weekday (2nd Zone-time) -------------------------------------------------------- Calendar (2nd Zone-time) SETTING THE CLOCK AND CALENDAR MANUALLY When the automatic radio reception is disabled, the main unit can be set manually. - Page 9 ALARM & PRE-ALARM FUNCTION This unit has two alarms (Alarm-1 and Alarm-2) which can be operated together or independently. To activate or deactivate the alarm, press the [ when the respective alarm is being displayed. “-:--“ will be shown when the alarm is being deactivated. [ when the respective alarm is activated.
- Page 10 Press and hold the [ALARM/*] for 2 seconds to enter the alarm time setting mode. The hour will be flashing. Enter the hour using the [ ] or [ Press the [ALARM/*] and the minute will be flashing. Enter the minute using the [ ] or [ Press the [ALARM/*] to confirm the alarm time and enter the pre-alarm setting mode.
-
Page 11: Section Ii-Nightlight
During the pre-alarm operating period, if the temperature recorded by the remote sensor falls to or below 2ºC, the pre-alarm feature will be triggered. For example, if the alarm time is set to go off at 7:00a.m. and the pre-alarm operating time-interval is set to 45 minutes, the pre-alarm will start to operate at 6:15a.m. - Page 12 Section III — Indoor-Remote Thermometer DISPLAY OF INDOOR TEMPERATURE Once batteries are installed into the main unit, it will start to detect the indoor temperature and the data will be displayed. HOW TO CHECK REMOTE TEMPERATURE Once batteries are installed into the remote Thermo Sensor, it will start to transmit temperature data at an approximately 40-second intervals.
-
Page 13: Maximum And Minimum Temperature
Transmission path is blocked with obstacles and interference from the surroundings. Suggested Solution: Shorten the distance (e.g., move the main unit closer to the window) or relocate the units when necessary. MAXIMUM AND MINIMUM TEMPERATURE The maximum and minimum indoor-remote temperatures recorded will be automatically stored in memory. -
Page 14: How To Reset The Unit
Projector Features Feature Effect Adjustable Rotates the Projection projection 180° FOCUS Focuses Knob projection Dial C3 rotates IMAGE projection ROTATION KNOB ° Button ROTATION C1horizontally BUTTON flips the projection 180° For continuous projection, you must connect it with power adapter. When the power adapter is connected to the unit, the projection will activated remain... -
Page 15: Specifications
shorter electronic life span, damaged battery and distorted parts. Do not tamper with the unit’s internal components. Doing so will invalidate the warranty on the unit and may cause unnecessary damage. The unit contains no user-serviceable parts. Only use fresh batteries as specified in the user’s instructions. Do not mix new and old batteries as the old ones may leak. -
Page 16: Ec Declaration Of Conformity
EC-DECLARATION OF CONFORMITY This product contains the approved transmitter module TX 01 and complies with the essential requirements of Article 3 of the R&TTE 1999/5/EC Directives, if used for its intended use and that the following standard(s) has/have been applied: Efficient use of radio frequency spectrum (Article 3.2 of the R&TTE Directive) applied standard(s) - Page 17 TROUBLESHOOTING GUIDE --- RMR966P/ RMR966PU Trouble “---“ is being displayed for Remote data on the display of the Main Unit Displayed remote temperature data on the display of the Main Unit are different from those on the display of the Remote Sensor Displayed Temperature data are different from other measuring instruments Clock time is not correctly set;...
- Page 18 Trouble The projection LED does not go on when AC/DC adapter is installed The Nightlight does not turn on The unit is reset when SNOOZE button is pressed Warning: For other cases not listed in the above, feel free to contact our help line Do not dissemble the unit.