Oregon Scientific THGR228N - Remote Thermo-Hygrometer With LCD Manual
- User manual (2 pages) ,
- User manual (3 pages)
Advertisement
- 1 INTRODUCTION
- 2 COMPATIBLE UNITS
- 3 MAIN FEATURES
- 4 GETTING STARTED
- 5 BATTERY AND CHANNEL INSTALLATION
- 6 CHANGING CHANNELS
- 7 LOW-BATTERY WARNING
- 8 THE COMFORT-LEVEL INDICATOR
- 9 OPERATION
- 10 HOW TO RESET THE UNIT
- 11 HOW TO USE THE TABLE STAND OR WALL MOUNT
- 12 PRECAUTIONS
- 13 SPECIFICATIONS
- 14 EC-DECLARATION OF CONFORMITY
- 15 Documents / Resources
INTRODUCTION
Congratulations on your purchase of the Remote Thermo-Hygro Sensor (THGR228N).
The THGR228N is compatible with a variety 433MHz multi-channel in-out thermo- hygro monitoring units. Operation is easy and no wire installation is required.
COMPATIBLE UNITS

Note: The THGR228N is compatible with a variety of multi-channel units. If unsure about the compatibility of this units, please consult your dealer for further advise.
Examples of compatible units are as follows:
EMR899HGN WMR918N
MAIN FEATURES

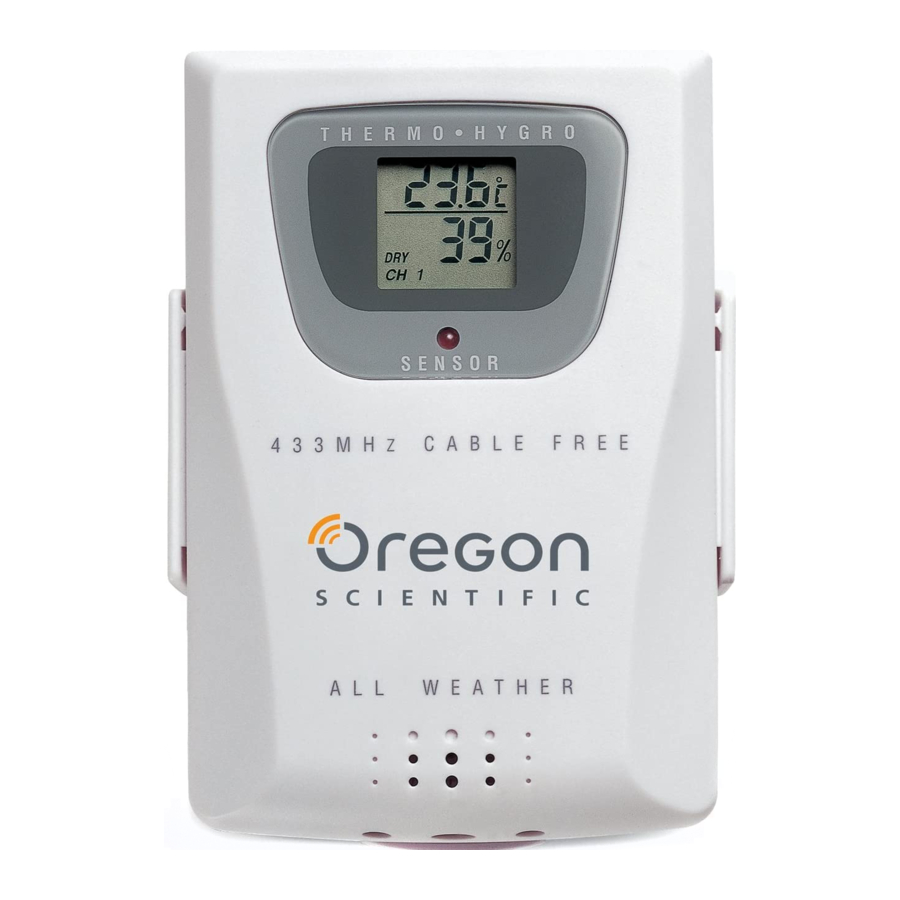
 Two-line LCD
Displays the current temperature and humidity monitored by the remote unit
- Temperature display
- Humidity display
- Comfort-level indicator
 LED INDICATOR
Flashes when the remote unit transmits a reading
 C/ °F SLIDE SWITCH
Selects between Centigrade (C) and Fahrenheit (F)
 CHANNEL SLIDE SWITCH
Designates the remote unit Channel 1, Channel 2 or Channel 3
 RESET BUTTON
Returns all settings to default values
 BATTERY COMPARTMENT
Accommodates two UM-4 or AAA size alkaline batteries
 BATTERY DOOR
 WALL-MOUNT HOLDER
Supports the remote unit in wall-mounting
 REMOVABLE TABLE STAND
For standing the remote unit on a flat surface
GETTING STARTED
Note: To ensure proper reception between the main unit and the remote sensor, follow the instructions carefully.
BATTERY AND CHANNEL INSTALLATION
- Place both units as close as possible to each other.
- Remove the screws on the battery door of the remote unit.
- Assign a different channel to each remote sensor by changing the channel switch in the battery compartment of the remote sensor. [FIG A]

- Select the units of measurement for the temperature display on the C/F slide switch. [FIG B]

- Install 2 alkaline batteries (UM-4 or "AAA" size 1.5V) strictly according to the polarities shown. [FIG C]

- Insert batteries or press the reset button of the main unit. Follow the instructions as set out in the User's manual.
- Replace the battery compartment door and secure its screws.
- Position the remote sensor and main unit within effective transmission range, which in usual circumstances, is 30 meters.
![warning]()
Note: The effective range may be limited by building materials and the position of either the main unit or remote sensors. Try various set-up arrangements for best result.
Though the sensor is weatherproof, and is meant for use outside, it should be placed away from direct sunlight, rain, or snow.


CHANGING CHANNELS
Once a channel is assigned to a unit, you can only change it by removing the batteries and repeating the above procedure.
LOW-BATTERY WARNING
A battery-low indicator [  ] will activate on the sensor to indicate that the batteries are low and require changing. Low batteries for a given sensor will also be indicated on the main unit. Replace the batteries when the low-battery indicator appears.
![]()
Note: Disposed of improperly, batteries can beharmful. Protect the environment by taking exhausted batteries to authorized disposal stations.
THE COMFORT-LEVEL INDICATOR
The comfort level is based on the recorded relative humidity. An indicator will be displayed to show if the level is comfortable, wet or dry. [FIG D]

OPERATION
Once batteries are in place, the sensor will start transmitting samplings at 40-second intervals.
The remote sensor reading shown on the LCD of the main unit depends on which remote sensor channel has been chosen.
HOW TO RESET THE UNIT
The reset function is required only when the unit is operating in an unfavorable way or malfunctioning.
To access:
- Lift open the battery compartment door.
- Place a blunt stylus into the hole marked RESET and press.
- Replace the battery compartment door.
See the user's manual of your main unit for further information.
HOW TO USE THE TABLE STAND OR WALL MOUNT
This sensor comes with a wall-mount holder and a removable stand. Use either to hold the unit in place. [ FIG E]

PRECAUTIONS
This product is engineered to give you years of satisfactory service if you handle it carefully. Here are a few precautions:
- Do not immerse the unit in water.
- Do not clean the unit with abrasive or corrosive materials. They may scratch the plastic parts and corrode the electronic circuit.
- Do not subject the unit to excessive force, shock, dust, temperature or humidity, which may result in malfunction, shorter electronic life span, damaged battery and distorted parts.
- Do not tamper with the unit's internal components. Doing so will invalidate the warranty on the unit and may cause unnecessary damage. The unit contains no user-serviceable parts.
- Only use fresh batteries as specified in the user's manual. Do not mix new and old batteries as the old ones may leak.
- Always read the user's manual thoroughly before operating the unit.
SPECIFICATIONS
| Remote thermo-hygro unit | |
| Displayed temperature range | : -50.0°C to +70.0°C (-58.0°F to 158.0°F) |
| Proposed operating range | : -20.0°C to +60.0°C (-4.0°F to 140.0°F) |
| Temperature resolution | : 0.1°C (0.2°F) |
| Humidity Resolution | : 1% |
| Relative humidity measurement range | : 5% RH to 95% RH |
| RF Transmission Frequency | : 433 MHz |
| Number of channels | : 3 |
| RF Transmission Range | : Maximum 30 meters |
| Temperature sensing cycle | : around 40 seconds |
| Power | : two (2) UM-4 or "AAA" 1.5V alkaline batteries |
| Weight | : 63 gm (without batteries) |
| Dimension | : 92 x 60 x 20 mm (H x W x D) |

- The content of this manual is subject to change without further notice.
- Due to printing limitation, the displays shown in this manual may differ from the actual display.
- The contents of this manual may not be reproduced without the permission of the manufacturer.
EC-DECLARATION OF CONFORMITY
Efficient use of radio frequency spectrum (Article 3.2 of the R&TTE Directive) applied standard(s):
EN 300 220-1(2,3):1997
Electromagnetic compatibility (Article 3.1.b of the R&TTE Directive) applied standard(s):
ETS 300 683:1997
Safety of information technology equipment (Article 3.1.a of the R&TTE directive) applied standard(s):
N 60950:1997
Additional information:
The product is therefore conform with the Low Voltage Directive 73/23/EC, the EMC Directive 89/336/EC and R&TTE Directive 1999/5/EC (appendix II) and carries the respective CE marking.
VS-Villingen / Germany August 2001
Gerhard Preis
EC representative of manufacturer

RTTE Compliant Countries :
All EU countries, Switzerland 
And Norway 

Documents / ResourcesDownload manual
Here you can download full pdf version of manual, it may contain additional safety instructions, warranty information, FCC rules, etc.
Download Oregon Scientific THGR228N - Remote Thermo-Hygrometer With LCD Manual
Advertisement
Thank you! Your question has been received!


Need Assistance?
Do you have a question about the THGR228N that isn't answered in the manual? Leave your question here.