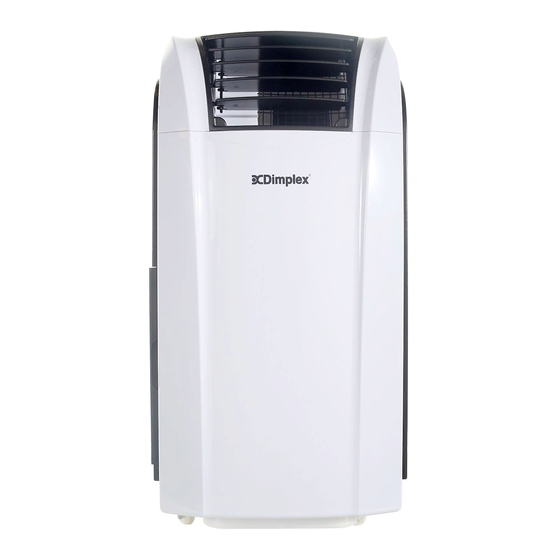
Summary of Contents for Dimplex DC10RC
- Page 1 DC10RC / DC12RCBW / DC15RCBW Reverse Cycle Portable Air Conditioner with Dehumidifier INSTRUCTION MANUAL PLEASE READ THE INSTRUCTION MANUAL CAREFULLY BEFORE USING THE UNIT. www.dimplex.com.au...
-
Page 2: Table Of Contents
CONTENTS WARNINGS AND PRECAUTIONS STRUCTURE OPERATION CLEANING AND MAINTENANCE ERROR CODES TROUBLESHOOTING TECHNICAL REFERENCE DATA WARRANTY www.dimplex.com.au... -
Page 3: Warnings And Precautions
WARNINGS & PRECAUTIONS IMPORTANT INFORMATION Carefully read this instruction manual before you install or use your portable air conditioner. Please retain this manual for product warranty and for future reference. CAUTION • Make sure the inlet and outlet vents are never blocked. •... - Page 4 WARNINGS & PRECAUTIONS • This appliance is not intended for use by persons (including children) with reduced physical, sensory or mental capabilities, or lack of experience and knowledge, unless they have been given supervision or instruction concerning use of the appliance by a person responsible for their safety.
-
Page 5: Structure
STRUCTURE 1. Controls 2. Remote receiver 3. Adjustable air vent 4. Window kit adaptor 5. Exhaust tube 6. Upper drain plug 7. Cool air inlet 8. Cool air filter 9. Hot air inlet 10. Hot air filter 11. Lower drain plug Note: Make sure drain plugs (6 and 11) are fitted before use. -
Page 6: Operation
OPERATION BEFORE FIRST USE • Please read these instructions carefully before use and keep them for future reference. • Check your local main voltage whether it is the same as stated on the appliance. • Before using for the first time, remove any protective films or stickers from the appliance and ensure the control knob is in the “OFF”... - Page 7 OPERATION (1) POWER - Press the POWER button to turn the unit “ON” or “OFF”. The portable air conditioner is fitted with a compressor delay protection circuit. This protects the unit from possible damage due to rapid starting and stopping of its compressor. Compressor operation begins 3 minutes after the unit is switched on or the mode is switched from dehumidify to air conditioning.
- Page 8 OPERATION (5) DISPLAY The display indicates the current, the set temperature or the timer setting. When the timer or temperature is adjusted, the new setting is shown then the display returns to the current set temperature. The display is also used to show error codes should a fault occur, see ERROR CODES.
- Page 9 OPERATION The timer can be used to turn the unit off automatically after a set time period is complete. 1. With the unit ON, press the “TIMER” button to set the desired time for the unit to remain on. 2. Once the set time period is complete, the unit will turn off automatically. 3.
- Page 10 OPERATION REMOTE CONTROL...
- Page 11 OPERATION INSTALLATION Unpacking the unit: Remove the exhaust tube from its storage under the rear air outlet. Replace the rear air outlet. Install the exhaust tube by rotating it clockwise onto the rear air outlet. Please ensure it is fully inserted before use.
- Page 12 OPERATION ADJUSTABLE WINDOW SLIDER KIT The adjustable window slider kit is installed as shown below: HEATING & DEHUMIDIFICATION When the heating or dehumidification functions are used the upper drain plug (6) must be removed and a drain hose* must be attached. *Drain hose is not supplied.
- Page 13 OPERATION NOTE: The outlet exhaust must still be attached to the window when using the heating function. Return the outlet and tube to the rear of the unit for cooling or dehumidification. WATER DRAIN (Error Code E4) When the air conditioner is used, excess water condensation may be produced that cannot be removed via the exhaust hose.
-
Page 14: Cleaning And Maintenance
CLEANING & MAINTENANCE CLEANING THE FILTERS WARNING: Always unplug the unit before moving or before any cleaning. The air filters located on the rear of the unit can be removed simply by pulling the filter frame slightly out and then across to the side. CLEANING THE CABINET Wipe with a damp cloth and polish with a soft cloth. -
Page 15: Error Codes
ERROR CODES OVERHEAT PROTECTION This unit is fitted with an overheat prevention device. If the unit overheats it will automatically turn off. The unit can be restarted after 30 minutes. ERROR CODES Error codes are shown on the display should a fault occur. E1: Indicates open circuit or short circuit in the room temperature sensor. -
Page 16: Troubleshooting
TROUBLESHOOTING Problem Cause Solution The air conditioner No power supply. Connect to a functioning does not operate. power supply socket & switch on. Error code E4 is shown, Empty the internal water indicating the internal container. (Refer to ‘water water container is full. drain’... -
Page 17: Technical Reference Data
Ask for advice by calling your local after sales service agent or the Customer Care Centre on 1300 556 816 (AU) / 0800 666 2824 (NZ). SPECIFICATIONS MODEL NO. DC10RC DC12RCBW DC15RCBW Power source 220-240V ~ 50Hz AC... -
Page 18: Warranty
The warranty period is 24 months from the date of purchase. For service advice, please contact the Customer Care Centre on 1300 556 816 (AU) / 0800 666 2824 (NZ). Glen Dimplex Australia Pty Ltd Glen Dimplex New Zealand Ltd 1340 Ferntree Gully Road,...


