Advertisement
Quick Links
Parts: Quantity will vary with model.
A: End Leg
Quantity: 2
C: Round End
Quantity: 2
IMPORTANT NOTICE:
Place all wooden parts on a clean and smooth surface such as a rug or carpet to avoid scratching the parts.
Check to be sure that you have all parts and hardware.
Remove all wrapping materials, including staples & packing straps before you start to assemble.
Keep all hardware parts and packaging out of reach of children.
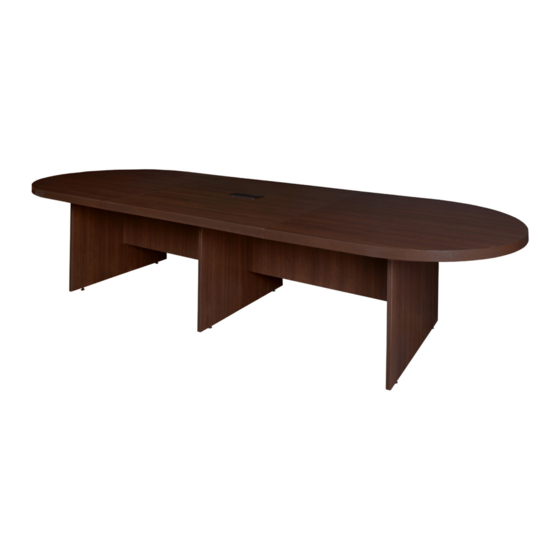
Legacy Modular Conference Table • INSTRUCTIONS
(LCTRT14452, LCTRT16852, LCTRT19252, LCTRT21652, LCTRT21652,
LCTRT24052, LCTRT26452, LCTRT28852)
Organize your parts. You may need a rubber mallet.
B: Center Leg
D: Stringer
E: Center Piece
Any problems or questions call Regency Office Furniture at 1-866-816-9822
Hardware: Quantity will vary with model.
F: Cord Holder
G: EClip Bracket
I: Flat
H: Thumb
Bracket
Screws
J: DPEL
Advertisement

Related Manuals for Regency Legacy LCTRT14452


Summary of Contents for Regency Legacy LCTRT14452
- Page 1 Check to be sure that you have all parts and hardware. Remove all wrapping materials, including staples & packing straps before you start to assemble. Keep all hardware parts and packaging out of reach of children. Any problems or questions call Regency Office Furniture at 1-866-816-9822...
- Page 2 STEP 2: Attach Stringer(D) to Center Leg(B) by lining up Eclip with it’s corresponding hole, and sliding down into place. Please Note: Center Legs (B) have EClip attachment holes on both sides. Any problems or questions call Regency Office Furniture at 1-866-816-9822...
- Page 3 Legs(B), and Stringers(D) provided. STEP 4: Attach EClip Brackets(G) into precut slots in the center of each Stringer(D). Line up Lockdowels with available holes, and press down to snap into place. Any problems or questions call Regency Office Furniture at 1-866-816-9822...
- Page 4 STEP 6: Attach Round Ends(C) to assembled product by lining up pre-drilled holes on bottom with the EClips on both the End Legs(A) and EClip Brackets(G) and then sliding Round Ends(C) into place. Any problems or questions call Regency Office Furniture at 1-866-816-9822...
- Page 5 Figure 1. Figure 2. OPTIONAL STEP 8: Insert DPEL(J) using provided screws. OPTIONAL STEP 9: Attach Cord Holder(F) underneath table onto cam lock side of Stringer(D) with provided double sided tape. Any problems or questions call Regency Office Furniture at 1-866-816-9822...