Advertisement
Quick Links
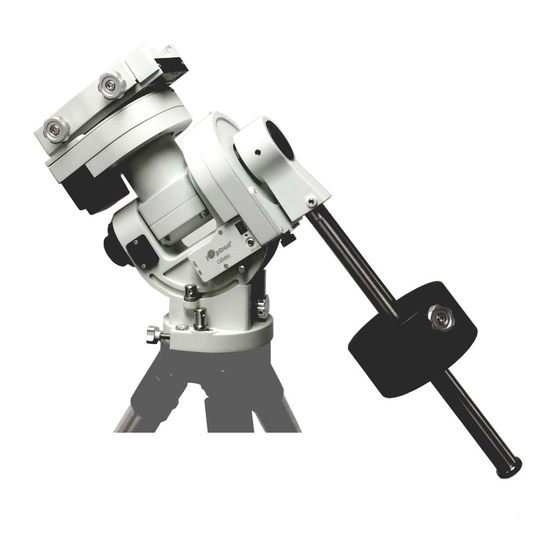
Align the Polar Scope to RA axis
Connect the power and hand controller, turn the mount
on. Rotate the mount head to the left side. Center the
polar scope crosshairs onto a point object. Rotate the
mount head 180 degree in R.A. If the polar scope
crosshairs does not stay in the same place, the Polar
Scope is not aligned well to the mount RA axis. To adjust
it:
1. Remove the bubble level from the polar scope by
releasing two bubble level set screws.
2. Remove the Polar Scope illumination LED
3. There are three Reticle Adjustment Screws on the
side of the Polar scope, as shown in the following
photo.
Instruction of CEM60 Polar Scope Adjustment
May 16, 2014
Objective Lens
Reticle Adj. Screws
(1) Bring the object half the distance to the center by
adjusting the reticle adjustment screws. Loose one
screw first, then tighten the other screw(s). Only
loose/tighten one screw at a time and very small
amount of turn each time to avoid the reticle totally lost
its position. It may take a few minutes to familiarize
yourself with the screws that move the polar scope in
the appropriate direction. PLEASE do not over tighten
the setting screws. (2) Rotate the mount 180 degree to
bring the mount back to the left side. If you are lucky
enough, the object will stay in center of the polar scope.
Otherwise, repeat Step 1 to further move the object to
the center. After few times, the object will stay in
center when the mount is flipped from right to left.
Center the object
Center the object
Rotate
Rotate
Rotate
Rotate
Lock Ring
Bring the object
Bring the object
half the distance
half the distance
to the center
to the center
Advertisement

Related Manuals for iOptron CEM60


Summary of Contents for iOptron CEM60
- Page 1 Instruction of CEM60 Polar Scope Adjustment May 16, 2014 Align the Polar Scope to RA axis Lock Ring Connect the power and hand controller, turn the mount on. Rotate the mount head to the left side. Center the Objective Lens polar scope crosshairs onto a point object. Rotate the mount head 180 degree in R.A. If the polar scope crosshairs does not stay in the same place, the Polar Reticle Adj. Screws Scope is not aligned well to the mount RA axis. To adjust it: (1) Bring the object half the distance to the center by adjusting the reticle adjustment screws. Loose one 1. Remove the bubble level from the polar scope by screw first, then tighten the other screw(s). Only releasing two bubble level set screws. loose/tighten one screw at a time and very small amount of turn each time to avoid the reticle totally lost its position. It may take a few minutes to familiarize yourself with the screws that move the polar scope in the appropriate direction. PLEASE do not over tighten the setting screws. (2) Rotate the mount 180 degree to bring the mount back to the left side. If you are lucky enough, the object will stay in center of the polar scope. Otherwise, repeat Step 1 to further move the object to the center. After few times, the object will stay in center when the mount is flipped from right to left. 2. Remove the Polar Scope illumination LED Bring the object Bring the object...
- Page 2 Rotating Polar Scope 12 O’clock Mark 10. Unthread objective lens and eyepiece 4. Remove 3 screws that hold the Cable Management Input Panel 11. Thread on the LED. 12. Evenly loosen three reticle adjustment screws that locking the reticle in place. 13. Use a pair of tweezers to rotate the reticle and align the 7:30 of the dial to the LED outlet. You may connect the cable and power it on to assist the alignment. 5. Pull the Panel out a little and use a hex wrench to loosen two Polar Scope locking screws (maybe one) that hold the Polar Scope in place 14. Evenly tighten the reticle set screws 15. Insert the polar scope back to mount. Make sure the mount is leveled and at zero position. You may use Telescope MotionSearching Zero Pos. to find the zero position. Turn the polar scope to make the 12 on top. You may use a vertical line such as a corner of a wall as the reference to align the 6‐12 6. Rotate the Polar Scope while look trough the Polar line of the reticle. Tighten the polar scope locking Scope to make sure 12 o’clock is at the top. You screws to fix the polar scope on the mount. need to make sure that the mount I sat zero 16. Secure the Input Panel to reveal three polar scope position. ...