Advertisement
Quick Links
Day One+
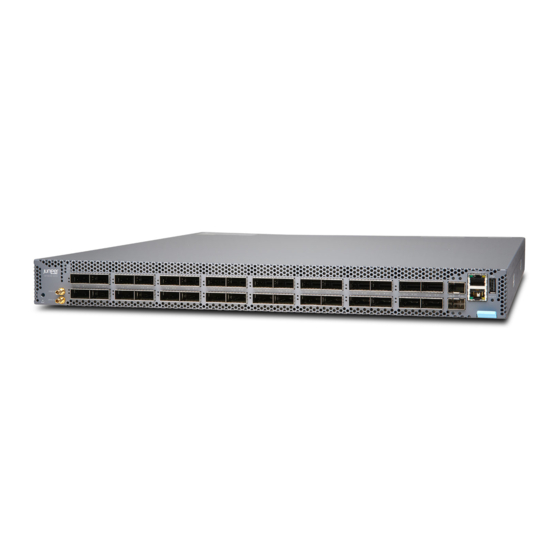
QFX5130-32CD
IN THIS GUIDE
Step 1: Begin | 1
Step 2: Up and Running | 6
Step 3: Keep Going | 9
Step 1: Begin
IN THIS SECTION
Meet the QFX5130-32CD Ethernet Switch | 2
Install the QFX5130-32CD | 2
Power On | 4
In this guide, we provide a simple, three-step path, to quickly get you up and running with your new QFX5130-32CD
switch. We've simplified and shortened the installation and configuration steps, and included how-to videos. You'll learn
how to install the QFX5130 in a rack, power it up, and deploy it on your network.
NOTE:
Are you interested in getting hands-on experience with the topics and operations covered in this guide?
Visit
Juniper Networks Virtual Labs
sandbox in the stand alone category.
and reserve your free sandbox today! You'll find the Junos Day One Experience
Advertisement

Related Manuals for Juniper QFX5130


Summary of Contents for Juniper QFX5130
- Page 1 Power On | 4 In this guide, we provide a simple, three-step path, to quickly get you up and running with your new QFX5130-32CD switch. We’ve simplified and shortened the installation and configuration steps, and included how-to videos. You’ll learn how to install the QFX5130 in a rack, power it up, and deploy it on your network.
- Page 2 With 32 400GbE ports, the switches enable a wide variety of configurations that include support for 10-Gbps, 25-Gbps, 40-Gbps, 100-Gbps, and 400-Gbps speeds. The QFX5130-32CD switches are available with either a front-to-back or back-to-front airflow and with dual AC power supplies.
- Page 3 A number two Phillips (+) screwdriver A serial-to-USB adapter (If your laptop or desktop PC doesn't have a serial port) Install the QFX5130-32CD in a Four-Post Rack Here’s how to install the QFX5130-32CD in a four-post rack: 1. Review the General Safety Guidelines and Warnings.
- Page 4 9. Check that the mounting brackets on each side of the rack are level. NOTE: If you have unused ports, plug them using dust covers to prevent dust from entering the switch. Power On Now that you’ve installed your QFX5130-32CD in the rack, you’re ready to connect it to power.
- Page 5 1. Wrap and fasten one end of the ESD grounding strap around your bare wrist, and connect the other end to one of the ESD grounding points on the switch. 2. Use two 10-32 x 0.25 screws with #10 split-lock washers to secure the grounding lug and attached cable to the chassis. Attach the lug through the left rail and blade assembly to the chassis.
-
Page 6: Step 2: Up And Running
Plug and Play | 7 Customize the Basic Configuration | 7 Now that the QFX5130-32CD is powered on, let’s do some initial configuration to get it up and running on the network. It’s simple to provision and manage the QFX5130 using the CLI. -
Page 7: Plug And Play
DCD State—Disregard 2. Connect the console port on the QFX5130-32CD to a laptop or desktop PC using the supplied RJ-45 cable and RJ-45 to DB-9 adapter. The console (CON) port is located on the upper right corner of the port panel. - Page 8 8. Configure the IP address and prefix length for the management port on the switch. On the QFX5130-32CD, the management port re0:mgmt-0 is the lower RJ-45 port on the right side of the port panel and is labeled MGMT.
- Page 9 15. Commit the configuration. Your changes become the active configuration for the switch. [edit] root@# commit Step 3: Keep Going IN THIS SECTION What’s Next? | 10 Learn With Videos | 10 Congratulations! Your QFX5130 is configured and ready to go. Here are some things you can do next.
-
Page 10: What's Next
If you want to Then View a Web-based training video which provides an QFX5130 Ethernet Switch (WBT) overview of the QFX5130 and describes how to install and configure it Get short and concise tips and instructions that provide Learning with Juniper... - Page 11 Juniper Networks, the Juniper Networks logo, Juniper, and Junos are registered trademarks of Juniper Networks, Inc. in the United States and other countries. All other trademarks, service marks, registered marks, or registered service marks are the property of their respective owners. Juniper Networks assumes no responsibility for any inaccuracies in this document. Juniper Networks reserves the right to change, modify, transfer, or otherwise revise this publication without notice.