
Related Manuals for Genie GIPPIR


Summary of Contents for Genie GIPPIR
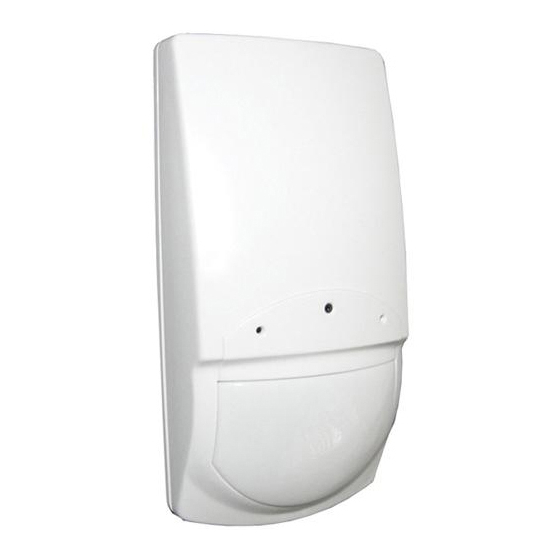
- Page 1 2MP H.264 Dual Stream IP Operational PIR Camera GIPPIR Quick Start Guide Please read these instructions carefully before operating the unit and keep for further reference.
-
Page 2: Table Of Contents
Contents 1.0 Introduction ......................3 1.1 Product Features ...................3 1.2 Product Overview ..................3 1.3 Specification....................4 1.4 Choosing an Installation Location ...............4 2.0 Detector Installation ....................5 2.1 Detector Installation ..................5 2.2 Installation Options ..................6 2.3 Camera Module Connection ...............6 2.4 Detector Connection ..................7 2.5 Setting up the Detector ................7 3.0 Potentiometers Adjustment ................8 4.0 Testing The Detector ...................9... -
Page 3: Introduction
The contents of this manual are subject to change without notice. The Genie GIPPIR is a fully operational grade 2 PIR with a 2MP full HD H.264 IP camera pre installed. The camera is supplied with a 3.7mm conical pinhole lens and can be powered with either a DC12V or a PoE (802.3af) switch / injector. -
Page 4: Specification
The quad-element high quality sensor detects motion crossing the beam; it is slightly less sensitive detecting motion toward the detector. The GIPPIR performs best when provided with a constant and stable environment and background. Avoid the following locations: •... -
Page 5: Detector Installation
2.0 Detector Installation 2.1 Detector Installation The detector can either be wall, corner or ceiling mounted by using a special bracket base for the bracket mounting. To remove the front cover, unscrew the holding screw and gently raise the front cover. Unscrew the holding screw and... -
Page 6: Installation Options
Quick Start Guide 2MP H.264 Dual Stream IP Operational PIR Camera 2.2 Installation Options Ceiling Bracket Base Wall Bracket Base 2.3 Camera Module Connection Connect the camera module to the main PCB. -
Page 7: Detector Connection
Quick Start Guide 2MP H.264 Dual Stream IP Operational PIR Camera 2.4 Detector Connection Please refer to “Wire Size Requirements” in 2.1 Detector Installation before connecting detector to achieve optimal operation. 2.5 Setting up the Detector Block Connector Switch For Settings Camera Input Audio Sensitivity Adjustment... -
Page 8: Potentiometers Adjustment
3.0 Potentiometers Adjustment There two potentiometers located on the PCB device to set the optimal sensitivity of the detection and the audio. PIR Sensitivity Adjustment • Use the Potentiometer marked “PIR” to adjust the detection sensitivity between 15% and 100% according to walk test in the protected area. (Factory setting to 57%). •... -
Page 9: Testing The Detector
4.0 Testing The Detector Wait one minute after applying power and warm up time. Conduct testing with the protected area cleared of all people. Walk Test Remove front cover. 2. Set LED to ON position. 3. Reassemble the front cover. 4. - Page 10 Sales +44(0)1707 330541 Enquiries sales@genieproducts.co.uk Website www.genieproducts.co.uk...