Table of Contents
Advertisement
Quick Links
Advertisement
Table of Contents

Related Manuals for Genie GEBVAF Series


Summary of Contents for Genie GEBVAF Series
- Page 1 GEBVAF SERIES User Manual...
-
Page 2: Table Of Contents
Contents Notes ............- 1 - Product Introduction ......... - 2 - Production Instruction ........- 2 - Product Feature ..........- 2 - Product Structure ........- 3 - Technical Parameters ........ - 4 - OSD Menu tree .......... - 5 - Product Installation ........ -
Page 3: Notes
Notes Read this manual carefully before use. 1)To reduce the risk of electric shock, do not open the machine and maintain by yourself, please consult a professional service person. 2)To prevent fire or shock hazard, use the power after safety certification, the input voltage, current, voltage polarity and operating temperature must meet the requirements of this camera. -
Page 4: Product Introduction
Product Introduction 2.1 Production Instruction This series of cameras are adopted CMOS image sensor with high performance, which provides mega pixel resolution and supports HD video. Moreover, it supports monitoring signals coaxial transmission. Transmission distance can reach more than 300M based on 75-3 coaxial cable. -
Page 5: Product Structure
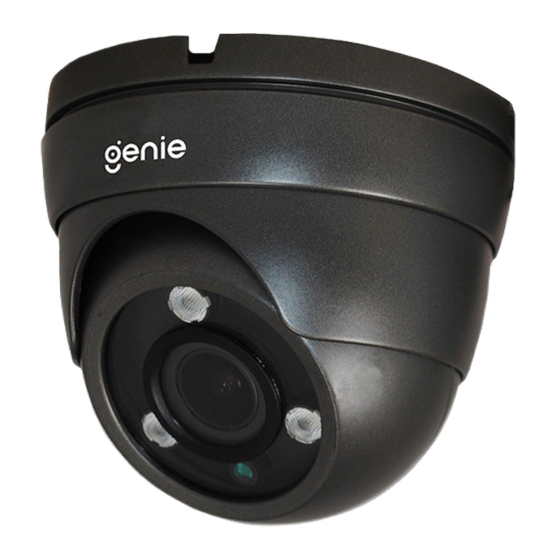
Product Structure The followings are the dimensions of some products. No further notice for the upgraded version. 93.2 Photo 3-1 Outdoor IR Dome Camera Photo 3-2 Outdoor Vari-focal Dome Camera - 3 -... -
Page 6: Technical Parameters
Technical Parameters Resolution Digital: 1920×1080p(1080p/30fps) 1280×720p(720p/60fps) Analog:900TVL Image Sensor 1/2.8“ 2.16MP SONY STARVIS CMOS Total Pixels 1945(H)×1109(V) Effective Pixels 1945(H) × 1097 (V) Scanning System Progressive Video Output Press and hold for 5 seconds the "menu" button to switch output format among AHD CVI and TVI Press the button once to activate the OSD, which can also be done by the DVR, if the DVR supports such function S/N Ratio... -
Page 7: Osd Menu Tree
OSD Menu tree M ain M enu Secondary m enu NORMAL、DEBLUR LENS INDOOR、OUTDOOR、DEBLUR 0~20 BRIGHTNESS SHUTTER AUTO、M ANUAL、FLICKER EXPOSURE SENS-UP OFF、X2、X4、X8、X16、X32 0~20 AUTO AUTOext PRESET WHITE BAL KELVIN M ANUAL LOW、M IDDLE、HIGH R-GAIN 0~20 B-GAIN 0~20 ALL DAY、NIGHT ONLY M ODE 0~20 LEVEL 0~20... - Page 8 IM AGE DEFOG AUTO、M ANUAL M ODE LEVEL LOW、M IDDLE、HIGH 1080P、720P OUTPUT M ODE HD-CbCr、YUV、SD-CbCr COLOR SPACE 25/30、50/60 FRAM E RATE PAL、NTSC CVBS SYSTEM FULL COMP BLACK LEVEL USER OFFSET 0~20 V0.0.2 VERSION 0~255 COMM ADJ CAM ID LANGUAGE ENG、CHN ZOOM DIS OFF、ON 0~15...
-
Page 9: Product Installation
Product Installation 6.1 Note 1) Make sure the unit is powered off before installation. 2) Check power supply voltage consistent with the electric voltage to prevent voltage unworthy, resulting in damage to the device. 3) Do not use in the environment beyond the boundaries of the temperature, and maintain good ventilation to prevent the rain in order to reduce the risk of fire or electric shock. - Page 10 bracket or base. ② If the wooden wall, use self-tapping screws to mount. 3. Mounting the camera Adjust the lens position and make it aim at the monitoring points and present a clear picture, manually fix lens location and adjust the hemisphere cover. Re- examine the screen whether the character meets the requirement.
-
Page 11: Connection
6.4 Connection Connection as show in the figure below - 9 -... - Page 12 Appendix: FAQ Q: No picture with power on A: It may result from abnormal power supply. Please check if the power supply voltage and its polarity are correct. Besides, please confirm if wires connection and monitors are normal. Q: Unclear image output A: It is caused by incomplete adjustment of the lens back focus.