AudioCodes RXV81 Deployment Manual
Mtr on android video collaboration bar
Hide thumbs
Also See for RXV81:
- User manual (102 pages) ,
- User's and administrator's manual (78 pages) ,
- Quick manual (8 pages)
Advertisement
Quick Links
AudioCodes RXV81 MTR on Android™ Video Collaboration Bar
1. Physical Description
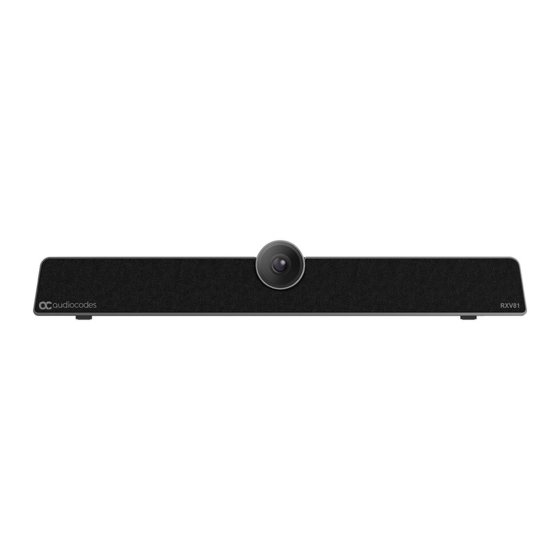
The figure below shows the RXV81 Microsoft Teams Rooms (MTR) on Android Video Collaboration Bar.
Integrated audio: 6x beamforming microphone arrays with
14.7 foot / 4.5 meter pickup and a powerful 10W speaker
2. Checklist: Shipped Items
Make sure you received the following items in the shipped box:
Power adapter
Remote Control (RC) and battery
USB Type C cable
Wall mount and screws
HDMI Out
3. Positioning
The RXV81 is suitable for small-to-mid-size rooms. Position the RXV81 below the TV screen and 10 cm /
4 inches above the table (recommended) (see also here). Use these figures as reference.
Note:
camera's vertical position can also be adjusted / fine-tuned.
Deployment Guide
The camera's wide-angle (110 degrees) horizontal FoV can be adjusted; the
P a g e
| 1
Camera lens
Advertisement

Related Manuals for AudioCodes RXV81


Summary of Contents for AudioCodes RXV81
- Page 1 HDMI Out 3. Positioning The RXV81 is suitable for small-to-mid-size rooms. Position the RXV81 below the TV screen and 10 cm / 4 inches above the table (recommended) (see also here). Use these figures as reference. Note: The camera’s wide-angle (110 degrees) horizontal FoV can be adjusted; the camera’s vertical position can also be adjusted / fine-tuned.
- Page 2 The figure below shows the bracket. To install the bracket on a TV screen: Remove the bracket from its box and use the supplied screw to attach it to the bottom of the RXV81. Rotate the bracket to adjust the camera’s angle.
- Page 3 Place the RXV81 and the bracket on top of the TV screen and clamp the bracket to the TV screen. Note: • If you move the TV screen, first take the RXV81 off to prevent it from falling off. •...
- Page 4 Position the RXV81 on the shelf (supplied) and then fasten the device to the shelf using the single screw (supplied): Hook the shelf onto the wall bracket; it’s hooked onto the bracket’s two hooks as shown in the next figure without the RXV81.
- Page 5 Description Use the supplied HDMI Out cable to connect this port to a TV screen (standalone mode). Applies to RXV81 as a standalone device (default). Video and sharing are displayed on the TV screen. Meetings are controlled via the RC.
- Page 6 Press to put a call on hold. 9. Management The RXV81 (as a standalone device and as a USB audio / video peripheral device) is fully managed by AudioCodes’ One Voice Operations Center Device Manager ). Management includes: Firmware management / upgrade ...
-
Page 7: Getting Started
To get started: After connecting the cables, remove the RC from its packaging and insert the batteries supplied into it. View in the display the message RC-RXV81 is not connected. On the RC, simultaneously press and hold until RC and RXV81 are successfully connected. - Page 8 Use the RC keyboard to enter the code as instructed, e.g., CFSHFPGRK, and then select Next. Enter email, phone or Skype and then select Next -OR- click the account to sign in with. Exit the browser screen and then view the following in the RXV81 display. P a g e...
- Page 9 View after a few moments the RXV81 home page. 12. Viewing LEDs to Determine Status Red / white / red & white White on Device is powered on, signed in to Teams White flashing Device is in booting phase Red on...
- Page 10 Website: https://www.audiocodes.com/ ©2022 AudioCodes Ltd. All rights reserved. AudioCodes, AC, HD VoIP, HD VoIP Sounds Better, IPmedia, Mediant, MediaPack, What’s Inside Matters, OSN, SmartTAP, User Management Pack, VMAS, VoIPerfect, VoIPerfectHD, Your Gateway To VoIP, 3GX, VocaNom, AudioCodes One Voice, AudioCodes Meeting Insights and AudioCodes Room Experience are trademarks or registered trademarks of AudioCodes Limited.