Advertisement
Quick Links
Advertisement

Related Manuals for NCR 7606-K261


Summary of Contents for NCR 7606-K261
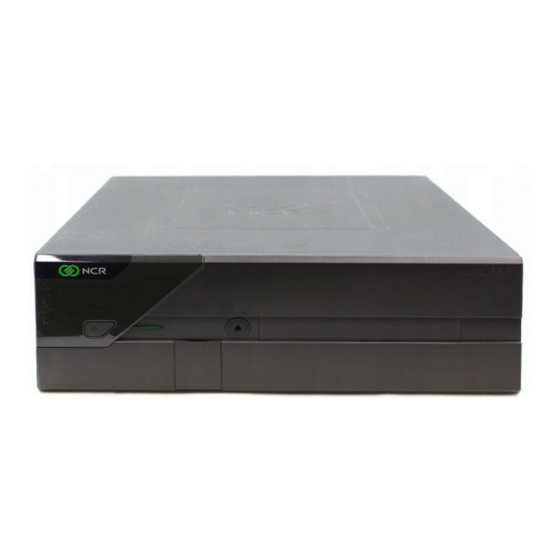
- Page 1 7606‐K261 Hard Disk Drive (250 GB) Kit Instructions Issue A...
-
Page 2: Revision Record
Revision Record Issue Date Remarks May 2012 First Issue... -
Page 3: Kit Contents
Introduction This kit contains a 250GB SATA 3GB/s hard disk drive, HDD brackets, SATA Backplane Board, and SATA Harness to add a second HDD to the 7606 terminal. Kit Contents SATA HDD 006-8616862 (250 GB) HDD Bracket 497-0465040 SATA Backplane Board 497-0445542 HDD SATA Harness 497-0446106 31250a... -
Page 4: Installation Procedures
Installation Procedures Caution: Static Electricity Discharge may permanently damage your system. Discharge any static electricity build up in your body by touching your computerʹs case for a few seconds. Avoid any contact with internal parts and handle cards only by their external edges. 1. Turn Off the power to the terminal and disconnect any peripheral devices. 2. Unplug the terminalʹs power cord. 3. Remove the Bezel. a. Turn the Keylock to the unlocked position. b. Pull the top edge of the Bezel away from the chassis and then remove it. 30629 a. Loosen the thumbscrews (2) that secure the Top Cover. Thumbscrews 30634... - Page 5 b. Slide the cover toward the rear of the terminal to remove it. 31260 4. Remove the primary HDD. Squeeze the Release Tabs on the Hard Drive Bracket and then slide the HDD assembly out of the chassis. Primary HDD Release Tabs 31261...
- Page 6 5. Remove the Media Bracket Assembly. a. Press on the Media Bracket Tab on the side of the chassis. Media Bracket Tab 30636 b. Lift the assembly partially out of the terminal, guiding the CDROM/DVD Drive out of the opening in the front of the chassis. Media Drive Bracket 24103a...
- Page 7 6. Remove the knockout for the 2nd HDD from the chassis. Insert a flat screwdriver into the slot and pry the it up and down to break the knockout loose. Knockout 31262 7. Connect the Secondary SATA Harness to the SATA1 connector on the Motherboard. SATA5 (Not Used) SATA4 (CDROM/DVD, Blue Cable) SATA1 (Secondary HDD/SSD, Red Cable) SATA0 (Primary HDD, Red Cable) 30638...
- Page 8 8. Secure the cables in the tie wrap located in the bottom of the chassis. 9. Install the new SATA Backplane Board on the Media Bracket (2 screws). SATA Backplane Board 24417 10. Connect the HDD power and data harnesses to the SATA Board. HDD0 Data (Red) HDD0 Power HDD1 Data (Red) HDD1 Power CDROM/DVD Data CDROM/DVD Power (Blue, no metal latch) 24418 ...
- Page 9 11. Install the Media Bracket Assembly into the chassis. Note: Be sure to hook the front edge of the Media Bracket onto the metal catch on the front of the chassis. 12. Pivot the back of the Media Bracket down into the chassis until it latches. Turned Over Hook CD-ROM/DVD Opening Metal Catch 24422 ...
- Page 10 13. Install the Secondary HDD in the HDD Brackets. Align the extensions on the brackets with the screw holes in the new drive and slide the brackets together. Align the HDD Screw Holes with the Studs in the Bracket and Snap the New HDD into the Bracket 30633a 14. Install the HDDs into their respective slots in the terminal. HDD1 24420 HDD0 15. Replace the Top Cover. 16. Replace the Bezel. Note: If the secondary HDD is going to be used as a RAID volume see the NCR RealPOS 82xrt User Guide for information about installing RAID.