Advertisement
Quick Links
Advertisement

Related Manuals for Singer C7200


Summary of Contents for Singer C7200
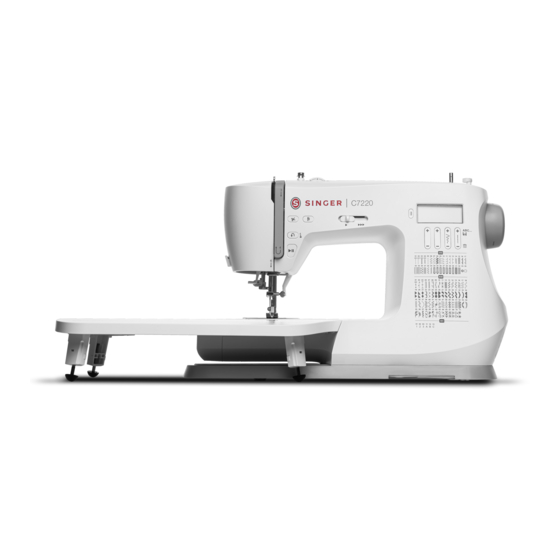
- Page 1 INSTRUCTION MANUAL C7200 / C7205 / C7220 / C7225 C7250 / C7255...
- Page 3 This household sewing machine is designed to comply with IEC/EN 60335-2-28 and UL1594. IMPORTANT SAFETY INSTRUCTIONS When using an electrical appliance, basic safety precautions should always be followed, including the following: Read all instructions before using this household sewing machine. Keep the instructions at a suitable place close to the machine.
- Page 4 SAVE THESE INSTRUCTIONSFOR EUROPE ONLY: FOR EUROPE ONLY: This appliance can be used by children aged from 13 years and above and persons with reduced physical, sensory or mental capabilities or lack of experience and knowledge if they have been given supervision or instruction concerning use of the appliance in a safe way and understand the hazards involved.
- Page 6 TABLE OF CONTENTS Change Needle Position ............. 21 INTRODUCTION ..........1 Change Sewing Direction ..........22 Intended Use ..............1 Finish Sewing ............... 22 Machine Overview ............1 Straight Stretch Stitch ........... 22 Needle Area Overview ............ 2 Multi-Step Zigzag Stitch..........23 Top of Machine ...............
- Page 7 Intended Use Optimal use and maintenance are described in these instructions. This product is not intended for industrial or commercial use. Additional assistance, by region, may be found online at www.singer.com. Machine Overview 1. Feed Teeth Lever — Move from side to side to engage or 7.
- Page 8 Needle Area Overview 1. Needle Plate — provides a flat area around presser foot for sewing. Guidelines indicate various seam allowances used to guide fabric while sewing. 2. Feed Teeth — feed the fabric under the presser foot when sewing. 3.
- Page 9 Overview Accessories Bobbin x4 — Only use the type of transparent bobbins delivered with your machine (SINGER® Class 15 transparent bobbins). One of the bobbins is inserted in the machine upon delivery. Felt Pad — Used to cushion the spool of thread when using the Auxiliary Spool Pin.
- Page 10 Optional Accessories Additional optional accessories are available for your machine. Check with your authorized SINGER® retailer for more information. 4 – I ntroduction 4 – I ntroduction...
- Page 11 Stitch Overview Choosing Utility and Decorative Stitch Patterns The stitches described in the below chart are utility stitches, used mainly for utility sewing. The machine will automatically default to the Pattern Mode and Straight Stitch when turned on. You can also select the mode for additional decorative stitches or the mode for Alphanumeric Stitch Patterns.
- Page 12 Closed Over- Sew decorative hems and overlapped seams, belts and bands. For medium/heavy stretch lock Stitch fabrics. Honeycomb For elastic insertion, decorative stitching, smocking, couching and hemming. Stitch Buttonhole Sew buttonholes on home decór, garments, crafts and more. Rounded Bart- For light weight fabrics.
- Page 13 Decorative Stitches In addition to utility stitches, your machine features decorative and lettering stitches. When sewing these stitches, it is recommended to use a stabilizer underneath the fabric to help prevent the dense stitching from possibly puckering the fabric. It is also helpful to slightly reduce the upper thread tension.
- Page 14 PREPARATIONS Unpacking the Machine 1. Place the box on a steady, flat surface. Lift the machine out of the box, and remove the packaging. 2. Remove all outer packing material and the plastic bag. 3. Wipe off the machine with a dry cloth to remove any lint and/or excess oil around the needle area. Note: Your sewing machine is adjusted to provide the best stitch result at normal room temperature.
- Page 15 Free Arm/Removable Accessory Tray Store presser feet, bobbins, needles and other accessories in the accessory tray so that they are easily accessible. Keep the accessory tray on the machine to provide a larger, flat work surface. Use the free arm to facilitate sewing trouser legs and sleeve hems.
- Page 16 Spool Pin Your machine has two spool pins, a main spool pin and an Auxiliary Spool Pin. The spool pins are designed for various types of thread. The main spool pin is used in a horizontal position (the thread reels off the spool) and the Auxiliary Spool Pin in a vertical position (the thread spool rotates).