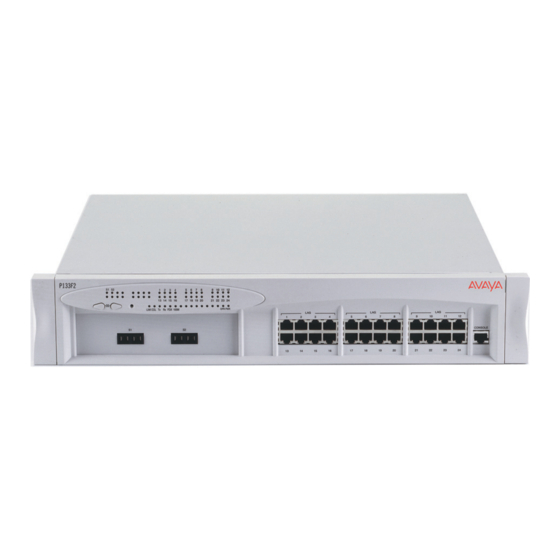
Summary of Contents for Avaya P133F2
- Page 1 Avaya P133F2 Unpack Quick Start Guide Rack mount (optional) Power up Connect the cables Configure Run Web-based Manager (optional)
- Page 2 • Avaya Warranty and License Agreement Avaya P130 Documentation and Utilities CD The CD contains the latest Technical Documentation for the Avaya P130 Workgroup switches and files for use with the Embedded Web Manager. Technical Documentation You can view and print the Technical Documentation using Adobe® Acrobat® Reader.
- Page 3 WARNING: Disconnect all cables from the unit before proceeding with the rack installation. Snap open the hinged ends of the unit’s front panel to reveal the screw holes. Closed hinged end P133F2 11 12 OPR PWR CONSOLE Open hinged end...
-
Page 4: Connect The Cables
Power up Avaya P130 Insert the power cord into the power connector (BUPS or Power Supply) on the rear of the unit. AC connector Power Supply Connector Insert the other end of the power cord into the electricity supply. Connect the cables... -
Page 5: Basic Configuration
When ON, indicates Full Duplex mode. When OFF, indicates Half Duplex mode. Basic configuration To connect a PC terminal or VT-100 terminal to the Avaya P130 If you are using a PC, initiate a VT-100 terminal emulation session using an application such as Windows® HyperTerminal. -
Page 6: Setting The Parameters
Setting the Parameters If you wish to change the default parameters shown and configure the mandatory parameters, we recommend that you use the Command Line Interface (CLI). For further information, please refer to Chapter 6 of the Avaya P130 Documentation. - Page 7 Default Switch Parameters Configuration Parameter Default Setting P130 IP address 149.49.32.134 Default gateway 0.0.0.0 VLANs VLAN 1 Spanning tree Enabled Bridge priority for Spanning Tree 32768 NTP server IP address 0.0.0.0 Timezone offset 0 hours Read-only SNMP community string Public Read-write SNMP community string Public Trap SNMP community string...
-
Page 8: System Requirements
Run the Web-Based Manager (optional) To configure the Avaya P130 you can use the P130 Web-based Manager in addition to using the CLI. System Requirements Minimum hardware and Operating System requirements are: • Windows® 95 or NT® 4.0 or higher •... - Page 9 Either install the plug-in from the “Documentation and Utilities” CD as follows: 1. Close all unnecessary applications on your PC. 2. Insert the “Avaya P130 Documentation and Utilities” CD in the CD drive. 3. Open Windows® Explorer. 4. Open the embweb-aux-files\ folder on the CD 5.
-
Page 10: Documentation And Online Help
Documentation and Online Help Refer to the Avaya P130 Documentation and Utilities CD for full instructions... - Page 11 Notes...
-
Page 12: Contact Information
Contact Information To contact Avaya technical support: From the United States: Please call 1-800-237-0016, press 0, then press 73300. From outside the United States: EMEA (Europe, Middle East and Africa). Email: csctechnical@avaya.com Country Local Dial-In Number Country Local Dial-In Number...


