Advertisement
Quick Links
Advertisement

Related Manuals for Garmin etrex


Summary of Contents for Garmin etrex
- Page 1 Test and Use of the GPS in the Field © WHO 2002...
- Page 2 16-09-03 GPS_test_and_use.doc 10:28 Test and Use of the GPS in the Field © World Health Organization Geneva, Switzerland This document was prepared by F. Naville et S. Ebener This report contains the views of experts, and does not necessarily represent the decisions or the stated policy of the World Health Organization.
- Page 3 16-09-03 GPS_test_and_use.doc 10:28 1. Introduction This document is a complement to the GPS Field guide and GPS Data Collection Protocol. It describes the steps to be followed just after the presentation in order to test the GPS devices before going into the field and the steps to be followed in the field for collecting the geographic location of the selected households.
- Page 4 2.2) Once the training is finished you can start First install the batteries: to prepare the eTrex and check that it is Remove the battery cover by turning the functioning properly. D-ring at the back of the unit ¼ turn anti-clockwise.
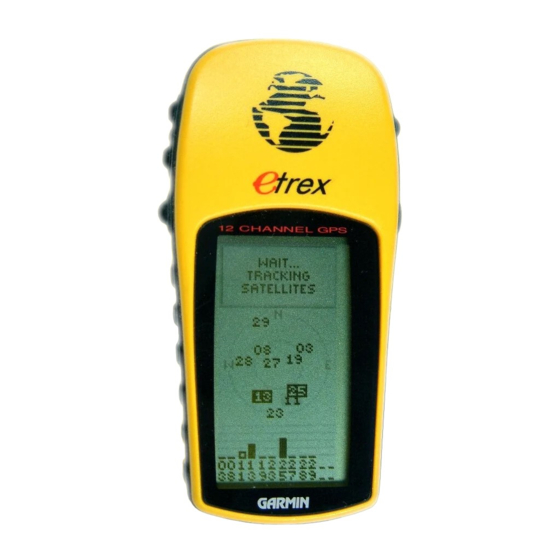
- Page 5 16-09-03 GPS_test_and_use.doc 10:28 2.5) 2.6) Hold the eTrex unit parallel to the ground and the screen facing upwards. Always use the unit in this position. 2.7) 2.8) The ‘ SATELLITE’ page The ‘ WELCOME’ page Press and hold the POWER button to turn Wait until the message ‘...
- Page 6 GPS_test_and_use.doc 10:28 2.10) 2.9) Before using the eTrex, set-up the Press and hold the ENTER button in working units as shown on the picture. To order to directly access the ‘ MARK do so refer to page 20 of the ‘ GPS Field WAYPOINT’...
- Page 7 If the coordinates displayed are within the range of the ‘ Country Information’ form, then your eTrex is initialised properly. 2.13) Your eTrex is now ready to be used in the survey. You should go to the field with: - The eTrex device - The ‘...
- Page 8 Field Guide’ . 3.4) 3.3) Press and hold the ENTER button in order Your eTrex is now ready and you can to access the ‘ MARK WAYPOINT’ page. start to collect geographic readings. If the coordinates are not in the desired Move to the first selected household in units refer to page 20 of the ‘...
- Page 9 16-09-03 GPS_test_and_use.doc 10:28 3.5) Once in front of the household, fill in section 0100 of the questionnaire, “Sampling Information”, concerning the household as follows: 3.6) Q0100-Q0103: Sampling. Fill in the name and/or code of each sampling level. Here is an example in South Africa: Imagine that one of the cluster is part of the Gauteng Province which corresponds to the Primary Sampling Unit.
- Page 10 16-09-03 GPS_test_and_use.doc 10:28 3.7) Inside this Province the cluster is situated in the Pretoria Metropolitan Council (Secondary Sampling unit (SSU)). 3.8) And we named this cluster n° 001 (Tertiary Sampling Unit (TSU)).
- Page 11 16-09-03 GPS_test_and_use.doc 10:28 3.9.1) Q0104 Setting: Indicate the urbanisation level observed around the household. You can refer to table 1, page 2 of the ‘ GPS Data Collection Protocol’ . In this picture the urbanisation level corresponds for example to the “Urban” type. 3.9.2 In this other example the urbanisation level observed around the household corresponds to “Rural”...
- Page 12 Then to collect the coordinates it is once making sure that you have an open view of more crucial to follow each step of the the sky. Hold the eTrex parallel to the procedure as follows: ground, facing upwards. 3.12) 3.13)
- Page 13 16-09-03 GPS_test_and_use.doc 10:28 3.14) Verify that the coordinates are within the range of the ‘ Country Information’ form. If this is not the case please refer to chapter 4, section 4.7 of the ‘ GPS Field Guide’ . 3.15) You can now enter the coordinates in the section 0200 of the questionnaire: “Geocoding Information”.
- Page 14 16-09-03 GPS_test_and_use.doc 10:28 3.16) Then fill in the fields “Waypoint” information (your location when you took the measure). You only have two options: -You took the measure in front of or around the household then mark the field 2 as shown on the figure.
- Page 15 To do so, start again from figure 3.3. press and hold the POWER button. Then you can go to the next cluster and...