
Related Manuals for Garmin ETrex


Summary of Contents for Garmin ETrex
- Page 1 Created November, 2012 for use with: Garmin eTrex, QGIS v. 1.7 Collecting and Working with GPS Data GPS data: ETrexQGIS...
-
Page 2: Section A: Collecting Data With A Gps Receiver
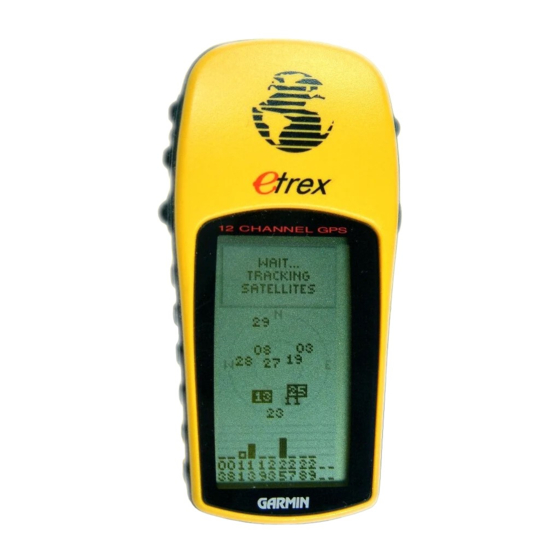
In this exercise you will learn how to collect data using an eTrex GPS unit. You will then learn how to load data from an eTrex GPS unit into QGIS and display it on a map. The instructions may vary slightly depending on your operating system and hardware. - Page 3 Step 1: Familiarize yourself with the eTrex unit and turn it on. The Up and Down buttons on the left will allow you to select options on pages and menus, adjust the display contrast, zoom in and out on the Map Page, and cycle through data on the Pointer Page.
- Page 4 Press the On button (on the right side of the unit). The unit will start to look for satellites and will display the satellite acquisition page. This process normally takes several minutes, so be patient. (The satellite signals do not go through walls, so this cannot be done from inside a building). GPS data: ETrexQGIS...
- Page 5 It can help you identify possible obstacles blocking the signal (such as buildings, trees, mountains, etc.) Preferably the satellites locations will be a mix of high and low on the horizon, in several different directions. GPS data: ETrexQGIS...
- Page 6 GPS unit is somewhat limited. Step 3: Check the unit setup. Press the Page button (right side of unit) several times, until you reach the Menu page. Highlight the word Setup and press Enter. GPS data: ETrexQGIS...
- Page 7 You will see the following screen: Waypoint ID Coordinates The Waypoint ID is important to note on your survey spreadsheet or data table as this is what will link it to all information collected at that point, such as facility GPS data: ETrexQGIS...
- Page 8 Finally, turn off the unit to save batteries. (Turning off the unit will not cause you to lose any data you have entered). You now have a data file you’ll be able to view in QGIS, in the next section of this exercise. GPS data: ETrexQGIS...
- Page 9 “fetch” the correct plugin from the internet, please return to Exercise 2: Explaining plugins. The GPS tools plugin is part of the main plugin installer that comes with version 1.7.4.) GPS data: ETrexQGIS...
- Page 10 Step 3: Run the GPS Tools Plugin and download the points. From the menu, select Plugins > Gps > Gps Tools. (NOTE: If you have QGIS versions 1.6 or 1.8, the GPS tools may be in a different menu or toolbar location.) GPS data: ETrexQGIS...
- Page 11 With your GPS unit turned on and properly connected to your computer, choose the “Download from GPS” tab at the top. “Garmin serial” should be selected under GPS device. You will need to select the proper port in order for the computer to recognize where the device is located.
- Page 12 NOTE: We’ll need a Plugin for this called “OpenLayers”. Please fetch and install this plugin if it is not already available. (See Exercise 2 for more instructions.) Go to the menus and choose Plugins > OpenLayers plugin > Add OpenStreetMap Layer GPS data: ETrexQGIS...
- Page 13 Change your layer symbology, if desired, to make it more readable. Below, the points have been changed to orange stars. The yellow and orange linear areas denote streets and the grey line is a railroad. The points shown were collected by your instructor near the hotel. GPS data: ETrexQGIS...
- Page 14 The information provided in this exercise is not official U.S. government information and does not necessarily represent the views of USAID or the U.S. government. GPS data: ETrexQGIS...