Table of Contents
Advertisement
Advertisement
Table of Contents

Related Manuals for Vision Fitness T600


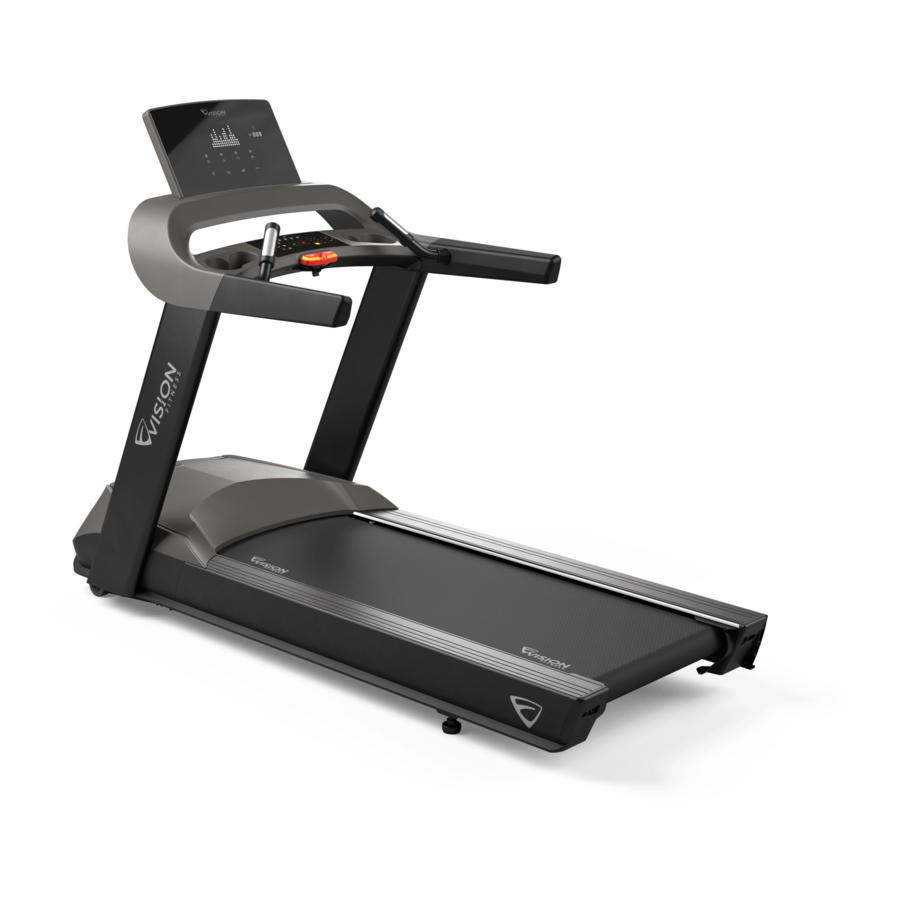
Summary of Contents for Vision Fitness T600
- Page 1 T600...
- Page 3 IMPORTANT PRECAUTIONS SAVE THESE INSTRUCTIONS • When using a treadmill, basic precautions should always be followed, including the following: Read all instructions before using this equipment. It is the responsibility of the owner to ensure that all users of this equipment are adequately informed of all warnings and precautions. •...
- Page 4 POWER REQUIREMENTS GROUNDING INSTRUCTIONS The equipment must be grounded. If it should malfunction or breakdown, grounding provides a path of least resistance for electric current to reduce the risk of electric shock. DEDICATED CIRCUIT AND ELECTRICAL INFO The unit is equipped with a cord having an equipment-grounding conductor and a A “Dedicated Circuit”...
- Page 5 ASSEMBLY UNPACKING TOOLS REQUIRED: Unpack the equipment where you will be using it. Place the carton 8mm T-Wrench on a level flat surface. It is recommended that you place a protective covering on your floor. Never open box when it is on its side. 8mm Allen Wrench 6mm Allen Wrench IMPORTANT NOTES...
- Page 6 • Open HARDWARE FOR STEP 2. IMPORTANT: Do not tighten bolts until step 3 is complete. • Connect the HEART RATE GRIP WIRE (7), discard the wire tie, and tuck the cables • Remove 2 pre-installed screws (A) and detach MOTOR COVER (1). inside the LEFT HANDLE BAR (8) and slide into the CONSOLE BASE (9).
- Page 7 • Open HARDWARE FOR STEP 3. • Open HARDWARE FOR STEP 4 • Attach CONSOLE BASE (9) to CONSOLE MASTS (3 & 6) using 4 BOLTS (G), and 4 • Connect the CONSOLE CABLES (4) and HEART RATE WIRES (7) to the CONSOLE CURVED WASHERS (H).
- Page 8 • Open HARDWARE FOR STEP 5 • Install the POWER CORD (M) to the BASE FRAME (2). • Install the POWER CORD RETAINING PLATE (N) to the BASE FREAME (2) using 1 SCREW (L). Hardware For Step 5 ASSEMBLY COMPLETE! Description Screw Power Cord...
- Page 9 CONSOLE OPERATION PROGRAM PROFILE WINDOW Represents the profile of the program being used (speed during speed based programs and incline during incline based programs). HEART RATE CENTER Displays your Actual and Target heart rate during the workout. The console displays a heart rate within 15 to 20 seconds of contact with the sensors or the use of a heart rate chest strap.
- Page 10 PROGRAM INFORMATION DEFAULT PROMPT PROGRAM PROGRAM DESCRIPTION TIME INPUT CONTROL Quick Start is the fastest way to begin exercising and bypasses the setup prompts. After pressing , a constant-level workout begins, and the speed and incline do not QUICK START change automatically.
- Page 11 PROGRAMS CHARTS FITNESS TEST - GERKIN Predicted VO2 VO2 max (ml/kg/min) FEMALES MALES Total Speed Incline Predicted VO2 Stage Time max METS TEST RESULT PERCENTILE 20-29 30-39 40-49 50-59 20-29 30-39 40-49 50-59 (ml/kg/min) 1:00 13.3 >53.0 >48.7 >46.8 >42.0 >58.8 >58.9 >55.4...
- Page 12 GETTING STARTED PROPER USAGE Position your feet on the belt, bend 1) Check to make sure no objects are placed on the belt that will your arms slightly and grasp the hinder the movement of the treadmill. heart rate sensors (as shown). While running, your feet should be located 2) Plug in the power cord and turn the treadmill ON.
- Page 13 MANAGER MENU SETTINGS CUSTOM DEFAULT MINIMUM MAXIMUM UNIT STEP DESCRIPTION SETTING MAXIMUM minute This option enables fitness club managers to set the program maximum workout TIME duration limits during peak and non-peak hours of club traffic. Active variable displayed in the TIME display after change. DEFAULT TIME minute This option controls the default program time.
- Page 14 BEFORE YOU BEGIN LOCATION OF THE TREADMILL Place the equipment on a level and stable surface away from direct sunlight. The intense UV light can cause discoloration on the plastics. Locate the equipment in an area with cool temperatures and low humidity. Please leave a clear zone behind the treadmill that is at least the width of the treadmill and at least 79”...
- Page 15 TENSIONING THE RUNNING BELT After placing the treadmill in the position it will be used, the belt must be checked for proper tension and centering. The belt might need to be adjusted after the first two hours of use. Temperature, humidity, and use cause the belt to stretch at different rates. If the belt starts to slip when a user is on it, be sure to follow the directions below.
- Page 16 CAUTION! USING THE HEART RATE FUNCTION The heart rate function on this product is not a medical device. While heart rate grips RISK OF INJURY TO PERSONS can provide a relative estimation of your actual heart rate, they should not be relied While you are preparing to use the treadmill, do not stand on the belt.
- Page 17 MAINTENANCE MAINTENANCE SCHEDULE Any and all part removal or replacement must be performed by a qualified service technician. 1) DO NOT use any equipment that is damaged and or has worn or broken parts. Use only ACTION FREQUENCY replacement parts supplied by your country’s local VISION dealer. 2) MAINTAIN LABELS AND NAMEPLATES: Do not remove labels for any reason.
- Page 18 © 2019 Johnson Health Tech T600 Rev 2.0 A ENGLISH...