Advertisement
IT - Si prega di conservare con cura questo libretto d'istruzioni per future consultazioni
GB - Please retain these instructions in a safe place for future reference
FR - Conserver cette notice pour toute consultation ultérieure
RO - Pastrati instructiunile pentru consultari ulterioare
NL - Bewaar deze gebruiksaanwijzing zorgvuldig voor toekomstig gebruik
1
Advertisement
Table of Contents

Related Manuals for Radialight KLIMA Series


Summary of Contents for Radialight KLIMA Series
- Page 1 IT - Si prega di conservare con cura questo libretto d’istruzioni per future consultazioni GB - Please retain these instructions in a safe place for future reference FR - Conserver cette notice pour toute consultation ultérieure RO - Pastrati instructiunile pentru consultari ulterioare NL - Bewaar deze gebruiksaanwijzing zorgvuldig voor toekomstig gebruik...
- Page 2 n°1 min. 50cm min. 15cm n°1 n°4-5x60mm min. min. 15cm 15cm n°4-8x50mm min. 15cm 4 mm...
- Page 3 click! click!
-
Page 5: For Your Safety
ENGLISH OPERATING INSTRUCTIONS Before operating the heater, please read these instructions thoroughly to avoid damage and hazardous situations. Any use of this heater other than that stipulated in this instruction manual may cause fire, electric shock or injury, and voids all warranties. Warranty does not apply to any defect, deterioration, loss, injury or damage caused by, or as a result of, the misuse or abuse of this heater. -
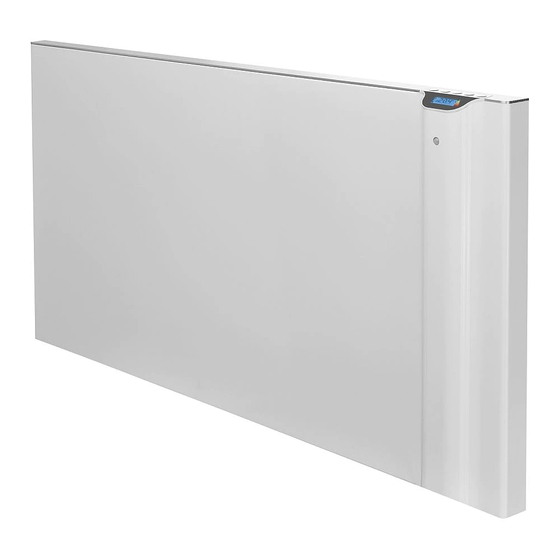
Page 6: Your Product
Do not use the product in rooms saturated with explosive gas, vapours generated by solvents or paints or flammable vapours/gas. If the cable and/or plug are damaged, do not repair them yourself but take the product to the technical service or a qualified repair centre and have them repaired by specialised personnel in order to avoid any risk of damage. - Page 7 If the product is powered through a 30mA differential switch, make sure the pilot wire is also controlled by the differential switch. Phase (brown) Pilot wire (black) – DO NOT CONNECT TO EARTH Neutral (blue) 6. Using the product 6.1 Description of controls A –...
-
Page 8: Selecting The Operating Mode
To switch on the radiator, push the Switch on / Stand-by key. The radiator always comes on in comfort mode. If the radiator is new or the power supply has been off for more than 30 minutes, the comfort temperature is at the default value of 19°C. -
Page 9: Setting The Temperatures
00:00 17:00 24:00 Monday-Thursday Friday Saturday-Sunday 00:00 07:00 18:00 24:00 Monday-Friday Saturday-Sunday = temperature "COMFORT" = temperature "ECO" = temperature anti-freeze The program P1 can be customized following the instructions listed in paragraph 6.2.6. The programmes P2 and P3 are preset and cannot be changed, other than in the case of comfort and eco temperature values. -
Page 10: Setting The Day And Time
6.2.5 Setting the day and time The day and time are set to be able to The day flashes the day to be set (1 = use the 3 preset programmes, and this Monday). To edit it, push the “+” or “-“ can be done by holding down the mode keys. - Page 11 To display P1 Program hold button “-“ for 3 seconds. The first day to see/modify is now displayed (1= Monday) Press “M” button to choose the wished temperature level among Comfort, Eco or Frost Free: Press “+” button to enter the first hour to see/modify.
- Page 12 Note: it is possible to exit any time from program sequence, without displaying every hour until Day 7. “OK will appear on the display for 5 To do so, just hold “F” button and press “- second, confirming that the Program “...
-
Page 13: Special Functions
Press “+” until you’ll see H:05 on the display (that’s the hour we want to modify temperature level COMFORT). Press “M” two times to change the ECO temperature level to COMFORT. Press “+” button until you’ll see D:2 appear on the display (Tuesday) To copy and paste the same program of Day 1 on Day 2, hold “F”... - Page 14 To reinstate all the radiator's parameters to the default settings set by the manufacturer hold at least for 3sec the "+" key down. Reinstating default settings Switching the function (ON) or (OFF) is done by pushing the “+” or “-“ keys Presence sensor respectively.
- Page 15 The display flashes the correction value to be applied. To edit it, push the “+” or “- “ keys. Alignment of the ambient temperature This function is used to edit the ambient temperature measured by the radiator and used to manage heating power, if it needs to be corrected to compensate for If, for example, the temperature set on reading errors due to things like being...
- Page 16 6.3.2 Open window sensor This function makes it possible to detect an open window and automatically activate the Anti-freeze operating mode. If a sudden reduction is temperature is detected when the radiator is operating normally, anti-freeze mode is activated automatically to reduce energy wastage. On the display the window and anti-freeze symbols flash together, while the symbol for the operating mode set by the user stays on.
-
Page 17: Troubleshooting
7. Troubleshooting Problem Solution The radiator does not switch on. Check that the power supply is on and that it is as indicated in the radiator's nameplate (e.g. 230 Vac 50 Hz), and that the main switch on the right side of the radiator is switched on (position "I"). - Page 18 EN - Information requirements for electric local space heaters Model identifier(s): KLIMA Item Symbol Value Unit Item Unit Heat output Type of heat input, for electric storage local space heaters only (select one) (*) see manual heat charge control, with integrated thermostat Nominal heat output Table 1 Minimum heat output...