Advertisement
Quick Links
Only personnel that have been trained to install, adjust, service
or repair (hereinafter, "service") the equipment specified in this
manual should service the equipment. Daikin will not be
responsible for any injury or property damage arising from
improper service or service procedures. If you service this unit,
you assume responsibility for any injury or property damage
which may result. In addition, in jurisdictions that require one or
more licenses to service the equipment specified in this manual,
only licensed personnel should service the equipment.
Improper installation, adjustment, servicing or repair of the
equipment specified in this manual, or attempting to install,
adjust, service or repair the equipment specified in this manual
without proper training may result in product damage, property
damage, personal injury or death.
PROP 65 WARNING
FOR CALIFORNIA CONSUMERS
WARNING
Cancer and Reproductive Harm -
www.P65Warnings.ca.gov
* Complete warranty details available from your local dealer/contractor or
at www.daikincomfort.com.
IO-DPV
WARNING
0104M00517-A
www.daikincomfort.com
DAIKIN ONE POWERED VENTILATOR
INSTALLATION &
OPERATION MANUAL
MODEL
DQ-P-16-100
08/20
Advertisement

Related Manuals for Daikin ONE


Summary of Contents for Daikin ONE
- Page 1 If you service this unit, you assume responsibility for any injury or property damage which may result. In addition, in jurisdictions that require one or more licenses to service the equipment specified in this manual, only licensed personnel should service the equipment.
-
Page 2: Proprietary Notice
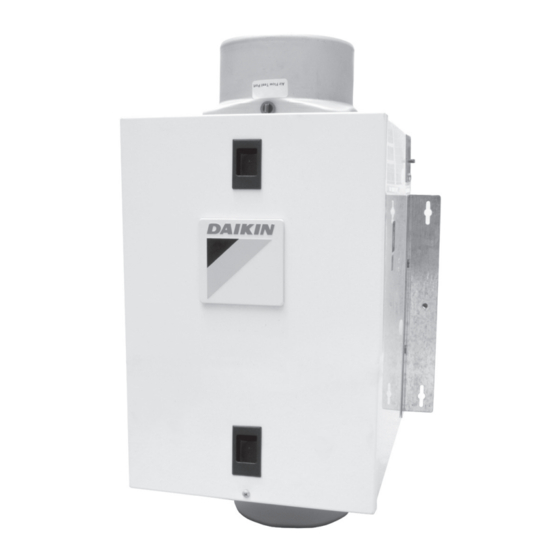
Specifications Read and save these instructions Description The Daikin One Powered Ventilator is a cost-effective mechanical WARNING! ventilation solution that helps manage the humidity and tempera- This symbol indicates important instructions. Failure to heed ture in a home. Contractors and builders now have a practical them can result in serious injury or death. -
Page 3: General Installation Steps
Daikin North America LLC reserves the right to discontinue or change at any time, specifications or designs without notice or without incurring obligations. Performance of the Ventilator and/or Accessories will depend on house plan design, duct design and heating/cooling equipment IO-DPV www.daikincomfort.com... - Page 4 Installation Stud/Joist 11½" Bracket Bracket Anchors Screws Joist 2 x 4 Header Figure 1 - Surface mounting of ventilator Figure 2 - Mounting ventilator to a joist Ducting the Ventilator NOTE: At the base of the intake duct collar, there is a small test port NOTE: 6"...
- Page 5 Installation Wiring the Ventilator Setting the Ventilation Flowrate CAUTION! 1. Determine the CFM desired for ventilating the home. This unit Make sure power is switched off at service panel before can be set to deliver between 40 CFM and 100 CFM of outdoor starting electrical work.
- Page 6 Installation Inline Media Air Filter 3. Then slide the screen in the opposite direction and tuck it behind the smaller tab (Figure 11). This ventilator includes a high efficiency MERV 16 inline media air 4. Confirm that the screen is being held in place by both top tabs filter which helps remove airborne particulates from the intake air.
-
Page 7: Maintenance
Installation 1. Press the ON/OFF/ENERGY SAVING button to power on the 2. When the ventilator is on, the screen will display the current ventilator. Press the CONFIGURE button once and the temperature and relative humidity of the incoming outdoor controller will display F and Temp Unit on the right hand side intake air as well as the ventilator’s operating mode (Energy of the screen. - Page 8 DQ-P-TP-DB Daikin North America LLC reserves the right to discontinue or change at any time, specifications or designs without notice or without incurring obligations. Performance of the Ventilator and/or Accessories will depend on house plan design, duct design and heating/cooling equipment.