Table of Contents
Advertisement
Advertisement
Table of Contents

Related Manuals for Ryobi OWS1815


Summary of Contents for Ryobi OWS1815
- Page 1 ORIGINAL INSTRUCTIONS Backpack Sprayer 15L OWS1815...
- Page 2 Important! It is essential that you read the instructions in this manual before assembling, operating and maintaining the product. Subject to technical modification.
-
Page 3: Intended Use
Safety, performance, and dependability have been given ■ If operating a power tool in a damp location is top priority in the design of your backpack sprayer. unavoidable, use a residual current device (RCD) protected supply. Use of an RCD reduces the risk of electric shock. -
Page 4: Additional Safety Warnings
other condition that may affect the power tool’s BACKPACK SPRAYER SPECIFIC SAFETY operation. If damaged, have the power tool repaired WARNINGS before use. Many accidents are caused by poorly ■ Do not spray flammable liquids, such as gasoline, to maintained power tools. reduce the risk of fire or explosion. -
Page 5: Filling The Container
■ Always inspect both the inside and outside of the components before each use. Check for cracked product before each use. and deteriorated hoses, leaks, clogged nozzles, and missing or damaged parts. If damaged, have the ■ Liquids to be sprayed must be as thin as water. Thicker product repaired before use. -
Page 6: Maintenance
● viscous or sticky liquids CAUTION ● caustic or corrosive chemicals Do not at any time let brake fluids, gasoline, petroleum- ● liquids hotter than 50°C based products, or penetrating oils, come in contact with ■ Avoid using the product in freezing weather since the plastic parts. -
Page 7: Symbols In This Manual
with skin or eyes. Follow instructions carefully and wear SYMBOLS IN THIS MANUAL appropriate protective equipment as prescribed in this manual. Stop the product. WARNING Injuries may be caused or aggravated by prolonged use of a tool. When using any tool for prolonged periods, Lock ensure you take regular breaks. - Page 8 WHAT’S IN THE BOX...
-
Page 9: Know Your Product
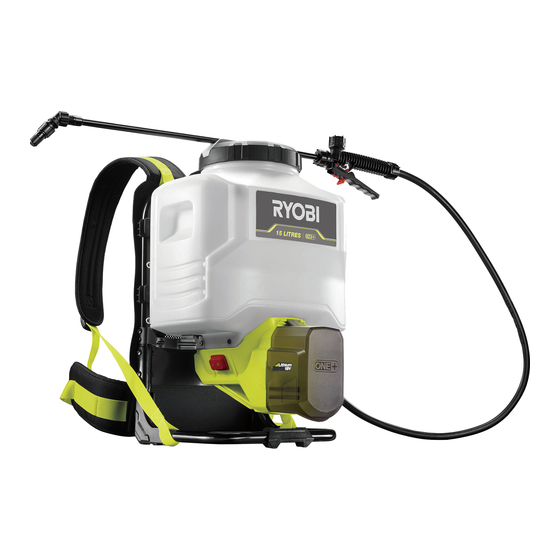
KNOW YOUR PRODUCT 1. Tank lid 8. Elbow 2. Basket filter 9. Flat fan nozzle 3. Trigger 10. Cone spray nozzle 4. Handle cap 11. Battery cover 5. Lock-on latch 12. ON/OFF switch 6. Wand 13. Pick-up tube 7. Hose 14. -
Page 10: Getting Started
GETTING STARTED Insert the spray wand into the trigger handle. Slide the nut Always wear safety goggles or safety glasses with side onto the threaded coupling and hand tighten securely. shields when operating the product. Wear non-skid, protective footwear that will protect your feet and improve your footing on slippery surfaces. - Page 11 GETTING STARTED GETTING STARTED Install either the flat fan nozzle or cone spray nozzle and Untighten the tank lid and remove it from the tank. Fill the tank with the desired amount of liquid (up to 15L). Place the tank lid back onto the tank and tighten. tighten.
- Page 13 OVERVIEW OVERVIEW Operating the product Connecting the nozzle to the elbow p.12 p.14 Cleaning the product Cleaning the plastic filter Storing the product p.16 p.19 p.21...
-
Page 14: Operation
OPERATION OPERATING THE PRODUCT WARNING: Do not smoke, eat, or drink while using the product. Do not spray in the direction of people or animals. Always spray downwind. 1. Install the battery pack. ■ Raise the battery cover. ■ Place the battery pack into the product. - Page 15 OPERATION NOTE: The lock-on feature is convenient when spraying for an extended period of time or when covering a large area. ■ To lock-on, squeeze the trigger and slide the locking tab backward. ■ To release the lock-on, squeeze the trigger and slide the locking tab forward.
- Page 16 OPERATION CONNECTING THE NOZZLE TO THE ELBOW 1. Turn off the product. 2. Loosen and remove the cone spray nozzle. 3. Install and tighten the elbow. 4. Install either the flat fan nozzle (left) or cone spray nozzle (right).
- Page 17 OPERATION 5. Tighten either the flat fan nozzle or cone spray nozzle. 6. Turn on the product. To start the flow of liquid of the spray wand, squeeze the trigger. NOTE: The flat fan nozzle provides a fan spray. NOTE: For a scatter spray, turn the cone spray nozzle clockwise.
-
Page 18: Cleaning The Product
MAINTENANCE CLEANING THE PRODUCT 1. Remove the battery pack. Depress the latches on both sides to release the battery pack and remove it from the product. 2. Remove the tank cover. 3. Drain the contents of the tank. 4. Fill the spray tank about one-third full with clean water. - Page 19 MAINTENANCE 5. Reinstall the battery. 6. Turn on the product. 7. Squeeze the trigger to start the flow of liquid. NOTE: Spray until the tank has been completely emptied.
- Page 20 MAINTENANCE 8. Wipe the outside of the tank with a clean, dry cloth.
- Page 21 MAINTENANCE CLEANING THE PLASTIC FILTER 1. Remove the battery pack. Depress the latches on both sides to release the battery pack and remove it from the product. 2. Remove the tank lid and the basket filter. 3. Remove the pick-up tube and filter assembly.
- Page 22 MAINTENANCE 5. Rinse the plastic filter with clean water. 6. Reinstall the plastic filter to the pick-up tube. 7. Reinstall the pick-up tube and filter assembly. 8. Reinstall the tank lid and the basket filter.
-
Page 23: Storing The Product
STORAGE STORING THE PRODUCT 1. Remove the battery pack. Depress the latches on both sides to release the battery pack and remove it from the product. 2. Place the nozzle wand (either on the side or on top) into the holder until it snaps into place. -
Page 24: Product Specifications
Compatible BCL14181V, RC18150U, RC18627U, chargers RC18120, RC18115 REPLACEMENT PARTS Nozzle and Wand Assembly 313969001 Handle and Hose Assembly 564605002 Basket Filter 313531001 Pick-up Tube 314681001 NOTE: Visit your local special orders desk or contact RYOBI Customer Service for replacement parts. - Page 28 Imported by: Techtronic Industries Australia Pty Ltd 31 Gilby Road, Mount Waverley, VIC 3149 Melbourne, Australia Techtronic Industries N.Z. Limited 2 Landing Drive, Mangere Auckland, 2022, New Zealand 961087037-01...