Juniper EX2300 Quick Start Manual
Hide thumbs
Also See for EX2300:
- Hardware manual (314 pages) ,
- Quick start manual (15 pages) ,
- Quick start (2 pages)
Advertisement
Quick Links
Quick Start Guide
EX2300
IN THIS GUIDE
Step 1: Begin | 1
Step 2: Up and Running | 4
Step 3: Keep Going | 6
Step 1: Begin
IN THIS SECTION
Mount the EX2300 | 2
Connect Power to the Switch | 3
To mount the Juniper Networks EX2300 Ethernet Switch on two posts of a rack, you need:
Two mounting brackets and eight mounting screws (provided)
Screws to secure the chassis to the rack or cabinet (not provided)
Phillips (+) screwdriver, number 2 (not provided)
To connect the switch to earth ground, you need:
A grounding cable (minimum 14 AWG [2 mm²], minimum 90°C wire) with a grounding lug (Panduit LCC10-14BWL or
equivalent) attached, a pair of 10-32x0.25-in. screws with #10 split-lock washer, and a pair of #10 flat washers—none
provided
To connect AC power to the switch, you need:
Advertisement

Related Manuals for Juniper EX2300


Summary of Contents for Juniper EX2300
- Page 1 Mount the EX2300 | 2 Connect Power to the Switch | 3 To mount the Juniper Networks EX2300 Ethernet Switch on two posts of a rack, you need: Two mounting brackets and eight mounting screws (provided) Screws to secure the chassis to the rack or cabinet (not provided)
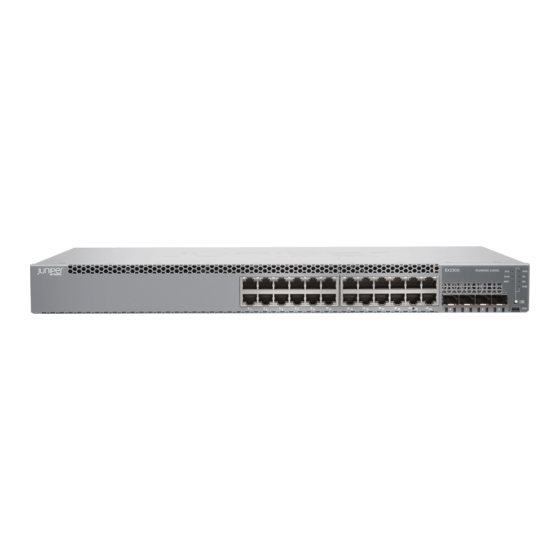
- Page 2 Mount the EX2300 You can mount an EX2300 switch on a desk or a level surface, on two or four posts of a rack or cabinet, or on a wall. This guide describes the procedure to mount the switch on two posts of a rack.
-
Page 3: Connect Power To The Switch
5. Have the second person secure the switch to the rack by using the appropriate screws. Tighten the screws. Connect Power to the Switch IN THIS SECTION Connecting EX2300 to AC power | 3 Connecting EX2300 to DC power | 4 Connecting EX2300 to AC power NOTE: Grounding is required for DC systems and recommended for AC systems. -
Page 4: Step 2: Up And Running
5. Insert power cord plug into the power source outlet. 6. If the power source outlet has a power switch, set it to the ON (|) position. Connecting EX2300 to DC power To connect power to a DC-powered switch: The DC power inlet is on the rear panel of the switch. It has four terminals labeled INPUT1+, INPUT1–, INPUT2+, and INPUT2–. -
Page 5: Perform The Initial Configuration
RJ-45 to DB-9 serial port adapter. NOTE: You can also use the mini-USB port to connect the switch to the management host (see the EX Series documentation at https://www.juniper.net/documentation/product/en_US/ex2300). 3. At the Junos OS shell prompt root%, type ezsetup. 4. (Optional) Enter the hostname. -
Page 6: Safety Warnings Summary
Power Cable Warning (Japanese) | 7 Contacting Juniper Networks | 7 See the complete EX Series documentation at https://www.juniper.net/documentation/product/en_US/ex2300. Safety Warnings Summary This is a summary of safety warnings. For a complete list of warnings, including translations, see the EX Series documentation at https://www.juniper.net/documentation/product/en_US/ex2300. -
Page 7: Power Cable Warning (Japanese)
For technical support, see: http://www.juniper.net/support/requesting-support.html Juniper Networks, the Juniper Networks logo, Juniper, and Junos are registered trademarks of Juniper Networks, Inc. in the United States and other countries. All other trademarks, service marks, registered marks, or registered service marks are the property of their respective owners.