Juniper EX2200-C Quick Start Manual
Hide thumbs
Also See for EX2200-C:
- Hardware manual (288 pages) ,
- Hardware manual (156 pages) ,
- Hardware manual (250 pages)
Table of Contents
Advertisement
Quick Links
Quick Start Guide
EX2200-C
IN THIS GUIDE
Step 1: Begin | 1
Step 2: Up and Running | 4
Step 3: Keep Going | 6
Step 1: Begin
IN THIS SECTION
Mount the EX2200-C on Two Posts of a Rack | 2
Mount the EX2200-C on a Desk or Other Level Surface | 3
Connect Power to the EX2200-C | 3
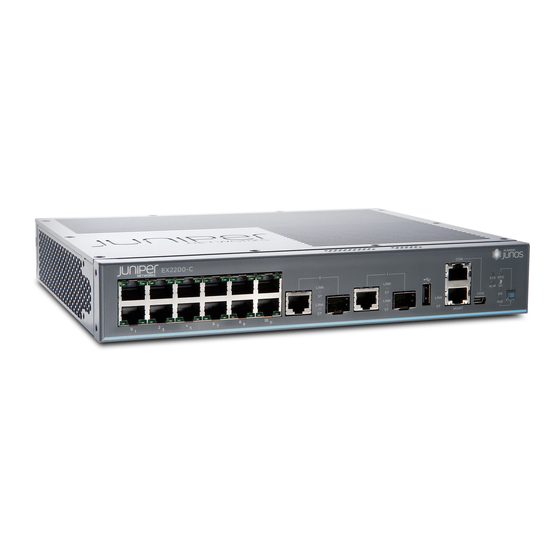
To install and perform initial configuration of a Juniper Networks EX2200-C Ethernet Switch, the compact, fanless model,
you need:
For rack installation:
Two mounting brackets and eight mounting screws (separately orderable)
Screws to secure the chassis to the rack (not provided)
Phillips (+) screwdriver, number 2 (not provided)
For desk installation:
Four rubber feet (provided)
For connection to power and initial configuration:
Advertisement
Table of Contents

Related Manuals for Juniper EX2200-C


Summary of Contents for Juniper EX2200-C
- Page 1 Mount the EX2200-C on a Desk or Other Level Surface | 3 Connect Power to the EX2200-C | 3 To install and perform initial configuration of a Juniper Networks EX2200-C Ethernet Switch, the compact, fanless model, you need: For rack installation:...
- Page 2 Ethernet cable with an RJ-45 connector attached (not provided) Management host, such as a PC, with an Ethernet port (not provided) RJ-45 to DB-9 serial port adapter (provided) Mount the EX2200-C on Two Posts of a Rack Two people are required for this procedure. Mounting rack Mounting bracket 1.
- Page 3 5. Have the second person secure the switch to the rack by using the appropriate screws. Tighten the screws. Mount the EX2200-C on a Desk or Other Level Surface Before mounting the switch, ensure there is adequate clearance for airflow and maintenance.
-
Page 4: Step 2: Up And Running
Step 2: Up and Running IN THIS SECTION Set Parameter Values | 5 Perform the Initial Configuration | 5... -
Page 5: Set Parameter Values
1. Connect the console port of the switch to a laptop or PC using the RJ-45 to DB-9 serial port adapter. NOTE: You can also use the mini-USB port to connect an EX2200-C switch to a laptop or PC (see the EX Series documentation at http://www.juniper.net/techpubs/ ). However, we recommend that you use the RJ-45 console port and not the mini-USB port, because no console messages are displayed if you use the latter. - Page 6 You can now log in with the CLI to continue configuring the switch. Step 3: Keep Going IN THIS SECTION Safety Warnings Summary | 7 Power Cable Warning (Japanese) | 7 Contacting Juniper Networks | 8...
-
Page 7: Safety Warnings Summary
Before connecting the switch to a power source, read the installation instructions in the EX Series documentation. Installing an EX2200-C switch in a rack requires one person to lift the switch and a second person to install the mounting screws. -
Page 8: Contacting Juniper Networks
For technical support, see: http://www.juniper.net/support/requesting-support.html Juniper Networks, the Juniper Networks logo, Juniper, and Junos are registered trademarks of Juniper Networks, Inc. in the United States and other countries. All other trademarks, service marks, registered marks, or registered service marks are the property of their respective owners.