Table of Contents
Advertisement
Advertisement
Table of Contents

Related Manuals for Synology DiskStation DS218play


Summary of Contents for Synology DiskStation DS218play
- Page 1 Synology DiskStation DS218play Hardware Installation Guide...
-
Page 2: Table Of Contents
Table of Contents Chapter 1: Before You Start Package Contents Synology DiskStation at a Glance Safety Instructions Chapter 2: Hardware Setup Tools and Parts for Drive Installation Install Drives Start Up Your DiskStation Chapter 3: Install DSM on DiskStation Install DSM with Web Assistant... -
Page 3: Package Contents
Chapter Before You Start Thank you for purchasing this Synology product! Before setting up your new DiskStation, please check the package contents to verify that you have received the items below. Also, make sure to read the safety instructions carefully to avoid harming yourself or damaging your DiskStation. -
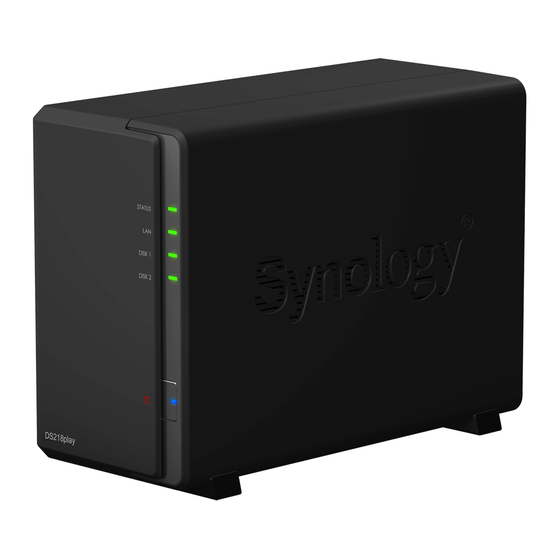
Page 4: Synology Diskstation At A Glance
Synology DiskStation at a Glance Article Name Location Description Displays the status of the system. For more information, see "Appendix B: LED Status Indicator Indicator Table". Displays the status of the network connection. For more information, see LAN Indicator "Appendix B: LED Indicator Table". -
Page 5: Safety Instructions
Safety Instructions Keep away from direct sunlight and away from chemicals. Make sure the environment does not experience abrupt changes in temperature or humidity. Place the product right side up at all times. Do not place near any liquids. Before cleaning, unplug the power cord. Wipe with damp paper towels. Do not use chemical or aerosol cleaners. -
Page 6: Chapter 2: Hardware Setup
Chapter Hardware Setup Tools and Parts for Drive Installation • A screwdriver www.synology.com • At least one 3.5” or 2.5” SATA drive (please visit for compatible drive models) Warning: If you install a drive that contains data, the system will format the drive and erase all existing data. Please back up any important data before installation. - Page 7 a Place the HDD bracket on the DiskStation, and fasten the bracket to the DiskStation with the screws provided. b Slide the drive into the hard drive bay, and push it all the way until it’s firmly connected to the SATA connector.
-
Page 8: Start Up Your Diskstation
Note: If you want to create a RAID volume, we recommended that all installed drives are of the same size to make the best use of drive capacity. 5 Replace the upper case, and tighten the screws on the back panel. Start Up Your DiskStation 1 Connect one end of the AC power adapter to the power port of the DiskStation. -
Page 9: Chapter 3: Install Dsm On Diskstation
Chapter Install DSM on DiskStation After hardware setup is finished, please install DiskStation Manager (DSM) – Synology’s browser-based operating system – on your DiskStation. Install DSM with Web Assistant Your DiskStation comes with a built-in tool called Web Assistant that helps you download the latest version of DSM from the Internet and install it on your DiskStation. - Page 10 • External: ext4, ext3, FAT, NTFS, HFS+, exFAT • Basic • JBOD • RAID 0 • RAID 1 Supported RAID Types • Synology Hybrid RAID (1-Disk Fault Tolerance) Agency Certifications • FCC Class B • CE Class B • BSMI Class B...
-
Page 11: Appendix B: Led Indicator Table
Please try to restart your DiskStation or re-insert the drive(s), and then run the HDD/SSD manufacturer's diagnostic tool to check the health status of the drive(s). If you can log into DSM, please run the built-in S.M.A.R.T. test to scan the drive(s). If the problem remains unresolved, please contact Synology...