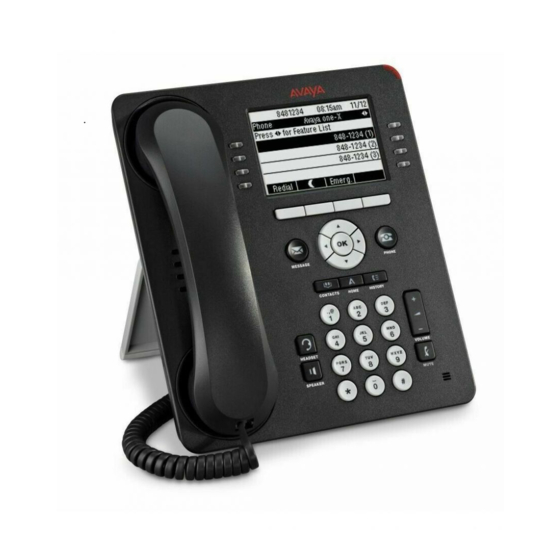
Avaya one-X Getting Started
Hide thumbs
Also See for one-X:
- System administration manual (128 pages) ,
- User manual (98 pages) ,
- Installation and maintenance manual (66 pages)
Advertisement
Quick Links
Advertisement

Summary of Contents for Avaya one-X
- Page 1 Communicator Getting Started 16-602604 Issue 1 December 2008...
- Page 2 While reasonable efforts were made to ensure that the information in this document was complete and accurate at the time of printing, Avaya Inc. can assume no liability for any errors. Changes and corrections to the information in this document may be incorporated in future releases.
- Page 3 Before installing Avaya one-X Communicator on the PC, you must know the following information: • whether Avaya one-X Communicator will be used as an H.323 endpoint or a SIP endpoint. If you do not know this information, contact your system administrator. •...
- Page 4 Softphone without Video installed on your desktop. However, you can only be logged into one of the applications. PC Requirements Your PC must meet the following minimum requirements to run Avaya one-X Communicator Release 1.0: • ® ® IBM PC or compatible PC with an Intel...
- Page 5 Citrix Presentation Server 4.5 Avaya Communication Manager Requirements To use Avaya one-X Communicator, you must have an extension that is properly administered for Avaya one-X Communicator on a media server that is running: • For H.323 voice calls: Avaya Communication Manager Release 4.0.4 with Service Pack 1 or Release 5.1...
- Page 6 Avaya IPS Release 1.0 NOTE: For instant messaging presence, Avaya IPS should be integrated with Microsoft OCS 2007 server through Microsoft Edge server. You must know either the fully-qualified domain name or IP address for the Avaya one-X Portal server.
- Page 7 Avaya one-X Communicator. Step 1: Install Your Web Camera If you want to make and receive video calls with Avaya one-X Communicator, you must install your web camera and its drivers on your PC. Follow the instructions provided with...
- Page 8 5. Enter your information in the Full Name and Organization boxes. 6. Perform one of the following steps: • If you want the settings for Avaya one-X Communicator to be used by anyone who uses this PC, click the Anyone who uses this computer option button. •...
- Page 9 Step 4: Modify the Settings for Your Virus Scan Program After installing Avaya one-X Communicator, configure your virus scan program so that it does not scan the folder in which you installed Avaya one-X Communicator or where log files are stored. The default installation folder is C:\Program Files\Avaya\Avaya one-X Communicator.
- Page 10 Phone settings are displayed. 3. Perform one of the following steps: • If you want Avaya one-X Communicator to try to discover your phone settings automatically, perform the following steps: a. Click Discover. Avaya one-X Communicator retrieves information for the Server, Alternate Server Addresses, Domain (SIP mode only), Transport Type (SIP mode only) and Avaya Environment (SIP mode only) boxes.
- Page 11 The server address appears in the Alternate Server Address list box. 3. Repeat Steps 1 and 2 for each server address you want to specify. 4. If you use Avaya one-X Portal, click Account, and perform one of the following steps: •...
- Page 12 8. Perform one of the following steps: • If you want Avaya one-X Communicator to try to discover your dialing rules settings automatically, perform the following steps: a. Click Discover. Avaya one-X Communicator retrieves information for all of the boxes except the Display confirmation window before dialing a number check box.
- Page 13 Display confirmation window before dialing a number check box. 9. If you want to configure Avaya one-X Communicator to access a public directory, click Public Directory, and perform one of the following steps: •...
- Page 14 Communicator to search contacts in Microsoft Outlook when you use the Name Look-Up feature. Microsoft Outlook must be installed and running on your PC. 12. Click the IBM Lotus Notes Contacts check box if you want Avaya one-X Communicator to search contacts in Lotus Notes Address Book when you use the Name Look-Up feature.
- Page 15 Traveling 23. Select the login mode you want to use. 24. If you have enabled Avaya one-X Portal integration, and you want to enter a personal message, click Enter message, and enter your message. 25. From the Place and receive calls using box, select the device/phone number you want to use to make and receive calls.
- Page 16 If you want to use this phone number, select it from the Place and receive calls using box. 26. Click the Login and save settings button. The Avaya one-X Communicator window appears. NOTE: If you selected My Computer mode, the Audio Tuning Wizard dialog box appears.
- Page 17 The next Audio Tuning Wizard dialog box appears. This dialog box enables the Audio Tuning Wizard to determine the level of background noise at your current location. This prevents Avaya one-X Communicator from transmitting the background noise at your location when you are not speaking during a call.
- Page 18 You cannot use video call features. Uninstall Avaya one-X Communicator Release 1.0 Software Perform the following steps to uninstall the Avaya one-X Communicator Release 1.0 software: 1. Make sure Avaya one-X Communicator is not running. 2. Click Start, and select Control Panel.


