Table of Contents
Advertisement
Quick Links
Advertisement
Table of Contents

Related Manuals for Geemarc CL10+


Summary of Contents for Geemarc CL10+
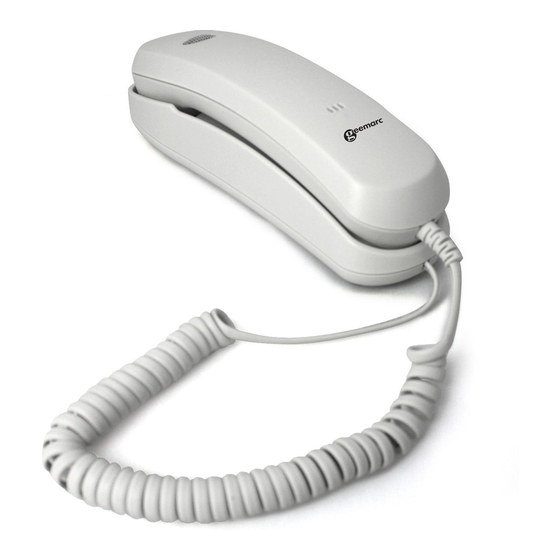
- Page 1 With volume and tone controls English www.geemarc.com...
- Page 2 !!! Please refer to our website: www.geemarc.com for an up to date user guide, as there may be important updates and changes you need to be aware of !!!
-
Page 3: Conditions Of Use
Please read this User Guide carefully in order to get the very best results from your telephone. CONDITIONS OF USE Your Geemarc CL10+ has been approved for use on private direct exchange lines and business lines. Please note that the telephone is not suitable for... -
Page 4: Telephone Connection
DECLARATION: Hereby Geemarc Telecom SA declares that this telephone is in compliance with the essential requirements and other relevant provisions of the Radio and Telecommunications Terminal Equipment Directive 2014/53/UE and in particular article 3 section 1a, 1b and section 2. -
Page 5: Ringer Volume Setting
REN of 1.0. If in doubt, please check with your British Telecom Sales Office. The REN value of your Geemarc CL10+, is 1.0. RINGER VOLUME SETTING A switch located on the right side allows the ringer... -
Page 6: Operation
OPERATION 1 - LAST NUMBER REDIAL( ) BUTTON If the telephone number you have called is engaged or if you want to repeat the call to the number you dialled previously, lift the handset, await dial tone and press the button. -
Page 7: Using The Telephone
exercised to ensure that any naive users are familiar with this requirement. The handset earpiece volume can be adjusted by moving the Volume switch, located above the handset microphone, to High, Medium or Normal. High /Middle /Normal Note: In the tone (treble) position, if receive volume level is set to the maximum, whistling may occur. -
Page 8: Storing Telephone Numbers
7 – STORING TELEPHONE NUMBERS a) ‘One Touch’ Locations 1. Ensure that the telephone is plugged into the telephone socket and lift the handset 2. Press the STORE button 3. Dial the telephone number you wish to store 4. Press the STORE button again 5. -
Page 9: Dialling Stored Telephone Numbers
8 – DIALLING STORED TELEPHONE NUMBERS a) ‘One Touch’ Locations - Lift handset, await dial tone and press appropriate direct memory button M1, M2 or M3. The stored number will be dialled out automatically. b) ‘Two touch’ locations - Lift handset, await dial tone. - Page 10 GUARANTEE From the moment your Geemarc product is purchased, Geemarc guarantee it for the period of two years. During this time, all repairs or replacements (at our discretion) are free of charge.
-
Page 11: Recycling Directives
Thus if you respect these instructions you ensure human health and environmental protection. For product support and help visit our website at www.geemarc.com Telephone: +44 (0)1707 387602 or Fax: +44 (0)1707 832529... - Page 12 UGCL10+_En_V3.3...