Geemarc CL100 User Manual
Hide thumbs
Also See for CL100:
- User manual (28 pages) ,
- User manual (42 pages) ,
- User manual (42 pages)
Table of Contents
Advertisement
Quick Links
Advertisement
Table of Contents

Related Manuals for Geemarc CL100


Summary of Contents for Geemarc CL100
- Page 1 CL100 English...
- Page 2 !!!User manual to read carefully before start to use!!! !!!Manuel d’utilisation à lire impérativement avant la mise en service!!! !!! Bevor Ihr neues Telefongerät zu benutzen, bitte lesen Sie dies Benutzerhandbuch sehr sorgfältig!!! CAUTION: this telephone is specifically designed for the people with hearing difficulties and is provided with a handset earpiece volume control for individual requirements.
-
Page 3: Table Of Contents
Index Description Setting up - Connecting the telephone - Ringer volume setting - Tone/Pulse switch - Time breack recall setting - Wall mounting Volume and tone adjustment - Receiving volume and tone adjustment - Sending volume adjustment Using the phone - Answer a call - Making a call - Last number redial... -
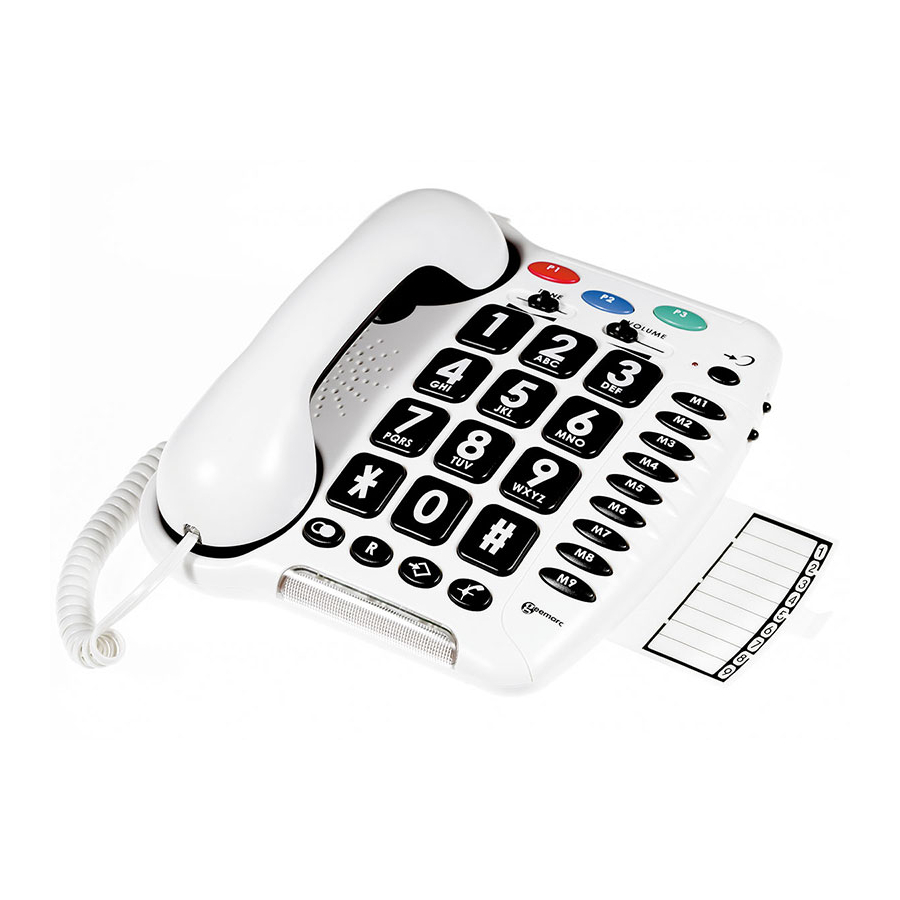
Page 4: Description
Description 3 emergency Reception volume numbers adjustment Reception tone Red light of tone/ adjustment volume activation Extra volume and tone adjustment Clip for wall mounting Direct memories Handset cord socket Last number redial Mute Time break recall Memory storing Flashing incoming ring indicator... - Page 5 Description Holes for wall mounting Memo card Time break recall Dialling mode Pulse/Tone Handset Battery cord socket compartment...
- Page 6 Description Ring volume Sending volume setting setting Line socket Volume and tone adjustment ON/OFF switch...
-
Page 7: Setting Up
Setting up 1 - Connecting the telephone - Connect the handset cord. - Open the battery compartment. - Insert 4 alkaline batteries (type AAA 1.5V, not supplied) in the compartment (*). Batteries are required if you wish to increase the ringer level up to 10 dB. -
Page 8: Tone/Pulse Switch
Setting up 3 - Dialling mode (Tone/Pulse) settings The Tone/Pulse switch is factory pre-set to Tone position. In the UK,all telephone exchanges now use Tone (T) dialing.If your phone does not dial out, it is probably being used from an older private switch board (PBX).In this case,the Tone/Pulse switch must be changed to Pulse (P). - Page 9 Setting up Drill 2 holes in the wall (80mm apart). Insert the wall plugs and the screws leaving about 6 mm of the screws projecting from the wall. Slide the telephone downwards to secure. 1 2 3 4 5 6 7 1 2 3 4 5 6 7 1 2 3 4 5 6 7 Screw...
-
Page 10: Volume And Tone Adjustment
Volume and tone adjustment 1 - Receiving volume and tone adjustment You can increase the volume and adjust the receiving tone according to your own hearing requirements. The button allows extra receiving and tone functions to be activated or not during the conver- sation. - Page 11 Volume and tone adjustment TONE Bass Treble +10db max +10db max Normal Note: When the tone (treble), earpiece volume and sending levels are set to the maximum, whistling may occur. Then the sending level settings should be decreased with the switch When the switch located behind the phone is ON, the extra-receiving and tone functions are...
-
Page 12: Sending Volume Adjustment
Volume and tone adjustment 2 - Sending volume adjustment If your voice is quiet or called parties have difficulty hearing you, you can increase the sending level volume with the switch located on the right side. You can also decrease the sending volume if required. -
Page 13: Using The Phone
Using the phone If you are using this telephone with a hearing aid, set your hearing aid to the “T” setting. 1 - Answer a call - When an incoming call is received the phone will ring and flash, to answer the call lift the handset and speak. -
Page 14: Last Number Redial
Using the phone 3 - Last number redial - Lift the handset. - Await the dial tone and press button. -The previously dialled number will be automaticaly redialled (not in use for memory numbers). 4 - Recall (R), * & # buttons These are used with the new services provided on digital exchanges. -
Page 15: Storing Telephone Numbers
Using the phone 6 - Storing telephone numbers Your telephone can store12 direct memories including 3 priority numbers (24 digits maximum for priority memory and 32 digits for M1, M2...M9). For example, the 3 priority P1, P2, P3 memories allow you to store the 3 numbers below: P1=Fire P2=Police P3=Doctor... -
Page 16: Dialling Stored Number
Using the phone 7 - Dialing stored numbers - Lift the handset and await the dial tone. - Press appropriate button M1, M2, ..., or M9 or one of 3 priority memories, the stored number will be dialled automatically. To register your stored phones numbers, use the index located under the base. -
Page 17: General Informations
The guarantee does not cover accidents, negligence or breakages to any parts. The product must not be tampered with or taken apart by anyone who is not an authorised Geemarc representative. The Geemarc guarantee in no way limits your legal rights. - Page 18 59791 Grande Synthe CEDEX Welwyn Garden City Germany Tél. service après vente : Hertfordshire, AL7 1SB Tel: +49(0)228/ 74 87 09 0 03 28 58 75 99 For product support: Fax: +49(0)228/ 74 87 09 20 01707 384438 www.geemarc.com www.geemarc.com www.geemarc.com...