
Related Manuals for oklahoma joes 16202045


Summary of Contents for oklahoma joes 16202045
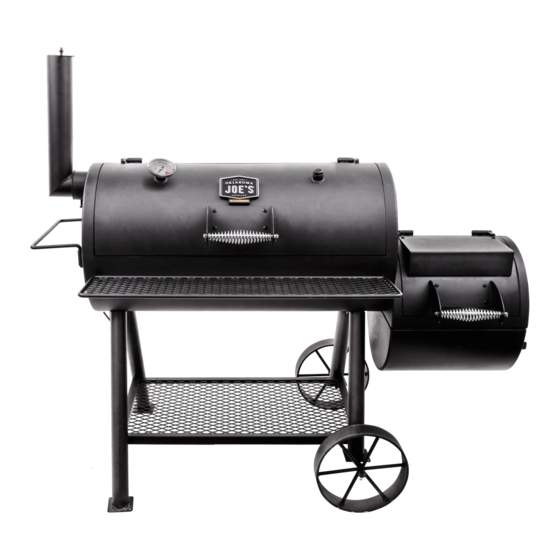
- Page 1 HIGHLAND O F F S E T S M O K E R PRODUCT GUIDE 16202045 KRISWELL NUMBER 140 755 Operating Instructions, 2-3 Assembly Instructions, 6-11 © 2015 Char-Broil, LLC • Columbus, GA 31902 • Printed in China • Assembly Instructions © 2015...
-
Page 2: Carbon Monoxide Hazard
FOR OUTDOOR USE ONLY INSTALLER/ASSEMBLER: DO NOT USE INDOORS Leave this manual with consumer. This instruction manual contains important information CONSUMER: necessary for the proper assembly and safe use of the Keep this manual for future reference. appliance. Follow all warnings and instructions when using the appliance. -
Page 3: Cooking Tips
Know When Your Fire is Ready (Continued) PREPARING TO USE YOUR SMOKER -Use the indirect grilling method, with coals to either side of drip Before cooking with your smoker, the following steps should pan and the food over the pan rather than directly over the coals. be closely followed to both cure the finish and season the -In the event of a severe flare-up, spray the flames with water from interior steel. -
Page 4: Parts List
HARDWARE Hitch Pin 1/4-20 3/8-16 Qty: 2 Flange Nut Hex Nut Qty. 16 Qty. 8 3/8" 12mm Flat Lock Washer Washer Qty. 8 Qty: 4 1/4-20x1/2” 1/4-20x1/2” 1/4-20x1/2” 3/8-16x1” Hex-Head Bolt Hex Washer Head Bolt Machine Screw Hex-Head Bolt Qty. 4 Qty. -
Page 5: Parts Diagram
PARTS DIAGRAM... - Page 6 ASSEMBLY FIRST, GET A HELPER! This unit is heavy and requires a second person for lifting and moving. NEXT, pick a suitable location to work. Open the carton and slit the corners so that the carton lays flat. This will give you a protective surface during assembly.
- Page 7 With one person on smoke chamber end, roll the unit onto cardboard that was placed on the ground Long Leg next to the unit. Unit should now be resting on its 3/8-16x1” - Each Leg smoke chamber handle brackets with the leg posts pointing upward.
- Page 8 Make sure that leg bolts are tight enough so that legs won't slip off of posts. With the assistance of a helper, roll the unit over the handle brackets and stand it up onto its legs. Once standing, fully tighten the four leg bolts. Use four 1/4-20×½"...
- Page 9 Connect firebox lid and firebox bottom using four 1/4-20×½" hex head bolts and four 1/4-20 flange nuts. Tighten securely. 1/4-20x1/2" Hex Head Bolts Firebox Lid 1/4-20 Flange Nuts 1/4-20x1/2" Hex Head Bolts 1/4-20 Flange Nuts Firebox Bottom With the help of an assistant, connect firebox and smoke chamber using eight 3/8-16×1" hex head bolts, 3/8 lock washer, and 3/8-16 hex nut, and tighten.
- Page 10 Attach handle to smoke chamber lid and firebox lid using eight 1/4-20×½" screws and 1/4-20 flange nuts. Tighten securely. 1/4-20x1/2" Screws Smoke Chamber handle shown installed. 1/4-20 Flange Nuts Smoker Chamber Attach smokestack to end of smoke chamber by sliding stack into smokestack mounting bracket. While holding the smokestack in a vertical position, tighten the 3/8-16×1"...
- Page 11 Attach front shelf to smoke chamber by sliding ends of shelf frame into bushing on front of smoke chamber. Temperature Gauge Next, install the Temperature Gauge into the bushing located on the Smoker Chamber Lid. Align gauge and then secure with jamb nut. Front Shelf Cooking Grates, Fire Box Cooking Grates, Smoker...
- Page 12 NOTE: This information is a guide only. Items included in your BBQ All specifications are subject to change without notice. specification may differ depending on region or specific dealer specification. Kriswell A/S Knudstrupvej 10C DK- 8870 Langaa Tel. +45 8773 6000 info@dancook.dk ©...