Table of Contents
Advertisement
Advertisement
Table of Contents

Summary of Contents for Cisco Meraki MR20
-
Page 1: Package Contents
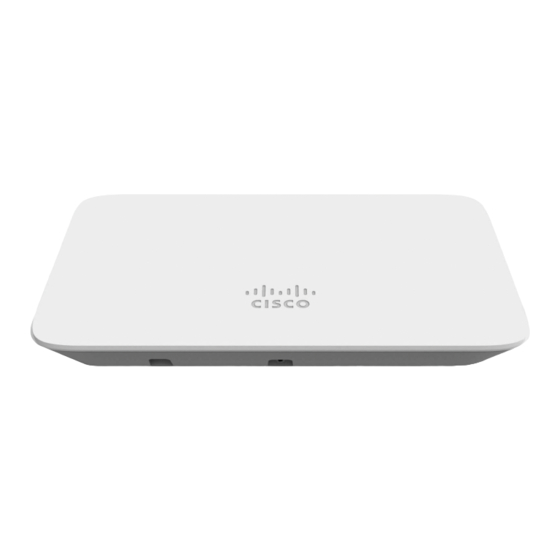
MR20 Installation Guide The Cisco Meraki MR20 is a dual-band enterprise class 802.11ac cloud-managed access point. Package Contents The MR20 package contains the following: • MR20 Cloud-Managed Access Point • Mount plate • Mount Kit ◦ Wall screws, wall screw anchors, and security screws... -
Page 2: Understanding The Mr20
Understanding the MR20 Your Meraki MR20 has the following features:... -
Page 3: Security Features
The mount plate has the following features: Security Features The MR20 features multiple options for physically securing the access point after installation: 1. Security screw – The accessory kit includes screws that can be used to secure the access point to the mount cradle. -
Page 4: Pre-Install Preparation
• Rainbow - AP is initializing/scanning • Blinking Blue - AP is upgrading • Green - AP in Gateway mode with no clients • Blue - AP in Gateway mode with clients • Blinking Orange - AP can't find uplink The MR20 may be operated in “Run Dark”... -
Page 5: Assigning Ip Addresses To Mr20S
Assigning IP Addresses to MR20s All gateway MR20s (MR20s with Ethernet connections to the LAN) must be assigned routable IP addresses. These IP addresses can be dynamically assigned via DHCP or statically assigned. Dynamic Assignment When using DHCP, the DHCP server should be configured to assign a static IP address for each MAC address belonging to a Meraki AP. -
Page 6: Collect Additional Hardware For Installation
2. Power over Ethernet supports a maximum cable length of 300 ft (100 m). 3. If being used in a mesh deployment, the MR20 should have line of sight to at least two other Meraki devices. A Cisco Partner can help ensure that your AP placement is ideal. -
Page 7: Power The Mr20
Mount the MR20 Attach the MR20 to the Mount Cradle The MR20 attaches to the mount cradle with two tabs on the cradle that insert into the MR20, and is secured to the cradle using one screw. To attach the MR20 to the mount cradle properly, line up the top edge of the AP with the top tab of the mount cradle. Since the cradle is already mounted to the wall, guide the MR20 towards the top tab and insert the top tab into the MR20’s slot. -
Page 10: Desk Or Shelf Mount
To release the MR20 from the mount cradle, first remove the security screw that secures the MR20 to the cradle’s bottom tab. While holding the MR20 with one hand, press the cradle’s bottom tab upwards, releasing the MR20 from the bottom of the cradle. -
Page 11: Verify Device Functionality And Test Network Coverage
Secure the MR20 Depending on your mounting environment, you may want to secure the MR20 to its mount location. If the MR20 has been installed using the mount cradle, it should be secured via security screw (Torx security screws are included). Power the MR20 If mounting to an electrical junction box, feed the Ethernet cable through the cable access hole in the mount cradle.


