Table of Contents
Advertisement
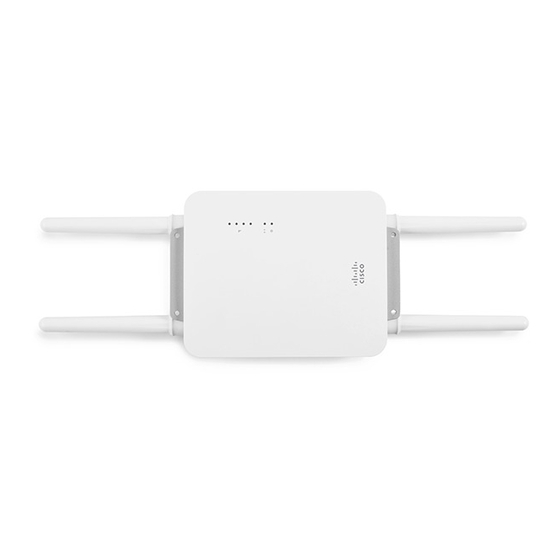
MR66 Installation Guide
The Meraki MR66 is an enterprise-class, 802.11n access point designed for rugged environments. When connected to
the Meraki Cloud Controller, the MR66 enables the creation of high-speed and reliable networks that cover large outdoor
and industrial areas quickly, easily, and cost-effectively.
Package Contents
The MR66 package contains the following:
• MR66 Cloud-Managed Access Point
• Mount cradle
1
Advertisement
Table of Contents

Related Manuals for Cisco MERAKI MR66


Summary of Contents for Cisco MERAKI MR66
-
Page 1: Package Contents
MR66 Installation Guide The Meraki MR66 is an enterprise-class, 802.11n access point designed for rugged environments. When connected to the Meraki Cloud Controller, the MR66 enables the creation of high-speed and reliable networks that cover large outdoor and industrial areas quickly, easily, and cost-effectively. - Page 2 • Wall screws, wall screw anchors • Mounting straps...
-
Page 3: Understanding The Mr66
• Cable gland Understanding the MR66 Your Meraki MR66 has the following features:... - Page 4 The Vent The vent allows pressure and humidity equalization between the interior and the environment. This prevents internal condensation and maintains a water proof seal. The Ground Post The Ground Post provides an attachment point on the access point for the grounding strap (included). This post is threaded to accept a M4 x 0.7mm bolt.
-
Page 5: Antennas And Ports
Antennas and Ports The Meraki MR66 has two 802.11n radios (the MR62 has one radio). Each radio has two external antenna connectors; both connectors for a particular radio should be attached to the same type of antenna. The 5 GHz radio is used for mesh or client communication. -
Page 6: Pre-Install Preparation
Power Source Options The MR66 access point can be powered using either a third-party 802.3af PoE switch or the Meraki 802.3af PoE injector (sold separately). Factory Reset Button If the button is pressed and held for at least five seconds and then released, the MR66 will reboot and be restored to its original factory settings by deleting all configuration information stored on the unit. -
Page 7: Check And Upgrade Firmware
Configure Your Network in Dashboard The following is a brief overview only of the steps required to add an MR66 to your network. For detailed instructions about creating, configuring and managing Meraki wireless networks, refer to the online documentation (documentation.meraki.com/mr). 1. -
Page 8: Collect Tools
Static Assignment Static IPs are assigned using the local web server on each AP. The following procedure describes how to set the static 1. Using a client machine (e.g., a laptop), connect to the AP wirelessly (by associating to any SSID broadcast by the AP) or over a wired connection. -
Page 9: Installation Instructions
• Network cables with RJ45 connectors long enough for your particular mounting location • 802.3af PoE power source (either PoE switch or Meraki 802.3af PoE Injector) • Connection to the internet (if you are setting up your MR66 as a gateway to the internet) •... - Page 10 Attach the mount cradle The MR66 mount plate can be used to install your access point in a wide range of scenarios. Wall or Solid Ceiling Mount Using mount cradle Using included wall anchors and screws, attach the mount plate to your mounting wall or ceiling. It is recommended that the MR66 be mounted to a wall or solid ceiling using the mount plate for physical security reasons.
- Page 11 Mount the MR66 Insert the posts on the back of the access point into the attachment slots on the mount plate. Attach Antennas Remove protective plastic covers from all four N-type RF connectors. Attach appropriate antennas (and protective boots if included).
- Page 12 Aim Antennas If you are using directional antennas, aim them appropriately to ensure optimal performance for your specific network topography. Omnidirectional antennas perform best in a mesh network when oriented vertically. Powering the MR66 with the Meraki 802.3af Power over Ethernet Injector (sold separately) 1.
- Page 13 Powering the MR66 with an 802.3af Power over Ethernet Switch Route Ethernet cable from a port on an active 802.3af PoE switch to the Eth0 port in the bay of the MR66. The MR66 is Gigabit Ethernet-capable. To maximize device performance, a Gigabit-capable switch should be used. Attach Power over Ethernet to the MR66 1.
-
Page 14: Verify Device Functionality And Test Network Coverage
4. Plug the Ethernet cable into the Ethernet port of the Meraki MR66. a. Connect the cable to the Ethernet port on the MR66. b. Screw the gland body into the threaded hole of the port. Use an adjustable wrench to make sure the gland body is fully seated in the hole. -
Page 15: Troubleshooting
2. Verify access point connectivity Use any 802.11 client device to connect to the MR66 and verify proper connectivity using the client’s web browser. 3. Check network coverage Confirm that you have good signal strength throughout your coverage area. You can use the signal strength meter on a laptop, smart phone, or other wireless device. - Page 16 FCC Radiation Exposure Statement: This equipment complies with FCC radiation exposure limits set forth for an uncontrolled environment. This equipment should be installed and operated with minimum distance 20 cm between the radiator and your body. This transmitter must not be co-located or operating in conjunction with any other antenna or transmitter. IEEE 802.11b or 802.11g operation of this product in the USA is firmware-limited to channels 1 through 11.
- Page 17 In Italy the end-user should apply for a license at the national spectrum authorities in order to obtain authorization to use the device for setting up outdoor radio links and/or for supplying public access to telecommunications and/or network services. The device may not be used in the 5 GHz spectrum unless the 5.725 - 5.875 GHz has been disabled. This can be done through the Meraki Dashboard.
- Page 18 Français (French) Par la présente Meraki, Inc. déclare que l’appareil wireless device est conforme aux exigences essentielles et aux autres dispositions pertinentes de la directive 1999/5/CE. Italiano (Italian) Con la presente Meraki, Inc. dichiara che questo wireless device è conforme ai requisiti essenziali ed alle altre disposizioni pertinenti stabilite dalla direttiva 1999/5/CE.
- Page 19 Português (Portuguese) Meraki, Inc. declara que este wireless device está conforme com os requisitos essenciais e outras disposições da Directiva 1999/5/CE. Slovensko (Slovenian) Meraki, Inc. izjavlja, da je ta wireless device v skladu z bistvenimi zahtevami in ostalimi relevantnimi dolocili direktive 1999/5/ES.