Table of Contents
Advertisement
Quick Links
HCD/HMD/HCF/HMF1010RJS, HCD/HMD/HCF/HMF1410RJS,
HCD/HMD1010NJS, HCD/HMD1410NJS
(See model number configurator on page 2 for details.)
Order parts online
www.follettice.com
Horizon Elite
Ice Machine Models with RIDE
™
801 Church Lane • Easton, PA 18040, USA
Toll free (877) 612-5086 • +1 (610) 252-7301
www.follettice.com
Installation Instructions for Drop-Ins
Technology
®
remote condensing
01113299R00
Advertisement
Table of Contents

Related Manuals for Follett Horizon Elite HMF1010RJS


Summary of Contents for Follett Horizon Elite HMF1010RJS
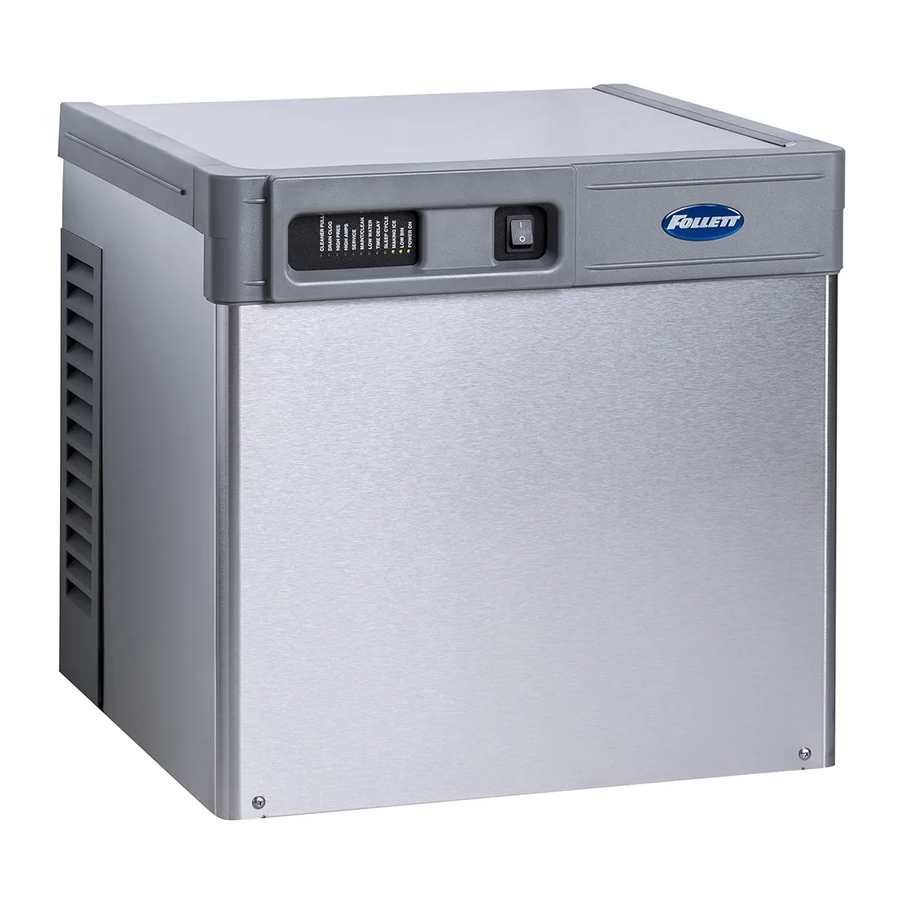
- Page 1 Horizon Elite Ice Machine Models with RIDE Technology ™ ® Installation Instructions for Drop-Ins HCD/HMD/HCF/HMF1010RJS, HCD/HMD/HCF/HMF1410RJS, HCD/HMD1010NJS, HCD/HMD1410NJS (See model number configurator on page 2 for details.) Order parts online www.follettice.com remote condensing 801 Church Lane • Easton, PA 18040, USA Toll free (877) 612-5086 •...
- Page 2 Chewblet Ice Machine Model Number Configurations ® 1400 Icemaker Voltage Series Condenser Application Configuration MC Maestro™ C 208-230/60/1 (icemaking head) 400 up to A Air-cooled, self-contained V Vision™ S RIDE™ Self-contained only. 454 lbs Chewblet ® W Water-cooled, self-contained H Harmony™ (RIDE remote D 115/60/1 (icemaking head) (206kg)
- Page 3 Read and complete the following 8 installation steps Unpack Site preparation Dispenser preparation Louvered docking assembly Ice transport tube External connection Internal connection Front cover DROP-IN • RIDE Technology remote condensing...
- Page 4 Unpack Carefully unpack and inspect the contents of your Follett ice machine. Unpack ice machine ➊ ➋ ➌ ➍ 7/16" 7/16" ➎ ➏ DROP-IN • RIDE Technology remote condensing...
-
Page 5: Site Preparation
• 10-70 psi (69-483kpa) • 45-90 F (7-32 C) • Follett recommends the use of an in-line water filtration system (item# 00130286) • This equipment is to be installed with adequate backflow protection to comply with applicable federal, state, and local codes ➌... -
Page 6: Dispenser Preparation
Dispenser preparation Prepare the dispenser. Dispenser preparation Hot Water 160 F (71 C) 12" (304,8mm) min. 4" (101,6mm) • Determine best route for ice transport tube run. Note: 12" (304,8mm) clearance is required. • Drill 1 3/4" (44,5mm) hole through either side of dispenser ➊... - Page 7 Louvered docking assembly Install the louvered docking assembly. Wall bracket accessory Machine stand accessory • Mount louvered docking assembly to • Mount louvered docking assembly to wall machine stand accessory bracket accessory Louvered docking assembly 2" (50,8 mm) 1.88" (47,8 mm) ➋...
- Page 8 Undercounter installation requirements Top View ➌ ➊ Access panel/ 3.25" (83 mm) min. door on counter 22.25" min. (656 mm) 24" min. (609 mm No Lip ➋ DOCKING STATION • Position and screw louvered docking assembly to the bottom of counter inside of access panel/ door min.
-
Page 9: Ice Transport Tube
Ice transport tube Install the ice transport tube. Ice transport tube installation from dispenser to ice machine ➋ Hot Water 160 F (71 C) ➎ ➊ 1/4" ➌ ➍ ➏ ➐ Ice transport tube tips • Insulate entire length of ice transport tube ➊... -
Page 10: External Connections
External connections Connect utilities to louvered docking assembly. Water and drain Refrigerant ➋ ➊ ➌ ➊ • Braze supplied expandable refrigerant • Remove access panel if necessary. lines in place ➊ • Install drain line ➊ The rigid drain line from the ice machine must have at least 1/4"... -
Page 11: Internal Connections
Internal connections Connect louvered docking assembly to ice machine. Ice transport tube installation Water line ➋ ➊ ➋ ➊ • Slide ice machine into louvered docking ➊ • Insert potable water line into valve assembly ensuring that drain tube is fully ➊... - Page 12 TDS switch Power cord HIGH CLEAN • Set the TDS switch on the electrical box: • Position plate into opening and secure with supplied screw HIGH: for extended service life LOW: for low-scale water DROP-IN • RIDE Technology remote condensing...
-
Page 13: Front Cover
Front cover Install front cover to ice machine. Install condensing unit Install ice machine front cover ➋ ➊ • Slide ice machine cover over machine ensuring that tabs on back of cover • Complete installation of condensing unit slip under louvers on back of louvered or connection to rack system. - Page 14 Long tube run recommendations max. 2 ft (.6m) 1/4" ➊ • Pitch ice transport tube to allow melt water to drain towards ice machine ➋ • Secure insulated ice transport tube at least every 2 ft (.6m) to prevent dips or traps DROP-IN ...
- Page 15 DROP-IN • RIDE Technology remote condensing...
- Page 16 Horizon, Horizon Elite, Maestro, Harmony, Ice Manager, SafeCLEAN, Sani-Sponge and Vision are trademarks of Follett Corporation. Chewblet, RIDE and Follett are registered trademarks of Follett Corporation, registered in the US. 801 Church Lane • Easton, PA 18040, USA Toll free (877) 612-5086 • +1 (610) 252-7301 01113299R00 www.follettice.com...