Advertisement
Quick Links
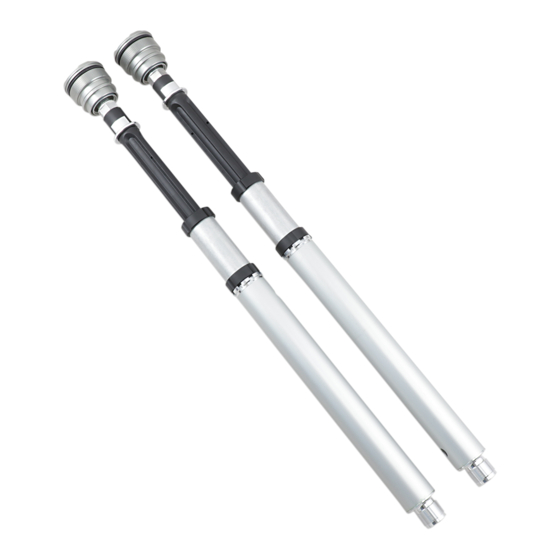
Front Fork Kit for Yamaha R6
FGK 202
Mounting Instructions
Before installing this product, check the contents
of the kit. If anything is missing, please contact
an Öhlins dealer.
Kit Contents
Front fork kit
Sticker set Öhlins
Owners manual
Warning!
This kit should only be installed by an
authorized Öhlins dealer. The installation
procedure requires certain tools.
Please
note
that
transportation, especially at high ambient
temperature, some of the oil and grease used for
assembling may leak and stain the packaging.
This is in no way detrimental to the product,
wipe off the excessive oil/grease with a cloth.
Warning!
Before installing this product, please read this
document. The front fork is an important part of
your vehicle and will affect the stability.
Note!
Please note that after this installation the
compression adjuster at the fork bottom will no
longer have a function.
Part No.
Pcs.
FGK202
1
1
07284-01
1
during
storage
and
Advertisement

Related Manuals for Ohlins FGK 202


Summary of Contents for Ohlins FGK 202
- Page 1 The front fork is an important part of your vehicle and will affect the stability. Note! Please note that after this installation the compression adjuster at the fork bottom will no longer have a function. Front Fork Kit for Yamaha R6 FGK 202 Mounting Instructions...
-
Page 2: Safety Precautions
Safety Precautions Note! Safety Symbols The front fork is a very important part of the In this manual, mounting instructions and vehicle and will therefore affect the stability. other technical documents, important Read and make sure that you understand information concerning safety is the information in this manual before you use distinguished by the following symbols: this product. - Page 3 Install Öhlins Front Fork Kit tube. Torque 10 Nm. 3.15 Set the spring preload, rebound and compression adjusters according to adjustments and set-up data in this manual. 3.16 Install the front fork legs into the triple clamps at the position recommended in set-up data (Fork leg position).
- Page 4 3 - Install Öhlins Front Fork Kit position and be careful not to damage it. Open the compression and the rebound adjuster fully. Install the top cap directly to the XXX mm shaft extension (No spring or preload tube). Pull up the outer tube and tighten it to the top cap.
- Page 5 1 - Remove Original Front Fork Warning! It is advisable to have an Öhlins dealer install the front fork. When installing, consult your Vehicle Service Manual. Put the motorcycle on a workstand so that the front wheel barely touches the ground. Warning! Make sure the vehicle is securely supported so that it will not tip.
- Page 6 2 - Disassemble Original Front Fork Loosen the top cap from the outer tube. Pull down the outer tube. Remove the top cap by loosening it from the shaft. Use appropriate tool according to your vehicle service manual. Remove the spring and surrounding parts from the fork leg, drain the fork leg from oil.
- Page 7 3 - Install Öhlins Front Fork Kit Caution! Work with only one fork leg at a time. Do not mix the parts. Spring support Caution! The front fork kit is divided into one compression cartridge and one rebound Preload tube cartridge.
- Page 8 © Öhlins Racing AB. All rights Öhlins Racing AB reserved. Any reprinting or Box 722 unauthorized use without the written S-194 27 Upplands Väsby, Sweden permission of Öhlins Racing AB Phone +46 8 590 025 00 is prohibited. fax +46 8 590 025 80 www.ohlins.com...